Appetizers

Cheesy Taco Sticks Flavorful and Easy Snack Recipe
Craving a fun snack that’s packed with flavor? Cheesy Taco Sticks are the answer! These tasty treats combine pizza dough with seasoned beef, cheese, and
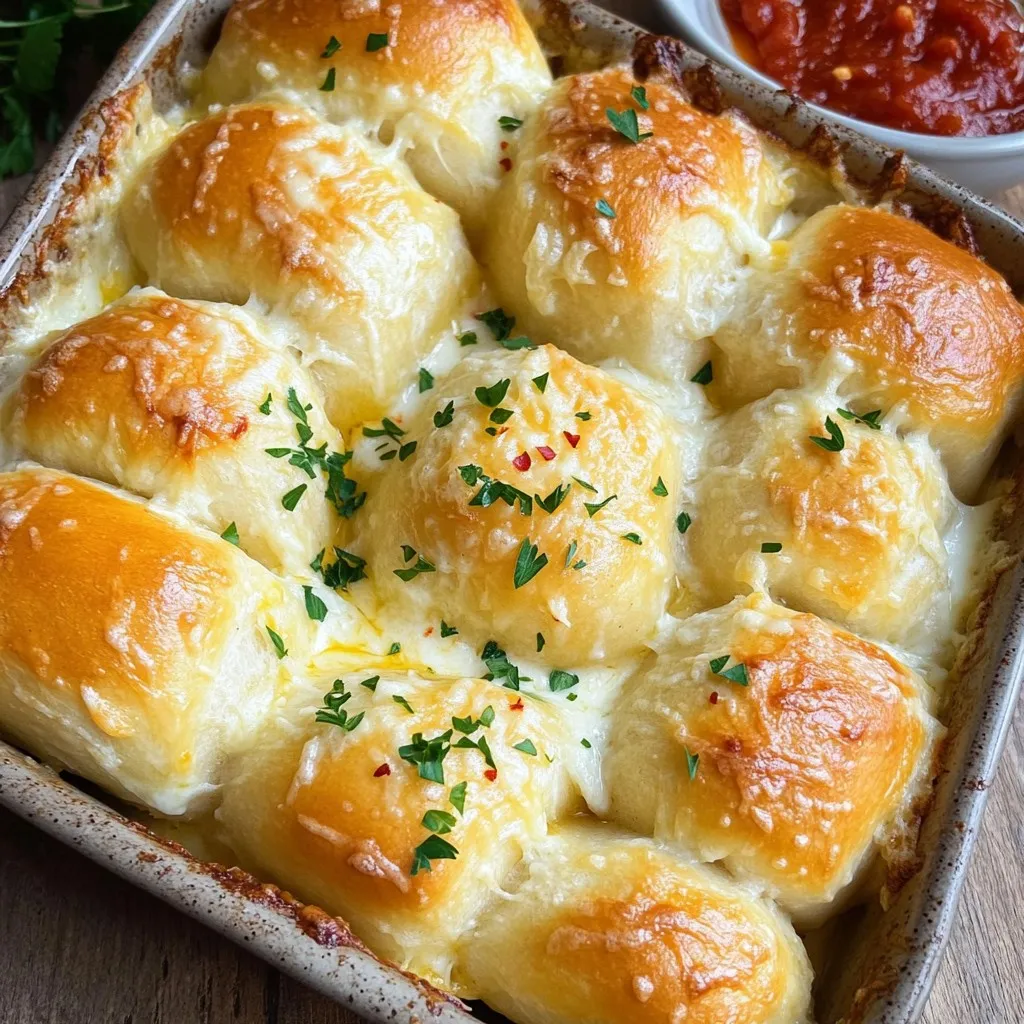
Cheesy Garlic Rolls Delightfully Easy to Make
Are you craving warm, gooey cheesy garlic rolls? You’re in the right place! In this post, I’ll show you how to make these delicious rolls

French Dip Tortilla Roll Ups Tasty and Simple Snack
Looking for a quick and tasty snack? French Dip Tortilla Roll Ups are your answer! These easy-to-make bites combine savory roast beef and creamy cheese,
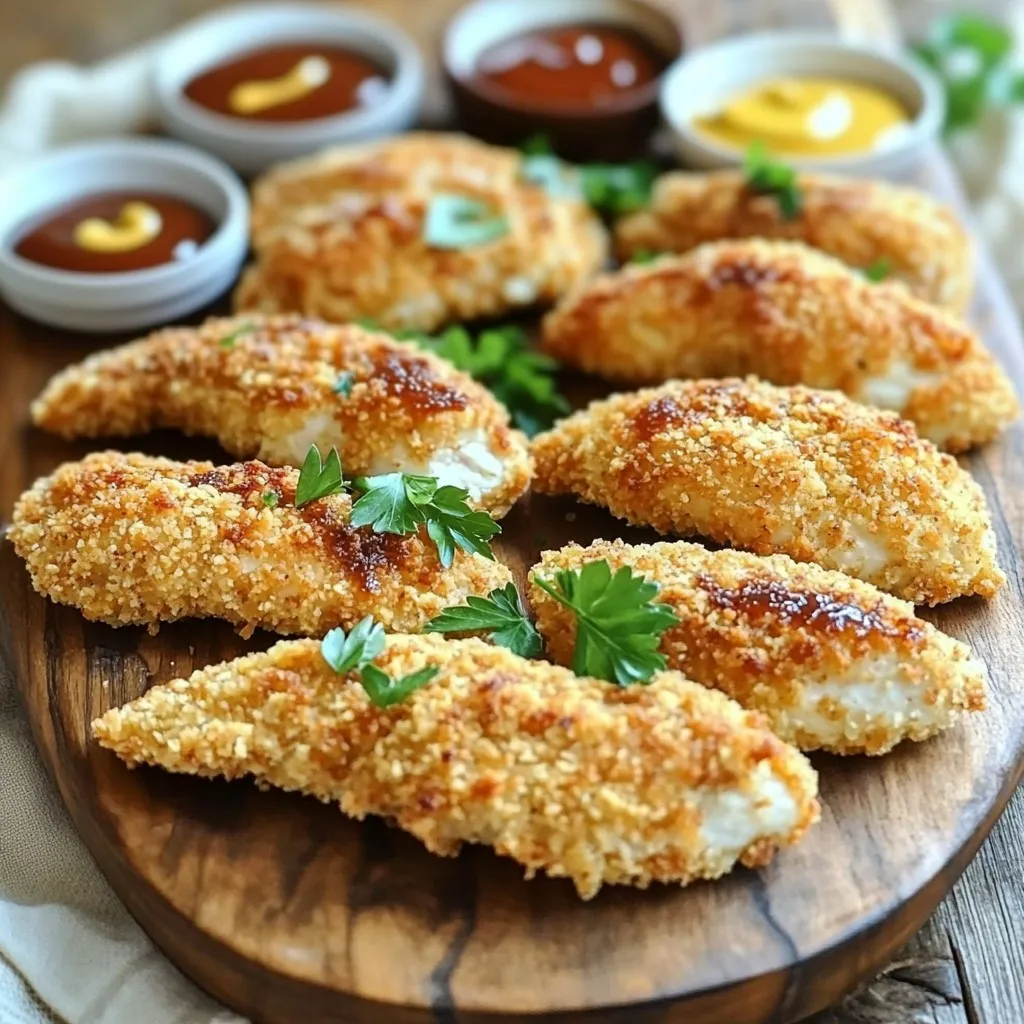
Crispy Baked Chicken Tenders Tempting Dinner Idea
Looking for a dinner idea that’s both easy and delicious? You need to try my Crispy Baked Chicken Tenders! They are juicy on the inside
Air Fryer Fried Pickles Crispy and Flavorful Snack
Craving a crispy snack that packs a punch? Let’s make Air Fryer Fried Pickles! This easy recipe transforms simple dill pickle slices into a crunchy,
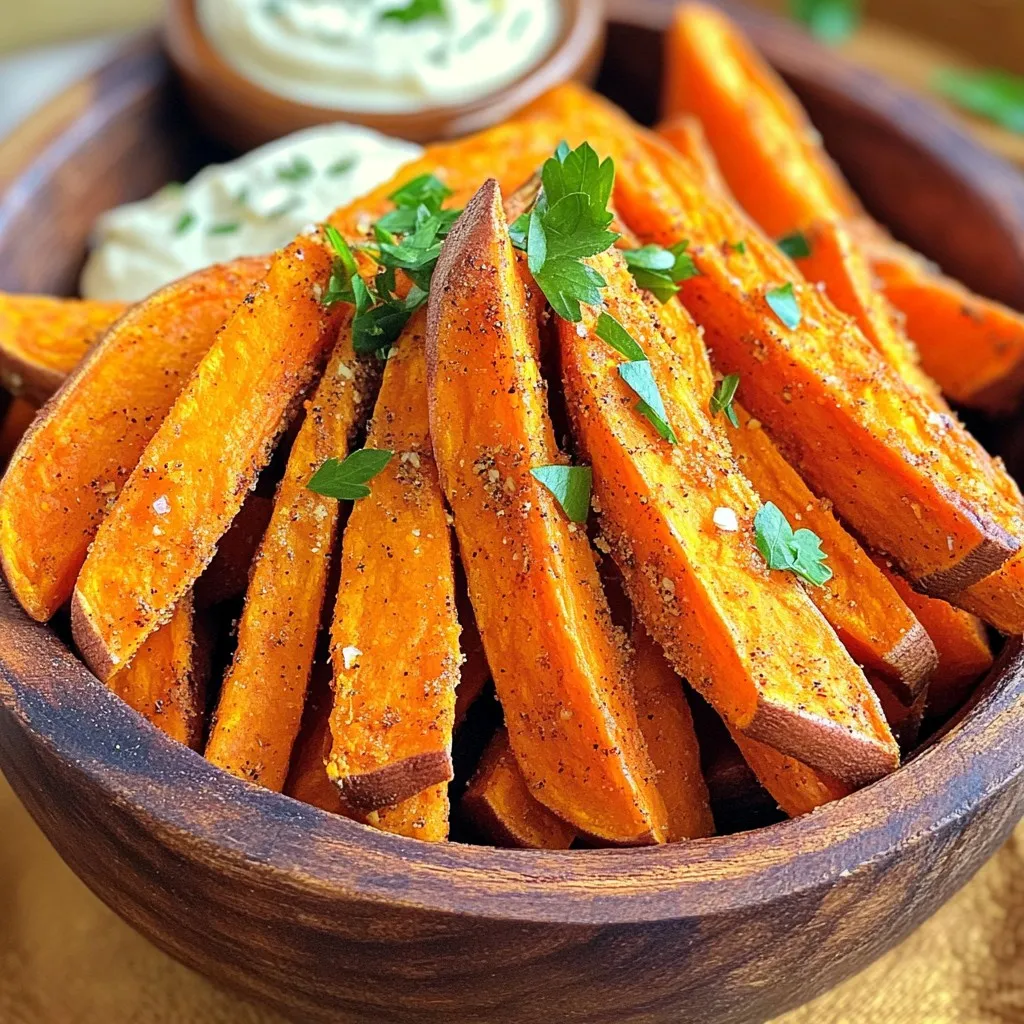
Crispy Baked Sweet Potato Fries Easy and Tasty Recipe
Are you ready for a tasty treat that’s easy to make? Crispy baked sweet potato fries will change your snack game. With just a few
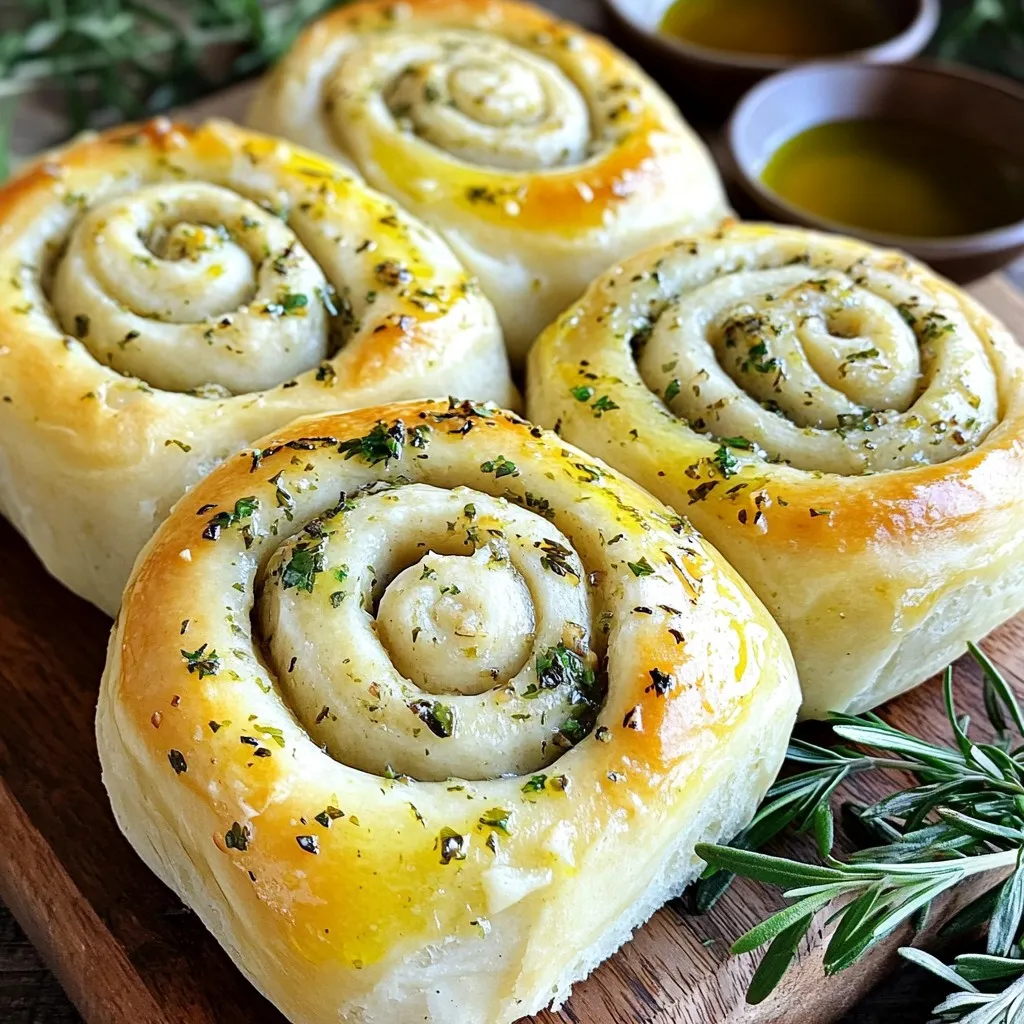
Herb and Garlic Swirl Rolls Flavorful Comfort Food
If you’re craving a warm and tasty treat, look no further than my Herb and Garlic Swirl Rolls! These rolls combine simple ingredients, delicious herbs,
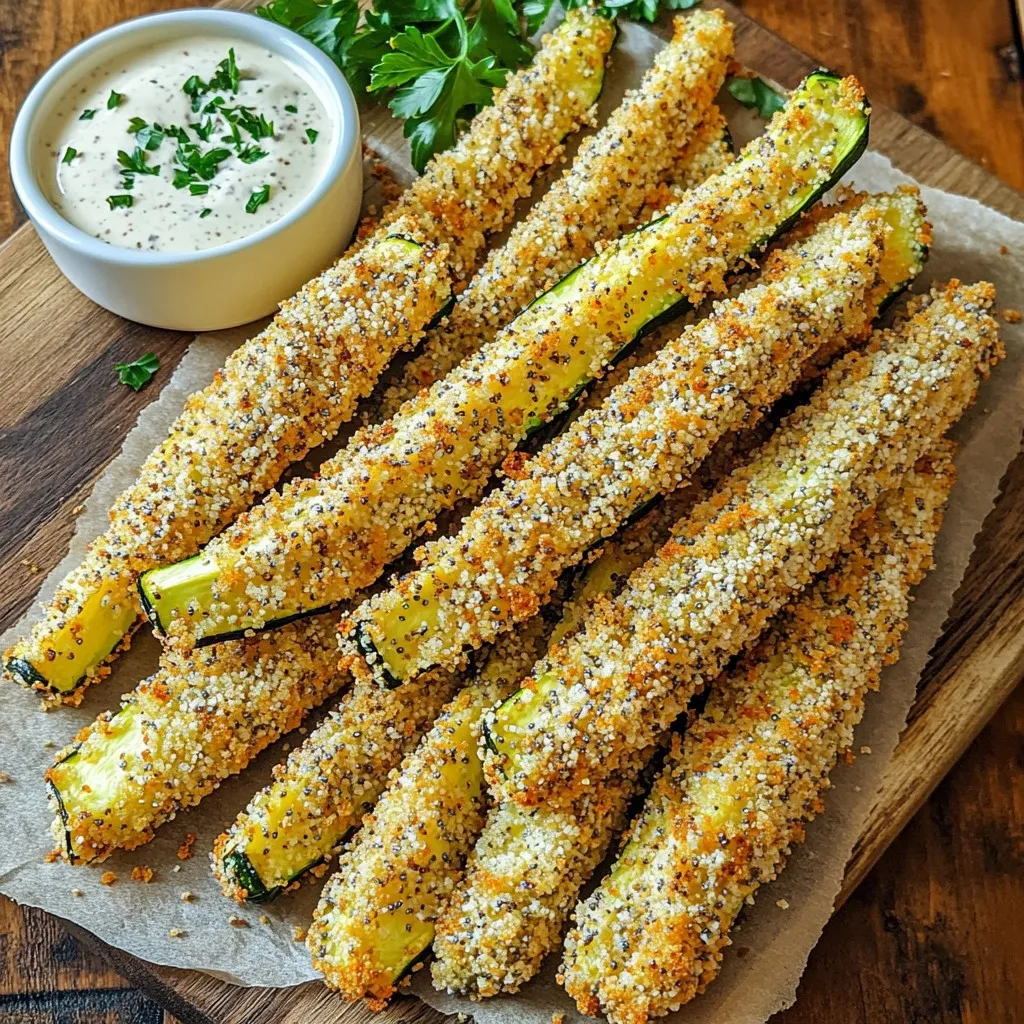
Air Fryer Everything Bagel Zucchini Fries Delight
Get ready to transform your snacking game with my Air Fryer Everything Bagel Zucchini Fries! These crispy delights pack bold flavor into each bite while
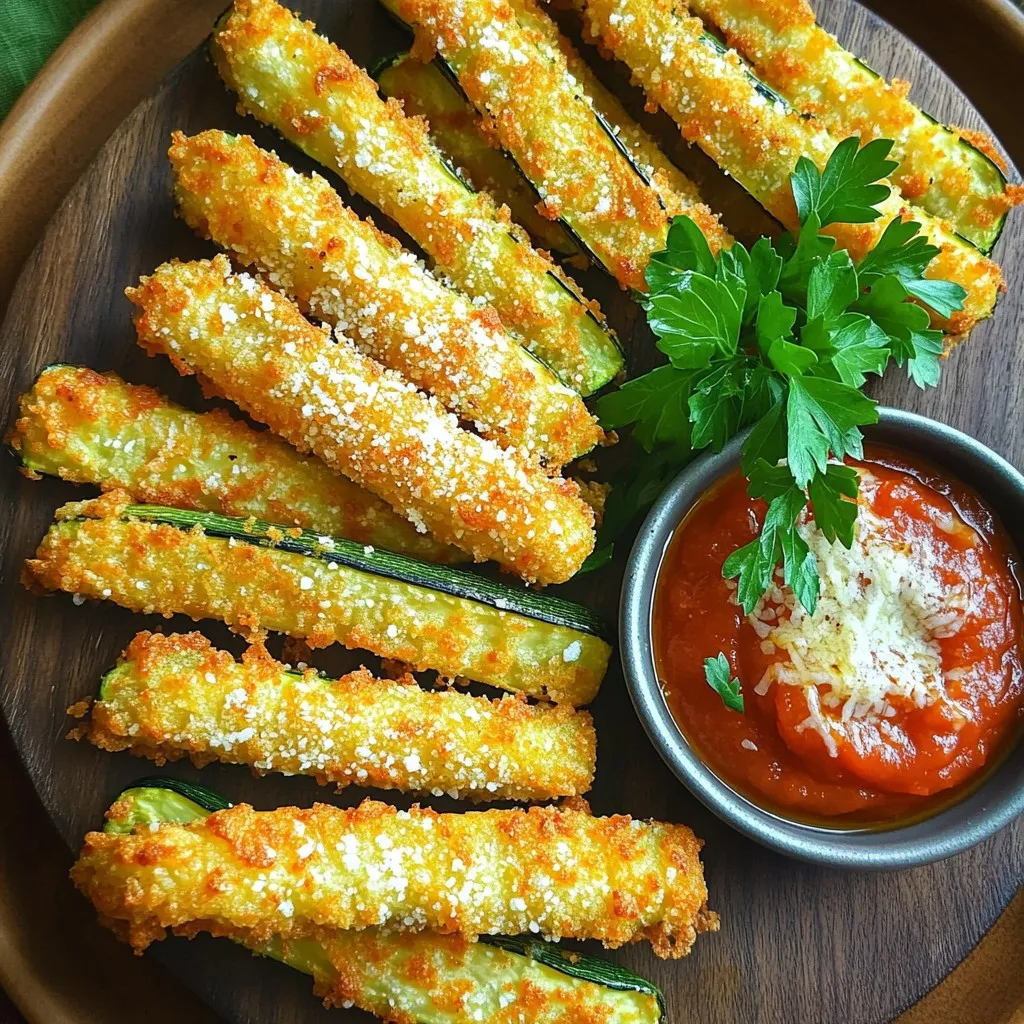
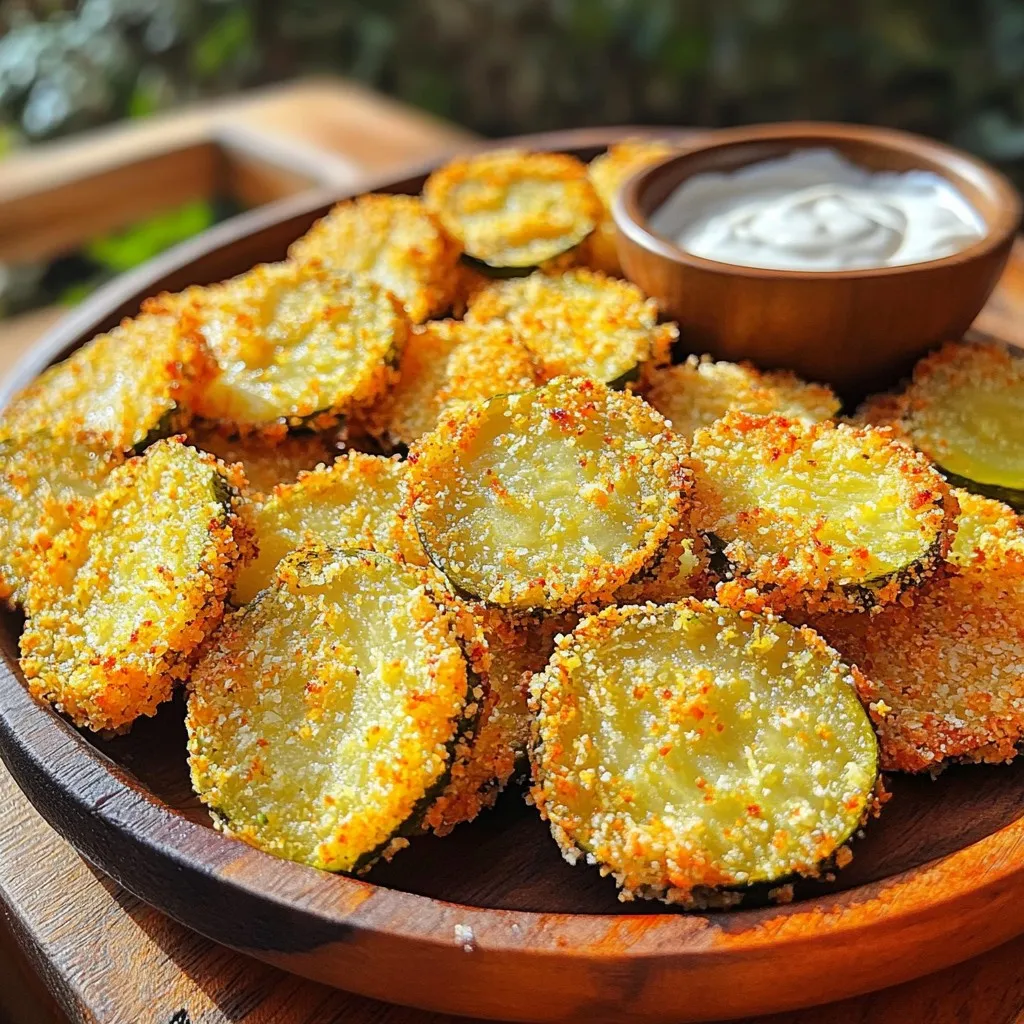
Air Fryer Parmesan Zucchini Fries Crispy and Tasty Snack
Craving a snack that’s both crispy and tasty? Try my Air Fryer Parmesan Zucchini Fries! These golden bites pack a punch of flavor while being

Air Fryer Cinnamon Sugar Sweet Potato Chips Delight
Are you ready to make a tasty treat that’s both sweet and crispy? Air Fryer Cinnamon Sugar Sweet Potato Chips are a perfect snack. With