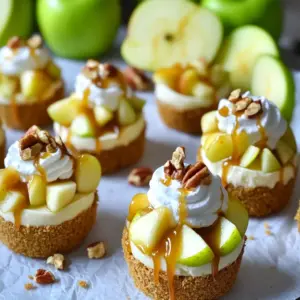
Get ready to indulge in a sweet and creamy treat with my Caramel Apple Cheesecake Truffle Cups! These little delights combine rich cheesecake with crunchy apples and smooth caramel, creating a perfect dessert for any occasion. I’ll walk you through the easy steps to make these tasty bites, along with tips, variations, and storage advice. Let’s dive in and get started on your new favorite treat!
Ingredients
Essential Ingredients for Caramel Apple Cheesecake Truffle Cups
To make these tasty treats, you need some key items. Here’s what you’ll need:
– 1 cup graham cracker crumbs
– 1/2 cup unsalted butter, melted
– 1 (8 oz) package cream cheese, softened
– 1/2 cup powdered sugar
– 1 teaspoon vanilla extract
– 1 cup diced apples (like Granny Smith or Honeycrisp)
– 1/2 teaspoon ground cinnamon
– 1/4 cup caramel sauce (store-bought or homemade)
– 1/2 cup whipped cream (for topping)
– Extra caramel sauce for drizzling
– Chopped nuts (like pecans or walnuts) for garnish
These ingredients blend to create a delightful mix of flavors. The apples add a fresh crunch. The caramel sauce brings sweetness. Cream cheese gives a rich creaminess that ties everything together.
Optional Toppings and Garnishes
You can dress up your truffle cups with fun toppings. Consider these options:
– A sprinkle of cinnamon for warmth
– More caramel sauce for extra sweetness
– Fresh apple slices for a colorful touch
– Shredded coconut for a tropical twist
– Mini chocolate chips for a hint of chocolate
These toppings make your dessert even more appealing and tasty. Feel free to mix and match based on your taste.
Ingredient Substitutions
If you don’t have a specific ingredient, don’t worry! Here are some easy swaps:
– Use almond or graham cracker crumbs for the crust.
– Swap cream cheese with Greek yogurt for a lighter option.
– Choose maple syrup instead of caramel for a different flavor.
– Use any nut butter if you have nut allergies.
These substitutions help you get creative. They can also cater to different diets or preferences. Just remember, the goal is to keep that delicious flavor.
Step-by-Step Instructions
Preparing the Crust
To start, gather your graham cracker crumbs and melted butter. In a medium bowl, mix them well. Use your hands or a spoon to blend until it looks like wet sand. Now, take mini cupcake liners or silicone molds. Press the crumb mixture into the bottom to form a crust. This step gives the truffles a solid base. Once done, place the molds in the fridge. Let them chill while you prep the filling.
Making the Cheesecake Filling
Next, grab a large bowl. Add the softened cream cheese. Beat this with a mixer until it’s nice and smooth. Slowly add the powdered sugar and vanilla extract. Mix until it’s creamy and well combined. This filling is the heart of your truffle cups. It should taste sweet and rich.
Combining the Apples with Cream Cheese
In a separate small bowl, take your diced apples. Sprinkle ground cinnamon over them. Toss these together to coat the apples well. Gently fold the apple mixture into the cream cheese mixture. Make sure the apples are evenly mixed in. This adds a fun flavor and texture to your truffles.
Assembling and Chilling the Truffle Cups
Now, take the crusts out of the fridge. Spoon the cheesecake apple mixture into each crust. Fill them about three-quarters full. This provides enough space for the caramel. Drizzle caramel sauce over the top of each cup. It adds a sweet touch and looks great. Lastly, put the cups back in the fridge. Let them chill for at least two hours. This helps the flavors meld and the cups to set.
Tips & Tricks
Best Practices for a Smooth Cream Cheese Mixture
To get a smooth cream cheese mixture, start with softened cream cheese. Cold cream cheese is hard to mix. I let it sit at room temperature for about 30 minutes. Then, beat it well until it looks creamy. Add powdered sugar slowly. This helps you avoid lumps. Mixing on low speed first can also help. Once smooth, mix in the vanilla extract. This adds a nice flavor to your base.
How to Achieve Perfectly Set Truffle Cups
Setting the truffle cups is key. After filling the cups, chill them for at least two hours. This time allows the mixture to firm up. If you want them firmer, you can chill them longer. Make sure your refrigerator is cold enough. If they are not set, they may fall apart when served. To check, gently press the top. It should feel firm but not hard.
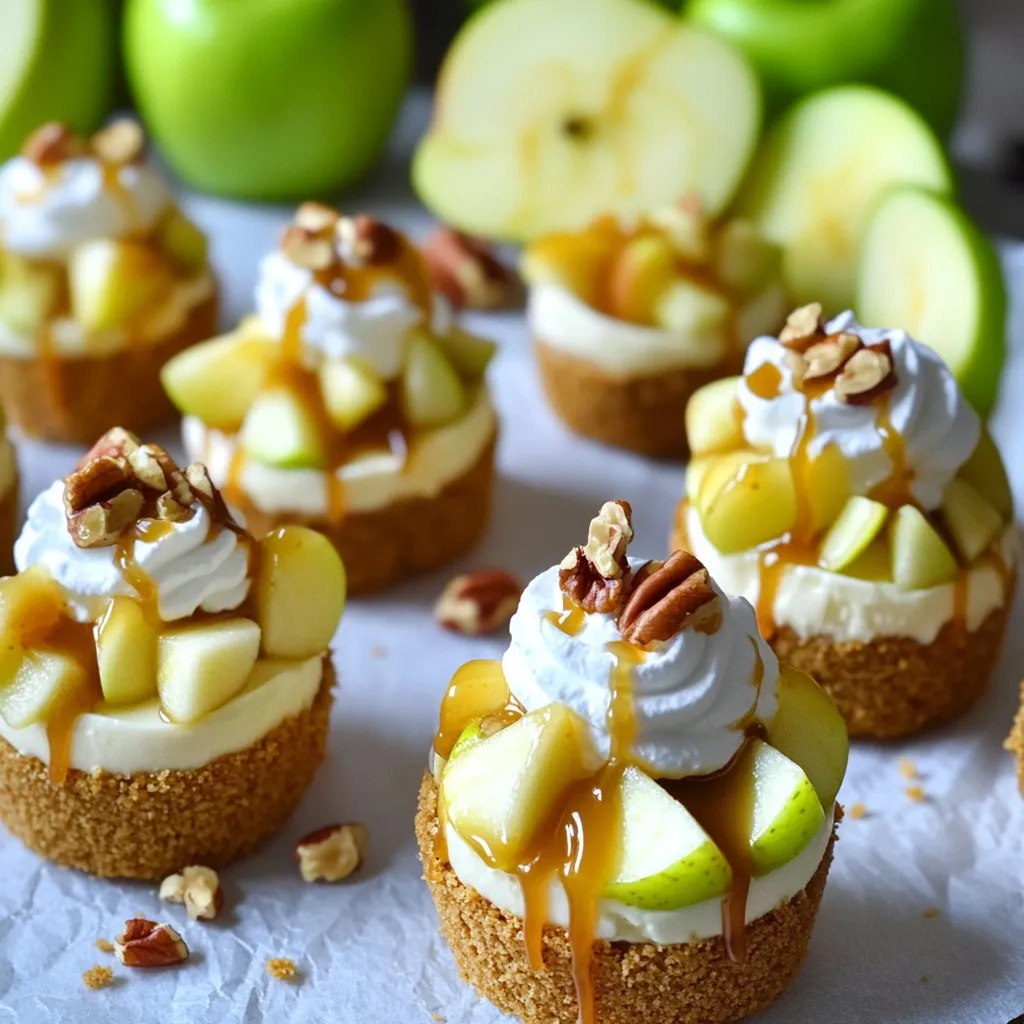
Creative Presentation Ideas
Presentation makes these cups extra special. Use mini cupcake liners for a cute look. I like to arrange them on a colorful platter. You can also add fresh apple slices around the cups. It adds color and makes the dish pop. For an extra touch, drizzle more caramel sauce on top. Sprinkle chopped nuts for crunch. These small details make your dessert stand out.
Variations
Different Fruit Additions or Substitutes
You can switch up the fruit in these cups. Instead of apples, try pears or berries. Each fruit brings a unique taste and texture. For a tropical twist, use diced pineapple or mango. Just make sure to adjust the spices according to the fruit you choose.
Alternative Crust Options
While graham crackers are classic, you can try other crusts. Use crushed cookies like Oreos for a chocolate base. A nut crust with almonds or pecans adds a rich flavor. If you want to skip the crust, serve the filling in cups for a lighter treat.
Flavor Enhancements
Add spices to jazz up the flavor. A pinch of nutmeg pairs well with cinnamon. You can also add a splash of almond or maple extract for depth. For a fun twist, mix in a little caramel flavoring to intensify the caramel taste.
Storage Info
How to Store Leftover Truffle Cups
To keep your leftover truffle cups fresh, store them in an airtight container. Place a layer of parchment paper between the cups to avoid sticking. Refrigerate them for up to four days. This keeps the flavors intact and the texture creamy.
Freezing Instructions for Truffle Cups
You can freeze these truffle cups if you want to save them for later. Wrap each cup in plastic wrap tightly. Then, place them in a freezer-safe bag or container. They can last in the freezer for up to three months. When you want to eat them, thaw them in the fridge overnight.
Shelf Life of Ingredients
Each ingredient in this recipe has a different shelf life. Here’s a quick breakdown:
– Graham cracker crumbs: Last up to six months if sealed well.
– Unsalted butter: Stays fresh in the fridge for about one month.
– Cream cheese: Good for about two weeks after opening.
– Powdered sugar: Can last indefinitely if kept dry.
– Diced apples: Best used within three days for freshness.
– Caramel sauce: Can be stored for up to a year if unopened.
By knowing how to store these truffle cups properly, you can enjoy them longer and reduce waste.
FAQs
Can I make these truffle cups ahead of time?
Yes, you can make these truffle cups a day in advance. This gives them time to chill and set properly. Just cover them with plastic wrap once they are done. Keep them in the fridge until you’re ready to serve.
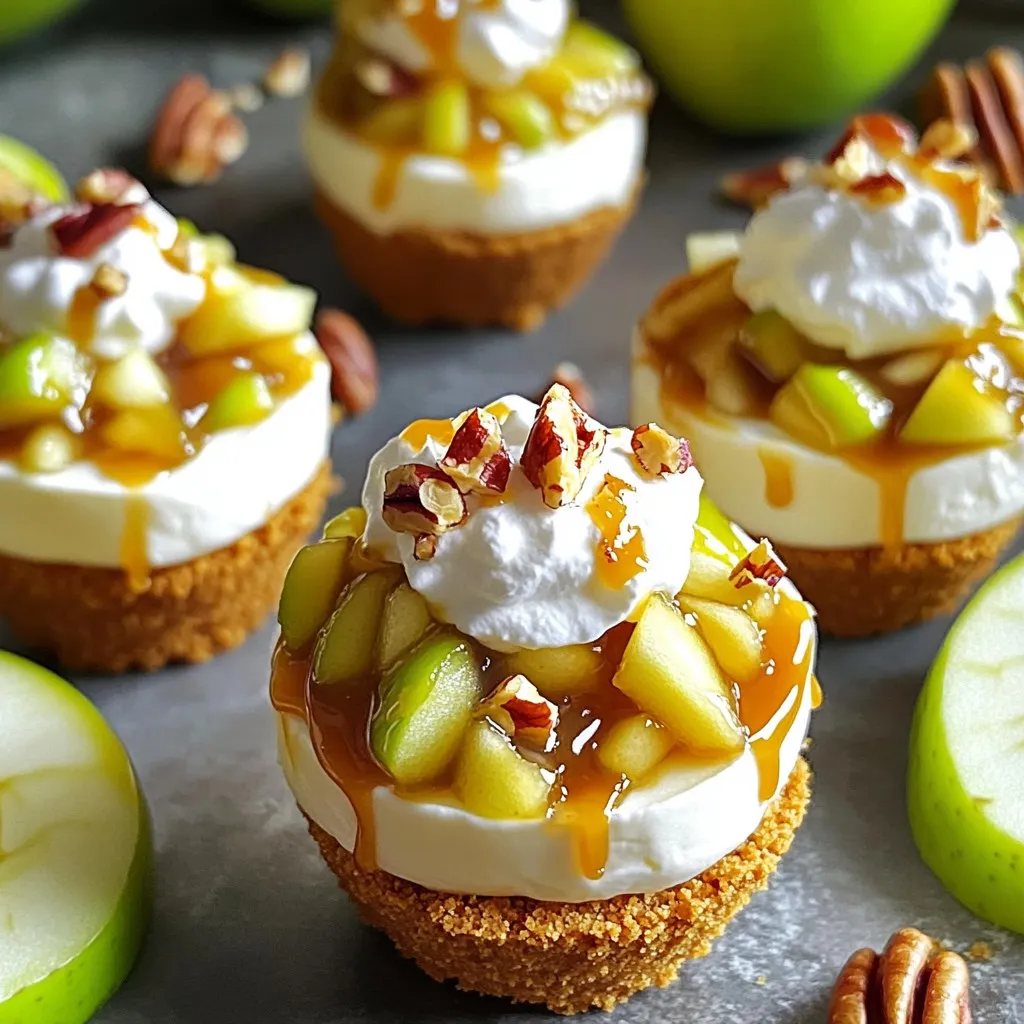
What is the best way to serve Caramel Apple Cheesecake Truffle Cups?
Serve these truffle cups chilled for the best taste. Add a dollop of whipped cream on top just before serving. Drizzle with extra caramel sauce for a sweet touch. You can also sprinkle chopped nuts for crunch. Arrange them on a nice platter to impress your guests.
How can I make these truffle cups gluten-free?
To make these truffle cups gluten-free, use gluten-free graham cracker crumbs. There are many brands available. Check the label to ensure they are safe. The rest of the ingredients are naturally gluten-free, so you’re all set!
Where can I purchase pre-made truffle cups?
You can find pre-made truffle cups at local grocery stores or specialty baking shops. Many online retailers sell them too. Look for mini cupcake liners or silicone molds that suit your needs.
You learned how to make delicious Caramel Apple Cheesecake Truffle Cups. We covered key ingredients, step-by-step instructions, and helpful tips. Remember, you can customize these treats with different fruits or crusts for fun variations. Storing leftovers is easy, and you can even freeze them for later.
With these insights, you can impress friends and family. Enjoy making and sharing this tasty dessert!