Chocolate Zucchini Bread Easy and Tasty Recipe
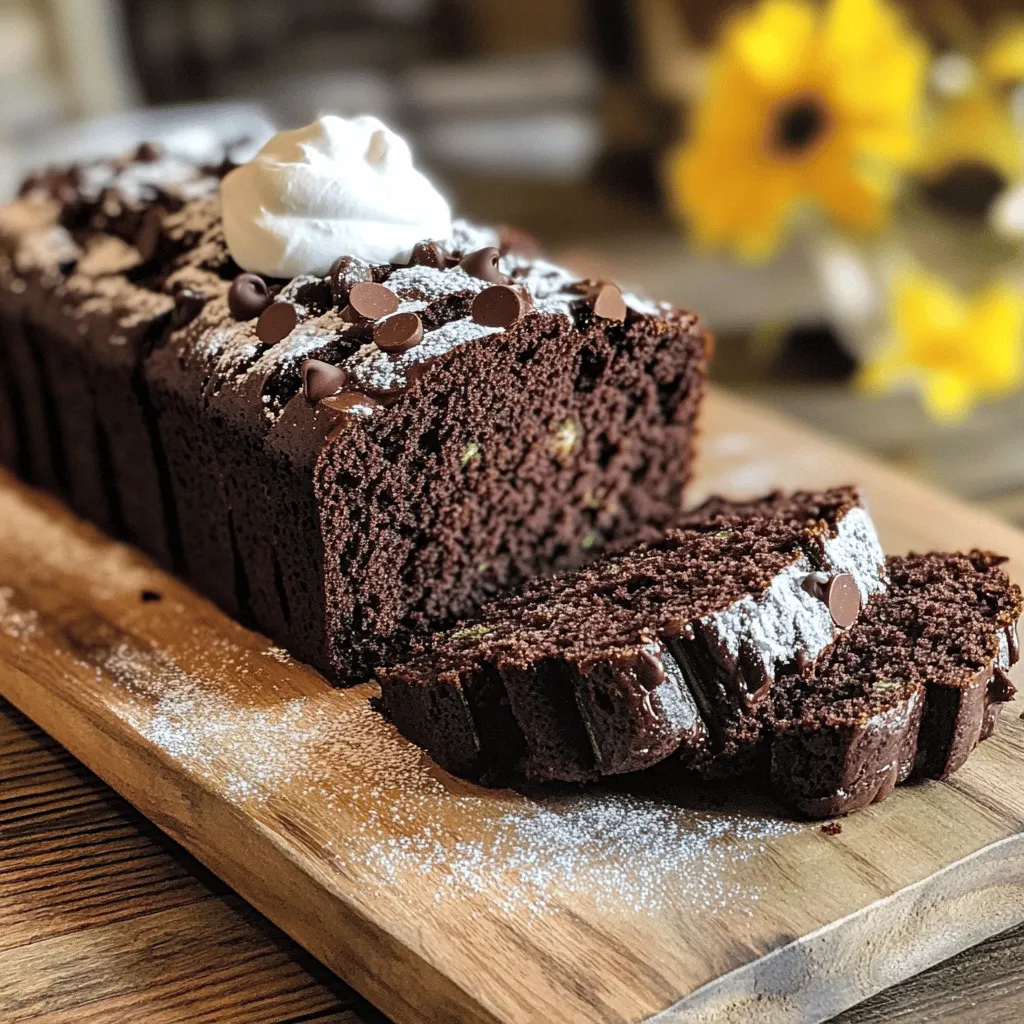
Are you ready to indulge in a sweet yet healthy treat? This easy Chocolate Zucchini Bread recipe combines rich chocolate flavor with the goodness of zucchini. You won’t even taste …
Are you ready to indulge in a sweet yet healthy treat? This easy Chocolate Zucchini Bread recipe combines rich chocolate flavor with the goodness of zucchini. You won’t even taste …
![- 6 ripe peaches, peeled and sliced - 1 cup rolled oats - 1 cup all-purpose flour - 1/2 cup brown sugar - 1/2 cup granulated sugar - 1/2 cup unsalted butter, melted - 1 teaspoon ground cinnamon - 1/4 teaspoon nutmeg - 1 tablespoon lemon juice - A pinch of salt Ripe peaches are the star of this dish. They should smell sweet and feel slightly soft. Look for peaches that are firm but give a little when you press them. Soft peaches are best for this dessert. Rolled oats give the crisp its lovely texture. They soak up the peach juices and turn golden in the oven. All-purpose flour helps bind the topping together, adding a nice crunch. - Ice cream or whipped cream - Nutmeg and cinnamon While not required, ice cream or whipped cream adds a creamy touch. They balance the sweet and tart flavors of the peaches. A sprinkle of nutmeg or extra cinnamon gives the dish a warm spice note. - Choosing the best peaches When picking peaches, smell them. If they smell sweet, they are ripe. Look for smooth skin with no bruises. The best time to buy peaches is in late summer. - Substituting sugar or butter You can swap brown sugar for coconut sugar for a different flavor. If you want a lighter crisp, use applesauce in place of butter. This change keeps it moist while cutting fat. For the Full Recipe, check the main recipe section! First, let’s get those peaches ready. I like to use ripe peaches for the best flavor. Start by peeling the peaches. You can use a knife or just blanch them in hot water for a minute. The skin will slide right off. Next, slice the peaches into thin wedges. Aim for about half an inch thick. This size helps them cook evenly. Once sliced, place the peaches in a bowl. Add one tablespoon of lemon juice. This keeps them fresh and adds a nice zing. Then, sprinkle a bit of granulated sugar and a pinch of salt. Toss gently to coat the peaches well. Now, let’s make that delicious crisp topping. In a medium bowl, combine these dry ingredients: - 1 cup rolled oats - 1 cup all-purpose flour - 1/2 cup brown sugar - 1/2 cup granulated sugar - 1 teaspoon ground cinnamon - 1/4 teaspoon nutmeg - A pinch of salt Mix these ingredients until they look well combined. Next, pour in 1/2 cup of melted butter. Use a fork or your hands to mix until crumbly. You want it to look like wet sand. This will give your crisp that perfect texture. Preheat your oven to 350°F (175°C). This step is key. A hot oven helps the crisp bake evenly. Spread the peach mixture evenly in a greased 9x13-inch baking dish. Then, sprinkle the oat topping over the peaches. Make sure to cover them completely. Bake it all in the preheated oven for 30 to 35 minutes. You’ll know it’s done when the top turns golden brown and the peaches bubble up. Once baked, remove it from the oven. Let it cool for at least 10 minutes before you dig in. Enjoy your peach crisp warm, maybe with some ice cream or whipped cream on top. For the full recipe, check the earlier section. To get the best crumbly topping, use cold butter. Cut it into small pieces and mix it with the oats and flour. This gives you that nice, crunchy texture. Don't rush this step; mix until it looks like small crumbs. For the peaches, choose ripe ones. They should feel soft but not mushy. This way, they will become tender while baking but still hold their shape. Peach crisp loves company! Serve it warm with a scoop of ice cream or a dollop of whipped cream on top. The creaminess of the ice cream pairs well with the warm peaches. For portion sizes, think about serving 1/2 cup per person. This amount is just right to enjoy without feeling too full. You can serve peach crisp warm or let it chill for a refreshing cold treat. Both ways taste great! If you want to add a little crunch, sprinkle some nuts or granola on top. This will give your dessert an extra layer of flavor and texture. You can find the full recipe to guide you through making this delightful treat. {{image_2}} To make a vegan peach crisp, you can easily swap a few ingredients. Instead of using regular butter, you can opt for plant-based butter. This keeps the rich flavor while making it dairy-free. You can also replace granulated sugar with coconut sugar or maple syrup. If you need a gluten-free peach crisp, choose gluten-free flour alternatives. Almond flour or coconut flour works well for a tasty crisp. You can also mix in gluten-free oats to keep the texture just right. When baking gluten-free, monitor the crisp closely. It may cook a bit faster than regular recipes. Peach crisp is not just for peaches! You can mix in other fruits like berries or apples. This adds fun flavors and color to your dish. When using different fruits, adjust spices to enhance their taste. For example, add a pinch of nutmeg for apples or some lemon zest for berries. For the full recipe, check the [Full Recipe]. To keep your peach crisp fresh, let it cool first. Cover it tightly with plastic wrap or foil. Store it in the fridge for up to three days. If you want to save it longer, freeze it. Cut the crisp into portions, wrap each piece tightly, and place them in an airtight container. It will last in the freezer for up to three months. Reheating peach crisp is easy. You can use an oven or a microwave. For the oven, preheat it to 350°F (175°C). Place the crisp in an oven-safe dish and cover it with foil. Heat for about 15-20 minutes. This keeps the topping crispy. If using a microwave, heat a single portion for 30 seconds to 1 minute. This method may soften the topping, so serve with a scoop of ice cream to add texture. In the fridge, peach crisp stays fresh for about three days. Signs of spoilage include a sour smell or mold. If you see these signs, it’s best to throw it away. Always check for freshness before enjoying your delicious dessert again. To peel peaches easily, you can use two methods. First, blanch them. Boil water and add the peaches for about 30 seconds. Then, place them in ice water. The skin will slip right off. Second, you can use a sharp knife. Cut a small "X" on the bottom of each peach. This helps the skin to peel off more easily. Yes, you can prepare peach crisp ahead of time. You can mix the peaches and store them in the fridge for up to one day. For the topping, you can make it and keep it in a separate container. When you are ready, just combine them and bake it fresh. This way, you save time on busy days. You can tell your peach crisp is done by its color and smell. Look for a golden brown top. The peaches should bubble around the edges. You can also insert a fork. If it goes in easily, the peaches are tender. Enjoy the sweet aroma as it bakes! Peach crisp is a delightful dessert that combines ripe peaches with a crumbly topping. We discussed key ingredients, including rolled oats and all-purpose flour. You learned step-by-step instructions for making this treat, ensuring perfect texture and flavor. There are tips for vegan and gluten-free options, plus creative serving ideas. In the end, peach crisp is simple and fun to make. Feel free to experiment with flavors and toppings. Enjoy every bite, whether you serve it warm or cold. Happy baking!](https://stirredrecipes.com/wp-content/uploads/2025/06/dea560e6-8f68-4ac6-846b-92f3cb693740.webp)
Craving a sweet treat that shines at any gathering? Look no further than peach crisp! This delightful dessert combines juicy, ripe peaches with a crunchy topping, making it a crowd …
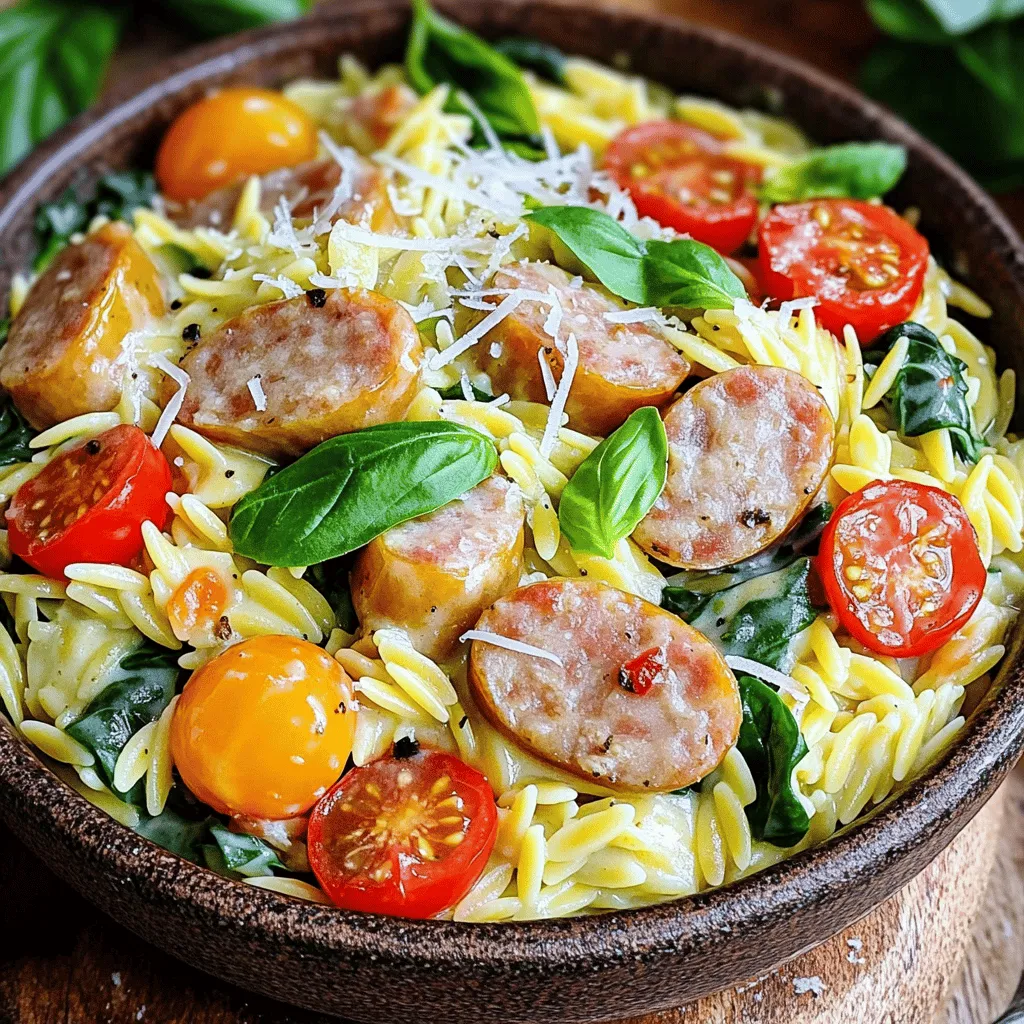
Looking for a quick, tasty dinner idea? You’ll love Creamy Chicken Sausage Orzo! This dish combines rich flavors and creamy goodness in every bite. I’ll show you how to pick …
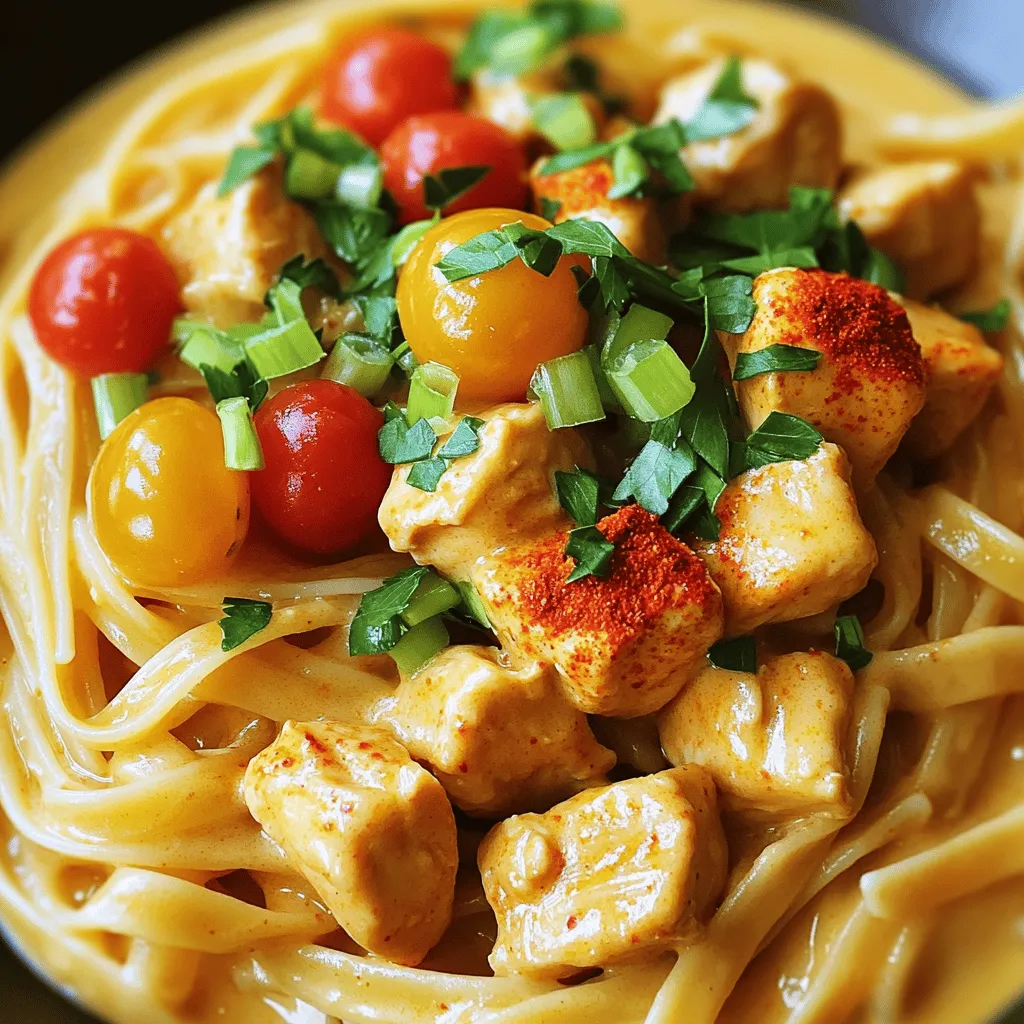
Ready for a meal that’s both savory and easy? My Quick Cowboy Butter Chicken Linguine hits the spot! With vibrant flavors and simple steps, this dish is perfect for busy …
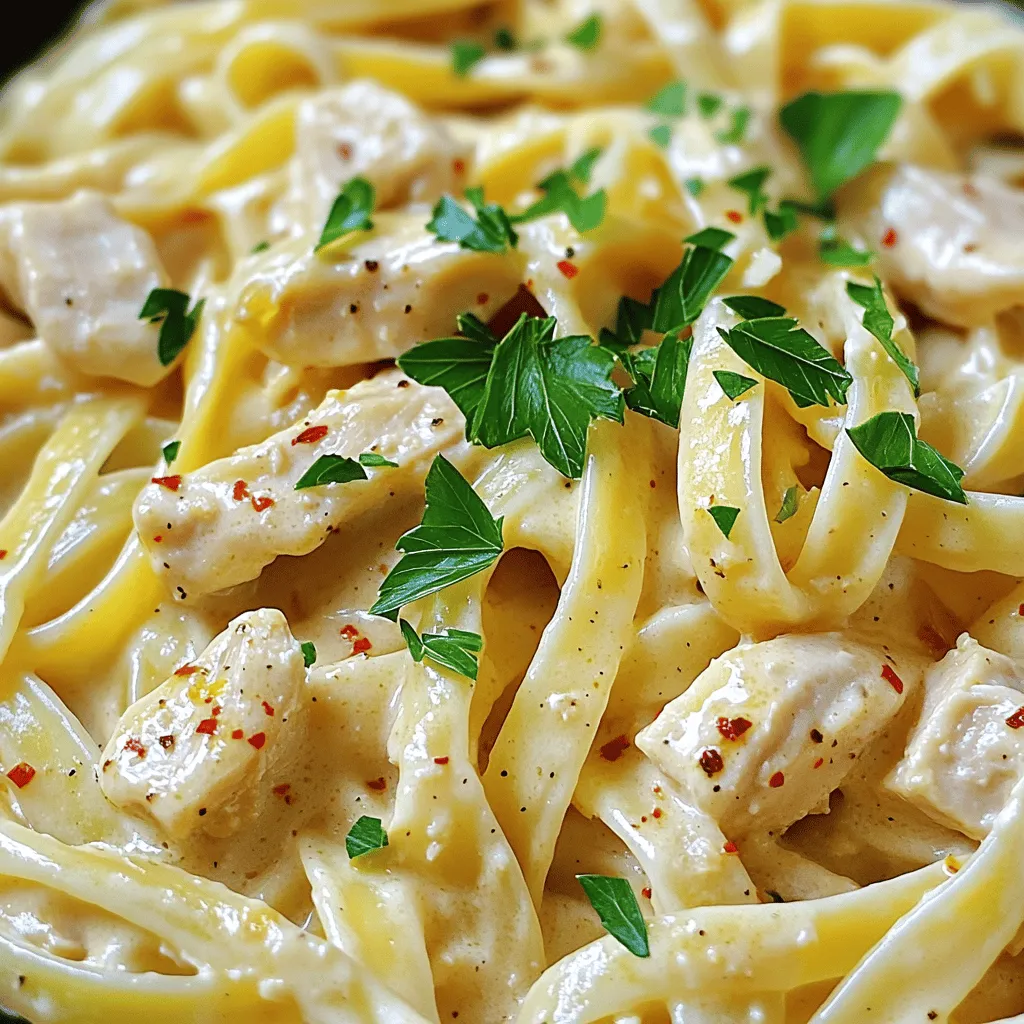
Are you ready to savor a rich and tasty meal? This Creamy Chicken Garlic Parmesan Pasta is your next go-to dish. Packed with flavor and easy to make, it’s perfect …
![- 4 chicken sausages - 2 medium zucchinis, sliced into half-moons - 1 pint cherry tomatoes, halved Chicken sausages are lean and flavorful. They bring a juicy taste to this dish. Use fresh chicken sausages for the best results. Zucchini adds nice texture and absorbs flavors well. The cherry tomatoes give a sweet burst when cooked, making them a great addition. - 3 cloves garlic, minced - 2 tablespoons olive oil - 1 teaspoon dried oregano - 1 teaspoon smoked paprika Garlic adds depth and aroma. Olive oil helps in roasting the vegetables and gives richness. Dried oregano provides a classic flavor, while smoked paprika adds a hint of smokiness. These ingredients work together to elevate the taste of the dish. - Salt and pepper - Fresh basil leaves for garnish Salt and pepper are essential for enhancing all flavors. Fresh basil leaves add a bright finish. You can sprinkle them on top just before serving. Feel free to adjust the seasoning to suit your taste. For the full recipe, click here. - Preheating the oven Start by preheating your oven to 400°F (200°C). This helps cook everything evenly. - Preparing vegetables Slice the zucchinis into half-moons. Halve the cherry tomatoes. Mince the garlic. Place all these in a large bowl. - Roasting in the oven Drizzle olive oil over the veggies. Add oregano, smoked paprika, salt, and pepper. Toss everything well to coat. Spread the veggies on a baking sheet. Nestle the chicken sausages among them. Bake for 25-30 minutes. Stir halfway for even cooking. - Mixing and garnishing After baking, let everything cool for a few minutes. Slice the sausages into bite-sized pieces. Mix the sausages with the roasted veggies on the baking sheet. - Transfer to serving platter Carefully transfer the mixture to a serving platter. It looks colorful and inviting. - Optional garnishes For a fresh touch, add torn basil leaves on top. They give a burst of flavor. For more details, check the Full Recipe. Choosing quality chicken sausages I always look for chicken sausages made from lean chicken breast. They should be fresh and free from fillers. Check the label for simple ingredients. Quality matters for taste! Optimal zucchini and tomato selection Choose firm zucchinis without soft spots. For tomatoes, pick plump cherry tomatoes. Their sweetness enhances the dish. Fresh veggies make a big difference in flavor. Ensuring even cooking Cut the zucchini into similar sizes. This helps them cook evenly. Spread the veggies and sausages out on the baking sheet. This allows hot air to circulate and cook everything well. Tips for perfect seasoning Don't be shy with the seasoning. Olive oil helps the spices stick. A mix of salt, pepper, oregano, and smoked paprika adds depth. Taste as you go to find your perfect balance. Pairing suggestions Serve this dish with crusty bread or a side salad. A light vinaigrette can brighten the meal. You may also enjoy it with a glass of white wine. Additional side dishes Try pairing it with quinoa or couscous. These sides soak up the delicious juices. You can also add a fresh herb salad for a tasty contrast. For the full recipe, check out the section above. {{image_2}} You can switch up the chicken sausages for other types. Pork or turkey sausages work well. They add different flavors and textures. If you want a spicy kick, try chorizo. Adding other vegetables can also change the dish. Bell peppers, onions, or spinach are great choices. They add color and taste. You can use any veggies you like. Just remember to cut them into similar sizes for even cooking. Herbs and spices can really change the taste. If you love freshness, try thyme or rosemary. For a bit of heat, add red pepper flakes. You can even mix herbs for a unique flavor. Incorporating cheese or nuts can add richness. Feta or goat cheese crumbles work nicely. They melt a bit, adding creaminess. Toasted pine nuts or walnuts also add a nice crunch. Sprinkle them on top before serving for added texture. You can grill the chicken sausages instead of baking them. This gives a smoky flavor and nice grill marks. Just cook them on medium heat until they are done. Skillet cooking is another option. Heat a bit of oil in a pan, then cook the sausages. Add the zucchinis and tomatoes halfway through. This method gives you a nice, caramelized finish. For the full recipe, check out the [Full Recipe]. To keep your chicken sausages with zucchini and tomatoes fresh, store leftovers in a sealed container. Place them in the fridge within two hours of cooking. This helps prevent bacteria growth. Use the leftovers within three to four days for the best taste and safety. For longer storage, you can freeze the dish. Allow it to cool completely before freezing. Transfer the cooled mixture to a freezer-safe container. Make sure to leave some space at the top, as liquids expand when frozen. This dish can last up to three months in the freezer. Reheating your meal properly keeps it tasty. To reheat, you can use the oven or microwave. If using the oven, preheat it to 350°F (175°C). Place the mixture in an oven-safe dish and cover it with foil. Heat for about 15-20 minutes, checking to ensure it warms evenly. In the microwave, use a microwave-safe bowl. Heat in short intervals of one to two minutes, stirring in between. This helps maintain the flavor and texture of the chicken sausages and vegetables. The shelf life of this dish depends on how you store it. In the fridge, the chicken sausages with zucchini and tomatoes last three to four days. If you freeze it, the shelf life extends to about three months. Always check for any signs of spoilage before consuming leftovers. Enjoy this full recipe to make the most of your meal prep! You should cook chicken sausages with zucchini and tomatoes for 25 to 30 minutes in the oven. This time allows the sausages to cook fully and the veggies to become tender. Always check that the sausages reach an internal temperature of 165°F (74°C) for safety. While cooking, stir the vegetables halfway through to ensure even roasting. Yes, you can prepare this recipe ahead of time. You can chop the zucchini and halve the tomatoes a day before. Store them in an airtight container in the fridge. You can also season the chicken sausages and mix them with the veggies. Cover the dish and keep it in the fridge until you are ready to cook. This dish is great for meal prep! You can divide the cooked chicken sausages and veggies into meal containers. Store them in the fridge for up to four days. To keep it fresh, let it cool before you seal the containers. You can reheat the meals in the microwave or oven when you're ready to eat. This recipe is healthy and tasty. Each serving has about 350 calories. You get lean protein from the chicken sausages, which helps build muscle. Zucchini offers fiber, while tomatoes provide vitamins A and C. This meal is balanced and full of nutrients, making it a smart choice for any meal. This blog post guides you through a simple and healthy recipe. You learned about key ingredients like chicken sausages, zucchini, and cherry tomatoes. We explored easy steps for preparation, cooking, and serving suggestions. I shared tips for selecting top ingredients and variations for extra flavor. You now know how to store leftovers properly and answered common questions. Cooking should be fun and tasty. Enjoy experimenting with this dish to suit your taste!](https://stirredrecipes.com/wp-content/uploads/2025/06/7f7b7f14-a20f-4b76-895a-daa96aaab85c.webp)
Are you ready to spice up your dinner with a tasty, healthy dish? This recipe for flavorful chicken sausages with zucchini and tomatoes is easy and fun to make! We’ll …

Craving a sweet, juicy dessert that feels like a warm hug? Look no further! I’m excited to share my go-to recipe for the best peach cobbler. It’s easy to make, …
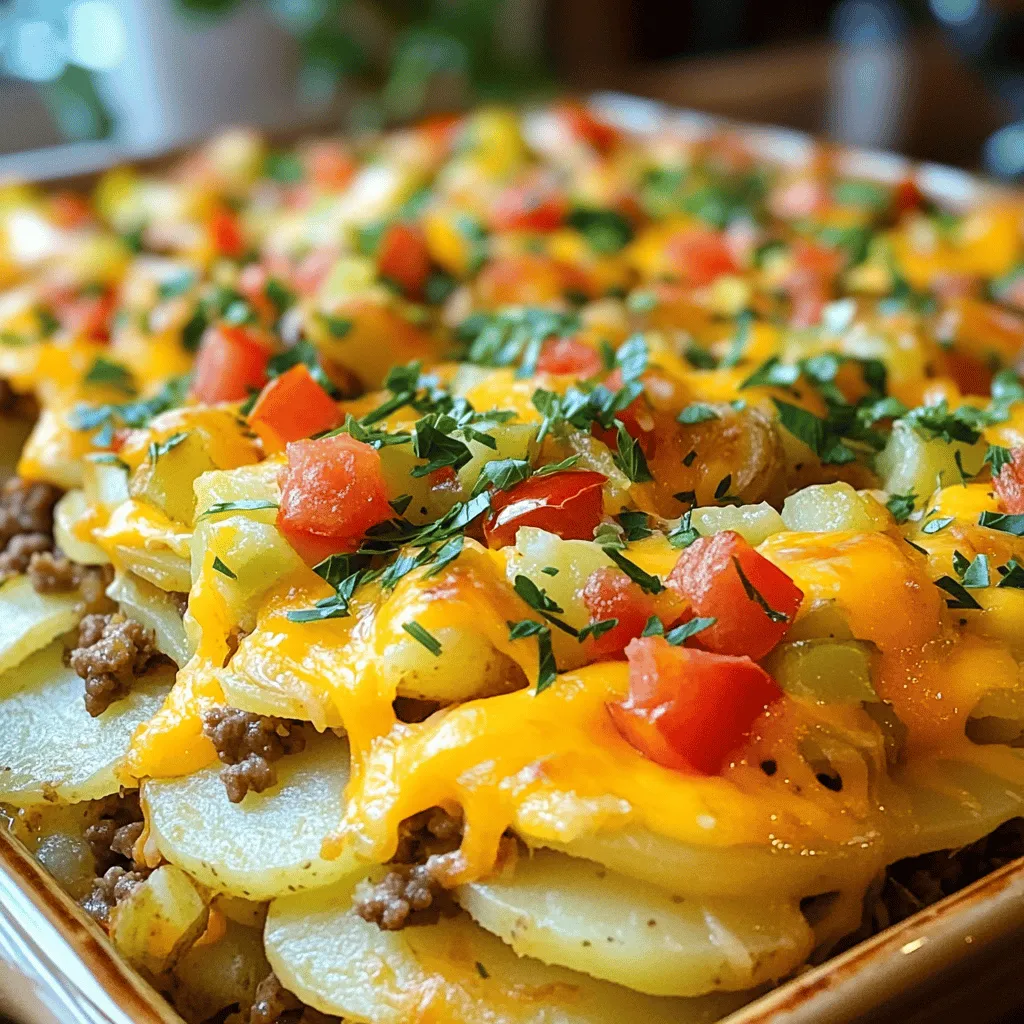
Are you looking for a meal that brings comfort and warmth? Hobo Casserole with Ground Beef is your answer. This hearty dish combines simple ingredients to create a satisfying meal …

If you crave a cozy meal that satisfies, look no further than Chicken Burrito Casserole. With layers of tender chicken, savory rice, and gooey cheese, this dish creates the perfect …

Are you ready to indulge in the warm, sweet aroma of homemade cinnamon rolls? In this guide, I’ll show you step-by-step how to create soft and luscious rolls that melt …