Pickled Radishes for Flavorful and Tangy Snacks
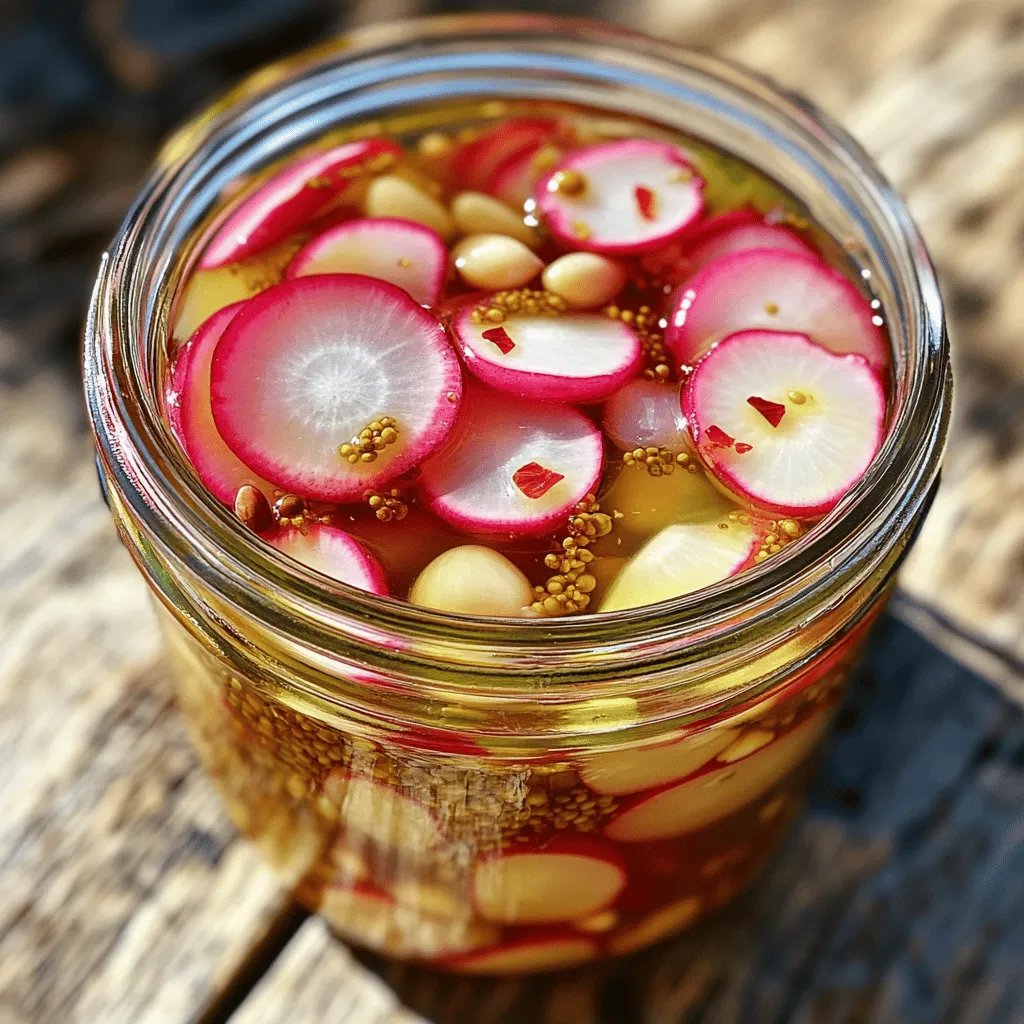
Are you ready to add a burst of flavor to your snacking? Pickled radishes are the perfect blend of tangy and crunchy, making them a delightful treat you can enjoy …
Are you ready to add a burst of flavor to your snacking? Pickled radishes are the perfect blend of tangy and crunchy, making them a delightful treat you can enjoy …
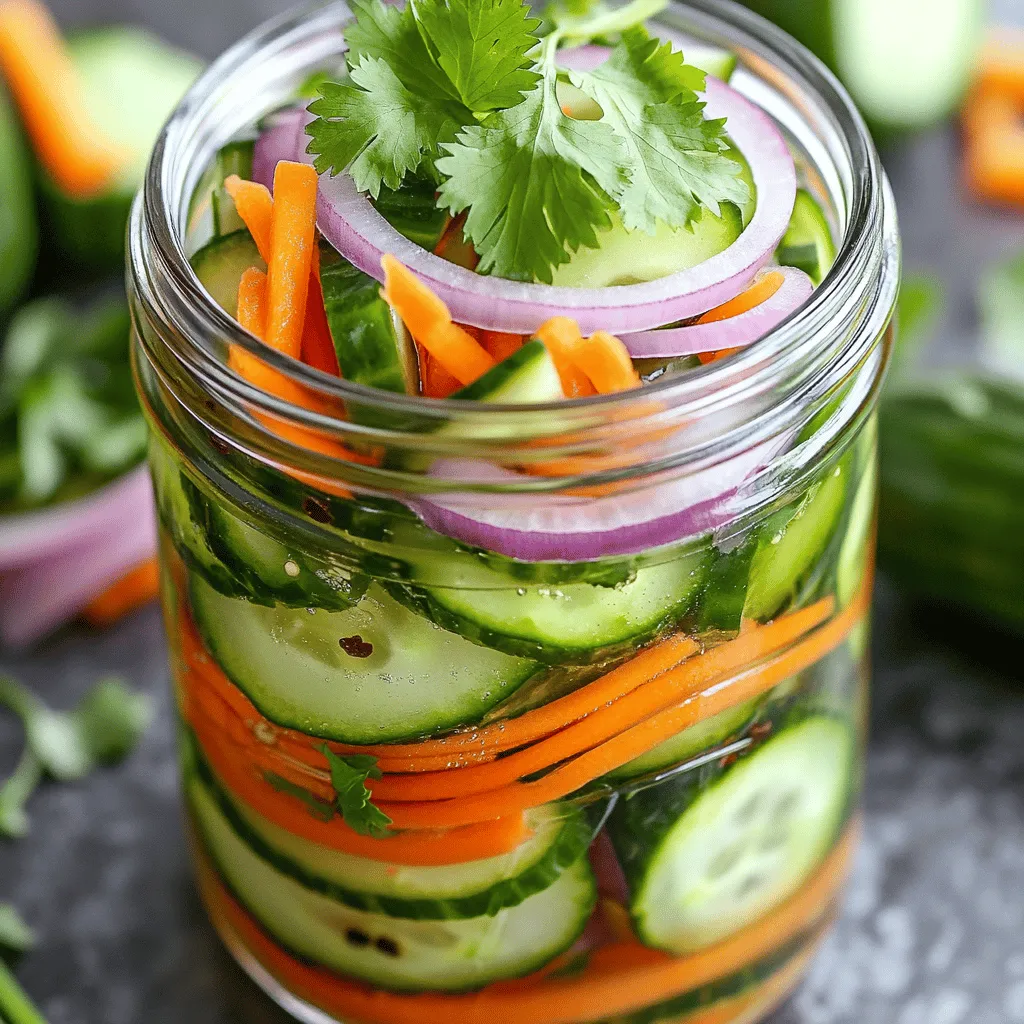
Are you ready to spice up your meals with a zesty twist? Taco pickles are your new best friend! These crunchy delights are packed with flavor and easy to make …
![- 2 cups penne pasta - 1 lb boneless skinless chicken breasts, diced - 2 cups broccoli florets - 1 cup heavy cream - 1 cup grated Parmesan cheese - 1 tablespoon olive oil - 2 cloves garlic, minced - Salt and pepper to taste - 1 teaspoon Italian seasoning - ½ teaspoon red pepper flakes - Fresh parsley for garnish When I create Creamy Broccoli and Chicken Penne, I focus on fresh ingredients. The penne pasta serves as a great base, soaking up the creamy sauce. I always choose boneless, skinless chicken breasts for their tenderness. Diced into bite-sized pieces, they cook quickly and blend well with the flavors. Broccoli florets add color and crunch. They cook quickly, so they stay bright green and tasty. The heavy cream is key to making this dish rich and smooth. Parmesan cheese thickens the sauce, adding a savory touch. In the seasoning category, I love using olive oil to cook the chicken. Garlic brings out the best in the other ingredients. Salt and pepper are essential for flavor, making the dish more enjoyable. For those who want to elevate their meal, the optional add-ins can make a big difference. Italian seasoning adds warmth and depth. Red pepper flakes can give a hint of heat, perfect for spice lovers. Finally, a sprinkle of fresh parsley brightens the dish and adds a pop of color. For the full recipe, check out the detailed steps to make this dish shine! - Bring a large pot of salted water to a boil. - Cook penne pasta until al dente (10-12 minutes). Start by boiling the water with salt. This adds flavor to the pasta. Once boiling, add the penne. Stir it gently to prevent sticking. Cook until it’s firm yet tender, or al dente. This means it has a slight bite to it. - Sauté diced chicken in olive oil until golden brown (5-7 minutes). - Add garlic and cook for 1-2 minutes. In a large skillet, heat the olive oil over medium heat. Add your diced chicken. Let it cook until it turns golden brown. This takes about 5 to 7 minutes. Season with salt and pepper for extra flavor. Next, add the minced garlic. Cook for 1 to 2 minutes until it smells great. - Stir in broccoli florets and cook until tender (3-4 minutes). - Combine heavy cream and Parmesan cheese; stir until creamy. Now, toss in the broccoli florets. Cook them for about 3 to 4 minutes. They should be bright green and tender. Reduce the heat and pour in the heavy cream. Keep stirring as you add the grated Parmesan cheese. Mix until it becomes creamy and smooth. - Drain pasta and toss with chicken and sauce mixture. - Ensure pasta is well coated before serving. Once the pasta is ready, drain it well. Add it to the skillet with the creamy chicken and broccoli. Toss everything together. Make sure the pasta is coated well with the sauce. Serve hot, and enjoy this creamy broccoli and chicken penne delight! For the complete recipe, check out the Full Recipe. - Use fresh ingredients for the best flavor. Fresh broccoli and chicken make a big difference. - Adjust seasoning to match your taste. Try adding more salt or pepper if needed. - Don’t overcook the broccoli. It should stay bright green and a bit crunchy. - Reserve some pasta water before draining. This helps if your sauce is too thick. - Pair your dish with garlic bread for a tasty meal. A fresh salad also works well. - Add chili flakes for extra heat. It gives a nice kick if you like spice. {{image_2}} You can make Creamy Broccoli and Chicken Penne a bit healthier. Try using whole wheat penne. This adds more fiber to your dish. Fiber helps with digestion and keeps you full longer. You can also switch to low-fat cream options. This change will lighten up the dish without losing the creamy flavor you love. Feel free to be creative with your vegetables! You can add bell peppers for a sweet crunch. Spinach brings a nice pop of color and nutrients. Peas can add a touch of sweetness as well. Don’t hesitate to experiment with seasonal veggies. Each season offers new flavors to enjoy in your creamy pasta. If you want to change the protein, that’s easy! You can swap out the chicken for shrimp. Shrimp cooks fast and adds a seafood twist. Turkey is another great option that is leaner than chicken. For those who prefer a plant-based meal, try using plant-based chicken. It gives you that meaty texture while keeping it vegetarian. For the full recipe, check out the [Full Recipe]. You can store leftovers of Creamy Broccoli and Chicken Penne in an airtight container. Keep it in the fridge for up to 3 days. This helps keep the dish fresh and safe to eat. If you have extra sauce, it’s best to keep it separate to avoid soggy pasta. To save some for later, freeze the penne in individual servings. You can keep it in the freezer for up to 2 months. When you're ready to eat, thaw it in the fridge overnight. Reheat gently to keep the creaminess you love. Reheating is key to enjoying this dish again. Use a skillet and add a splash of water or cream. This keeps the pasta moist and the sauce smooth. You can also use the microwave on low heat. Make sure to stir occasionally for even heating. Yes, you can prepare the dish in advance and store it in the fridge. I often make this dish a day ahead. It holds up well and tastes great. Just store it in an airtight container. When you’re ready to eat, simply reheat it in a skillet over low heat. This makes it easy to enjoy a quick meal later. To keep the sauce smooth, stir continuously and keep the heat low after adding the cream. I always find that a gentle touch works wonders. If you let the heat get too high, the cream may separate. So, patience is key here. A steady hand with the stirring will ensure a rich, creamy sauce. Yes, but adjust cooking time to ensure it’s tender but not mushy. Frozen broccoli is a great option for a quick meal. It cooks faster than fresh, so keep an eye on it. Add it to the skillet in the last few minutes of cooking. This way, it will stay bright and flavorful. This recipe shows how to make a tasty Creamy Broccoli and Chicken Penne. You learned about the key ingredients, including pasta, chicken, and broccoli. We covered easy steps to cook everything right. Plus, I shared tips for making it even better. Try adding veggies or using different proteins for fun twists. Enjoy your meal, and remember that leftovers can be stored easily. Now, get cooking and enjoy every bite!](https://stirredrecipes.com/wp-content/uploads/2025/06/edec0afe-06d7-45c3-8604-c7bf7c99ac4d.webp)
If you’re searching for a comforting and easy meal, look no further! My Creamy Broccoli and Chicken Penne is packed with flavor and perfect for any night of the week. …
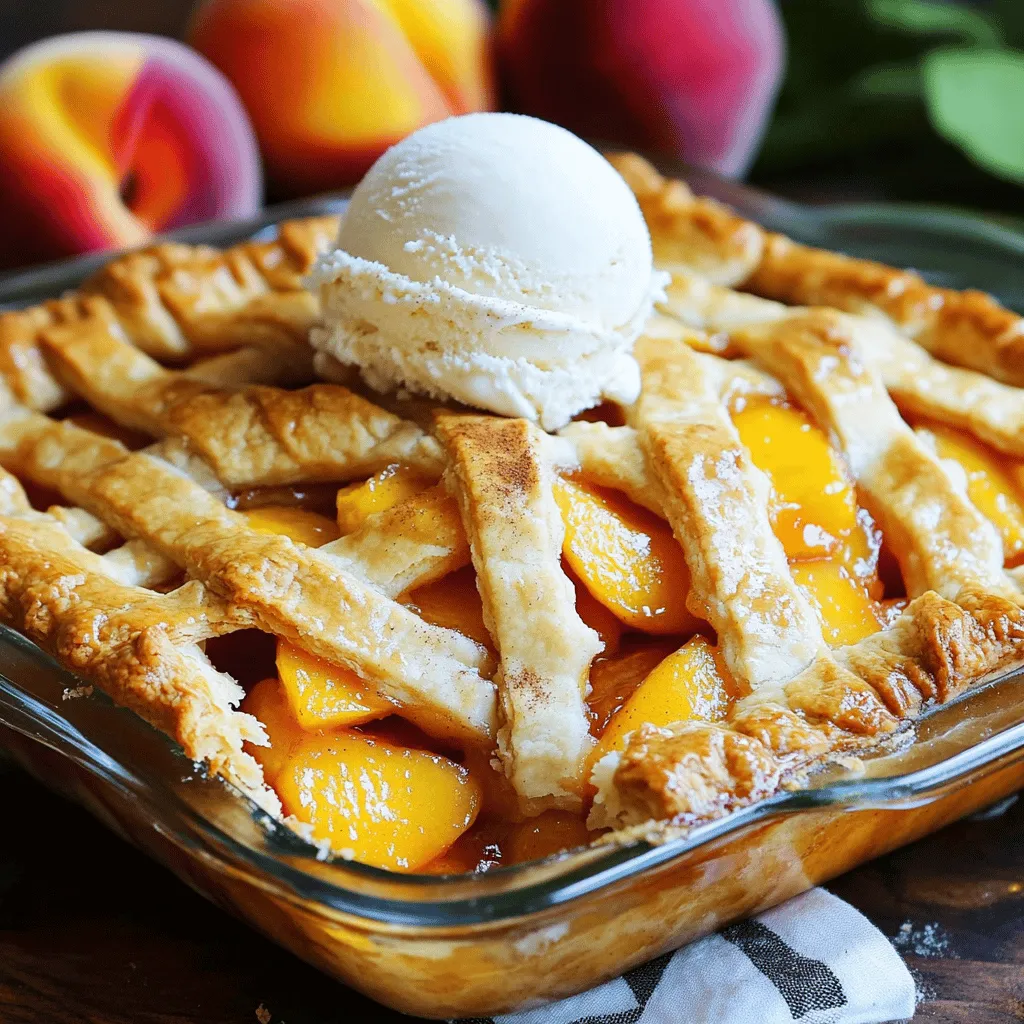
Are you ready to impress your family and friends with a dessert that’s both delicious and easy to make? This Triple Crust Peach Cobbler is packed with fresh peaches and …
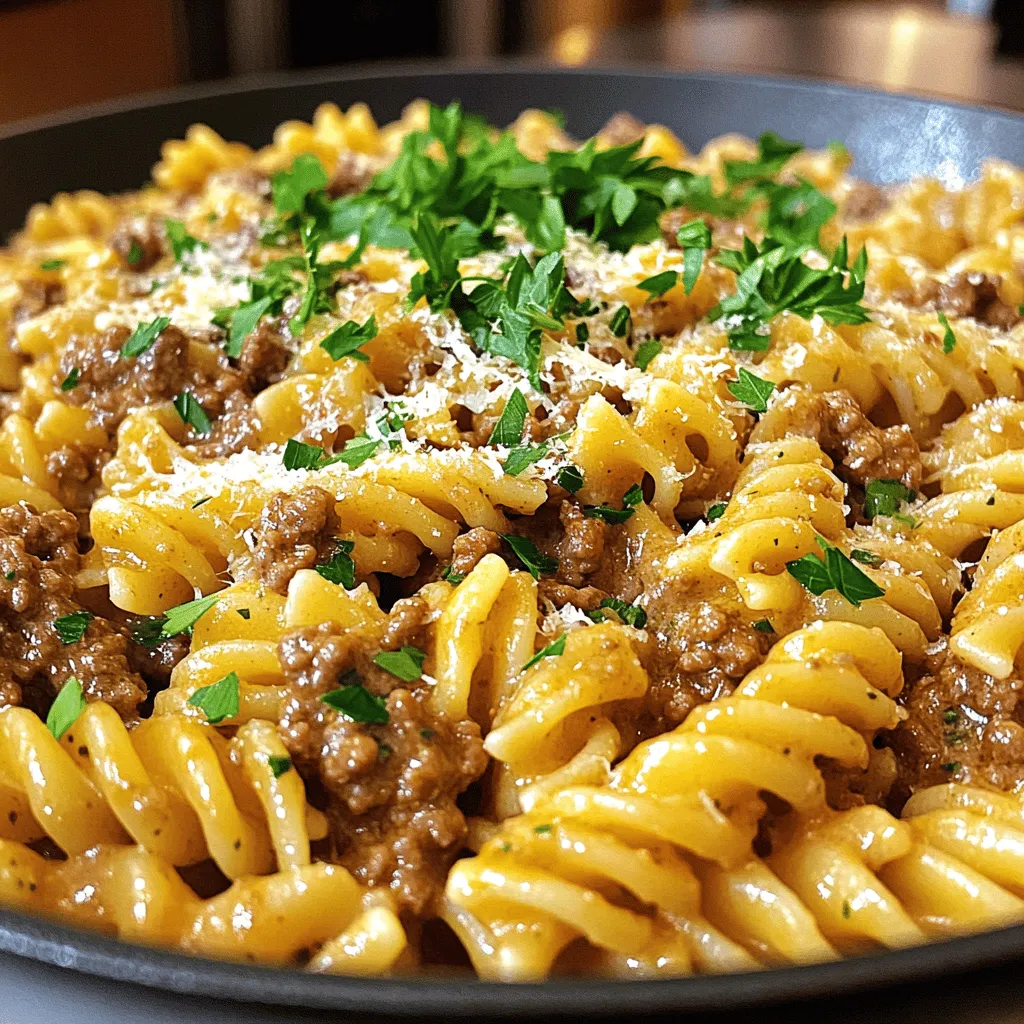
Are you ready to whip up a meal that’s both quick and delicious? This Savory Beef and Rotini in Garlic Parmesan Sauce is the answer! With simple ingredients like ground …

Have too much zucchini and don’t know what to do? You’re not alone! These delicious zucchini bread muffins are the perfect solution. They are moist, sweet, and easy to make. …

If you crave a fulfilling dish that warms the soul, look no further than Japanese Katsu Bowls with Tonkatsu Sauce. This dish combines crispy, juicy protein with a savory sauce, …
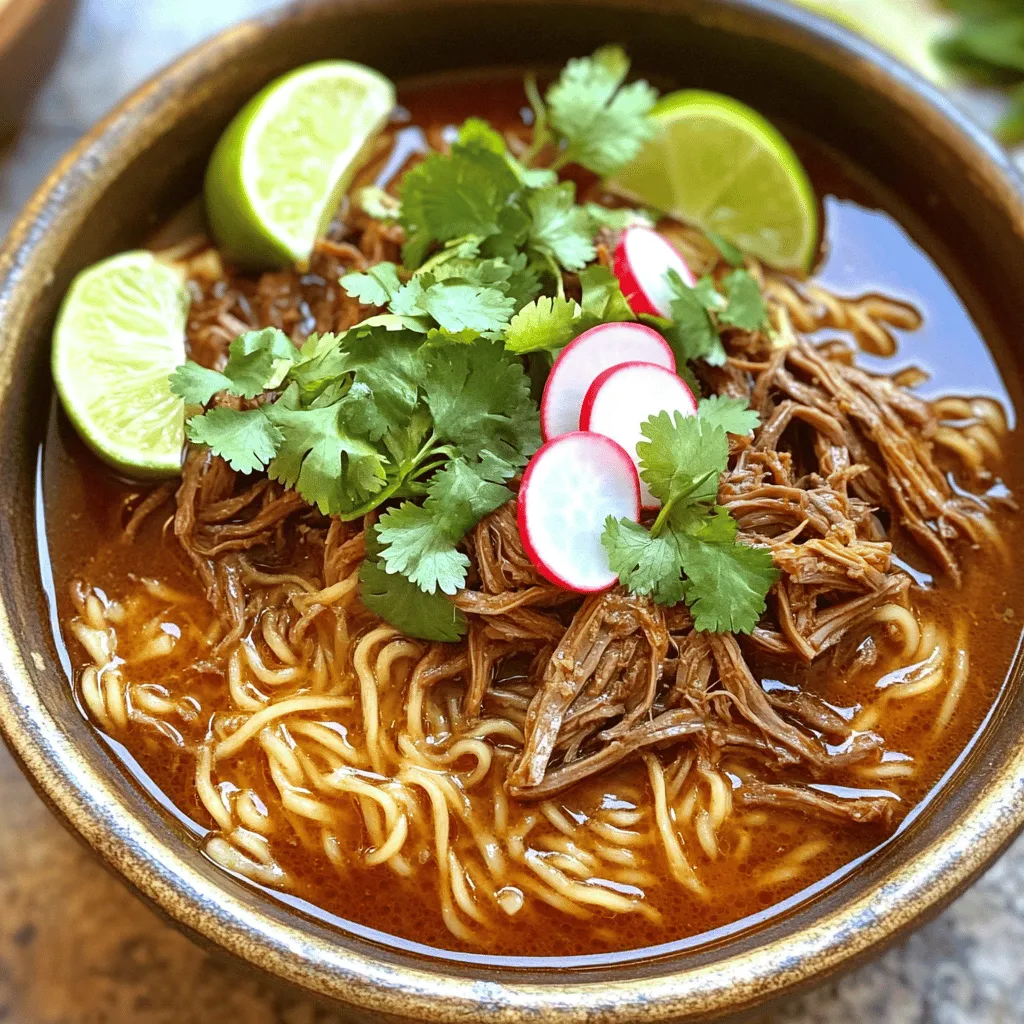
Are you ready to dive into a warm, comforting bowl of Savory Birria Ramen? This dish combines the rich flavors of traditional birria with tender ramen noodles, creating a meal …
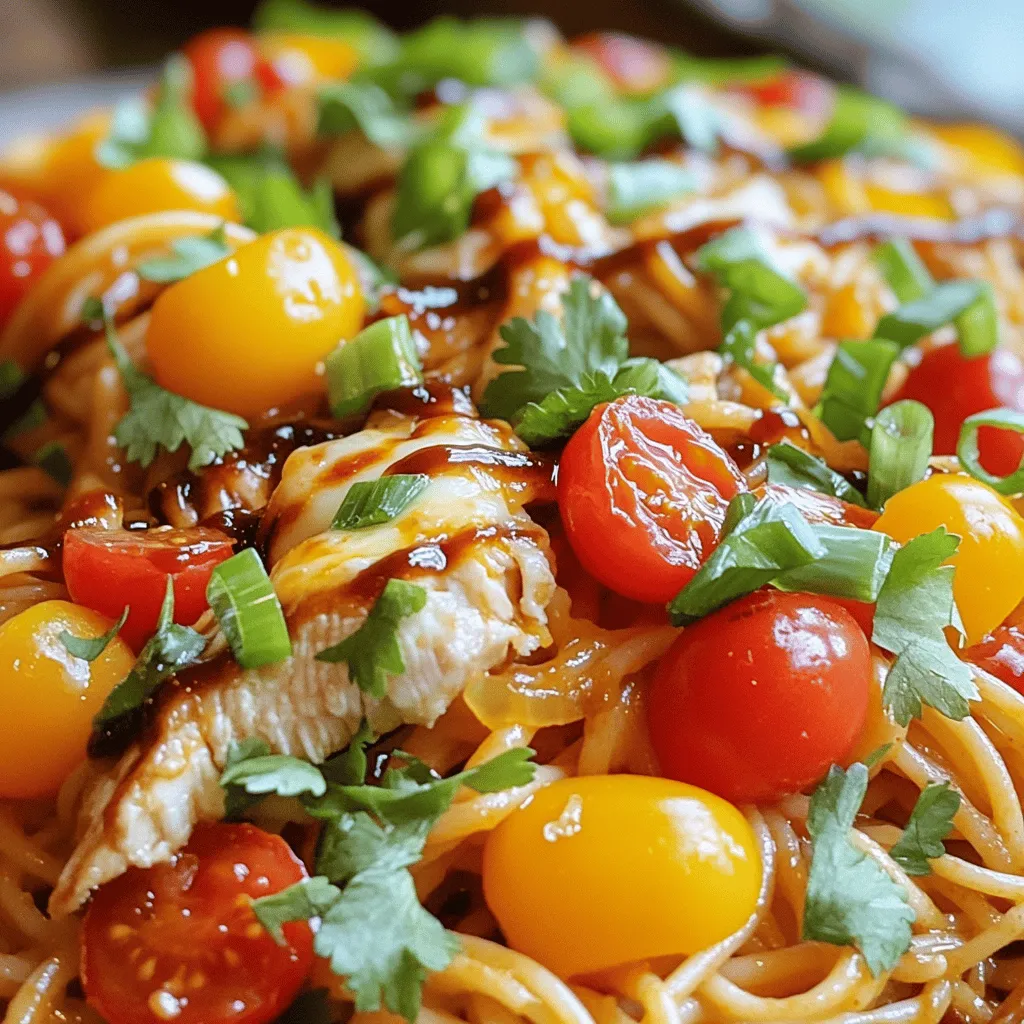
Are you ready to elevate your dinner game? This Monterey Chicken Spaghetti is a flavor explosion you’ll want on repeat. With juicy grilled chicken, fresh veggies, and tangy BBQ sauce, …
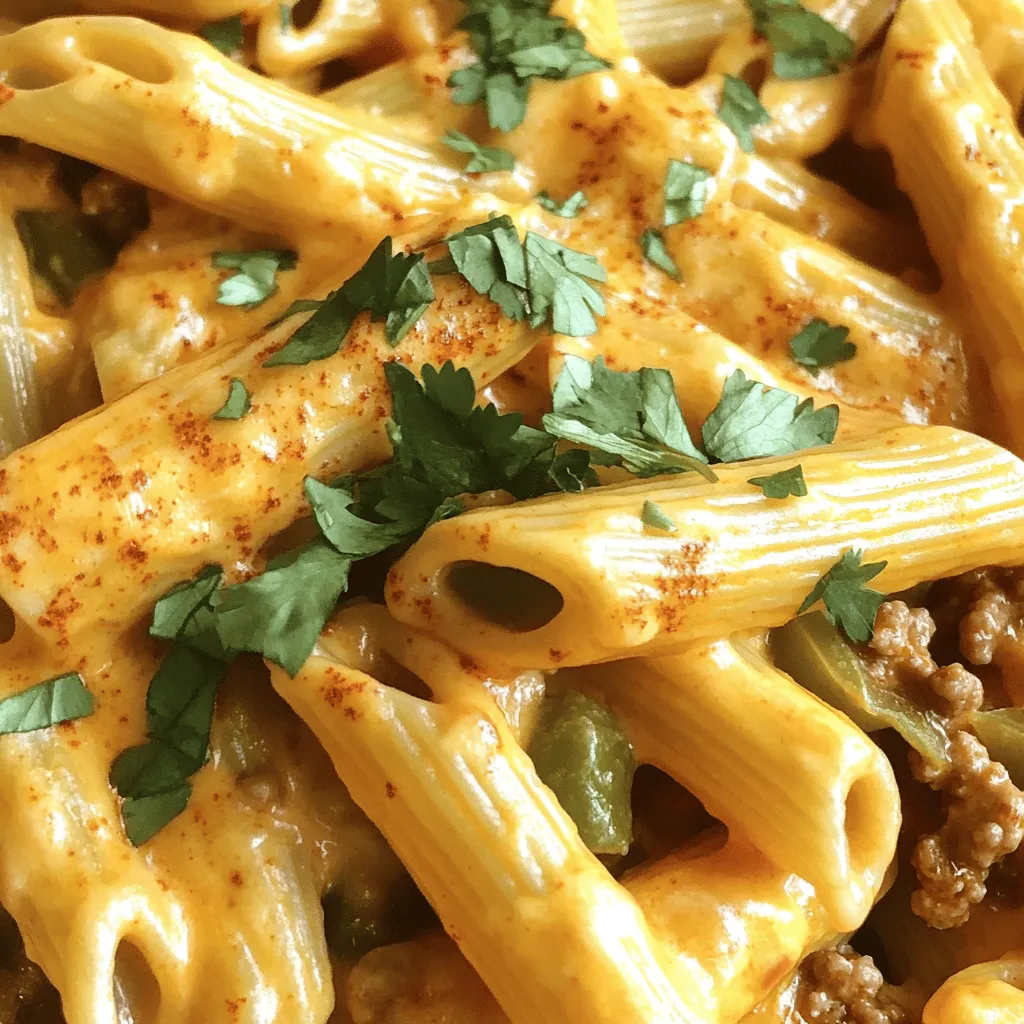
Looking for a quick and satisfying meal? You’re in the right place! My Creamy Rotel Pasta with Ground Beef is a perfect blend of flavors and texture. This dish combines …