Crispy Chickpea Kale Caesar Salad Air Fryer Delight
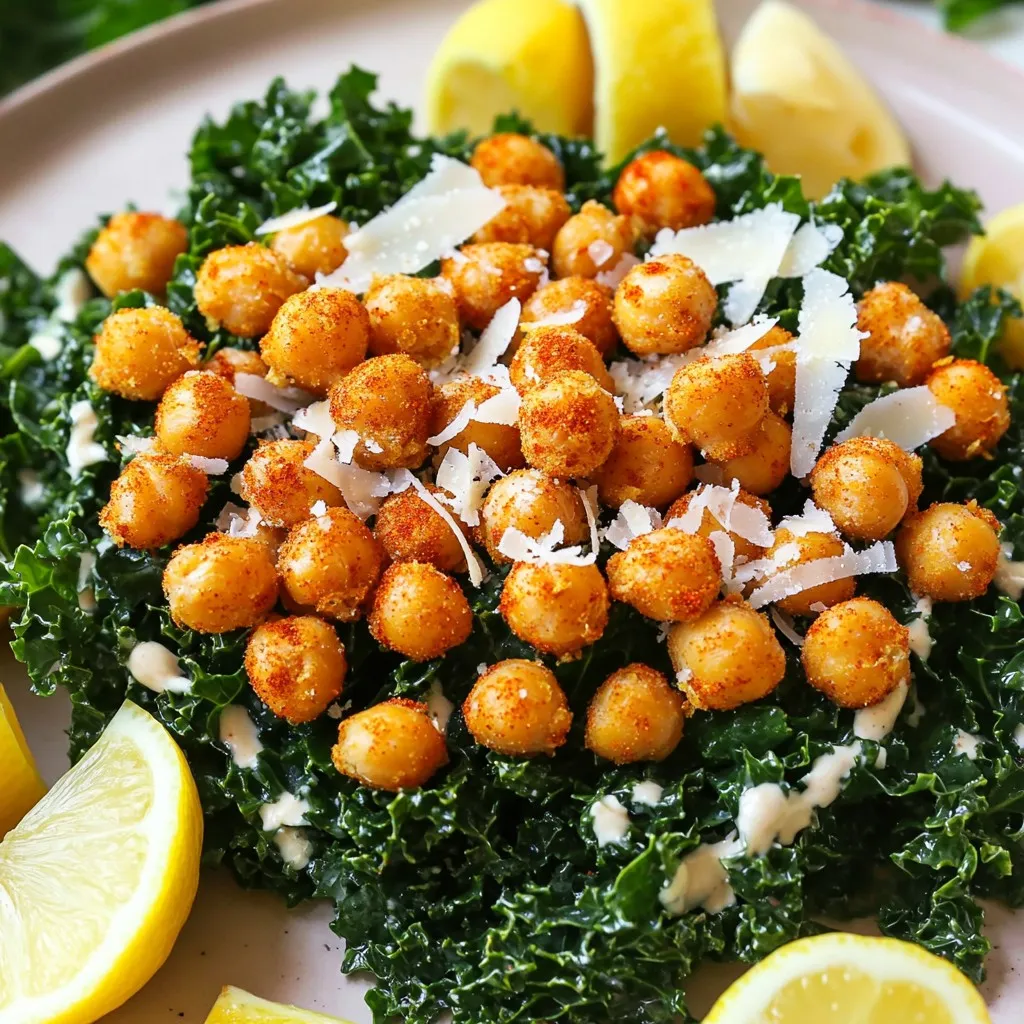
Looking for a fresh and healthy salad? You’ll love this Crispy Chickpea Kale Caesar Salad! With the air fryer, I transform simple ingredients into a delightful dish that’s full of …
Looking for a fresh and healthy salad? You’ll love this Crispy Chickpea Kale Caesar Salad! With the air fryer, I transform simple ingredients into a delightful dish that’s full of …
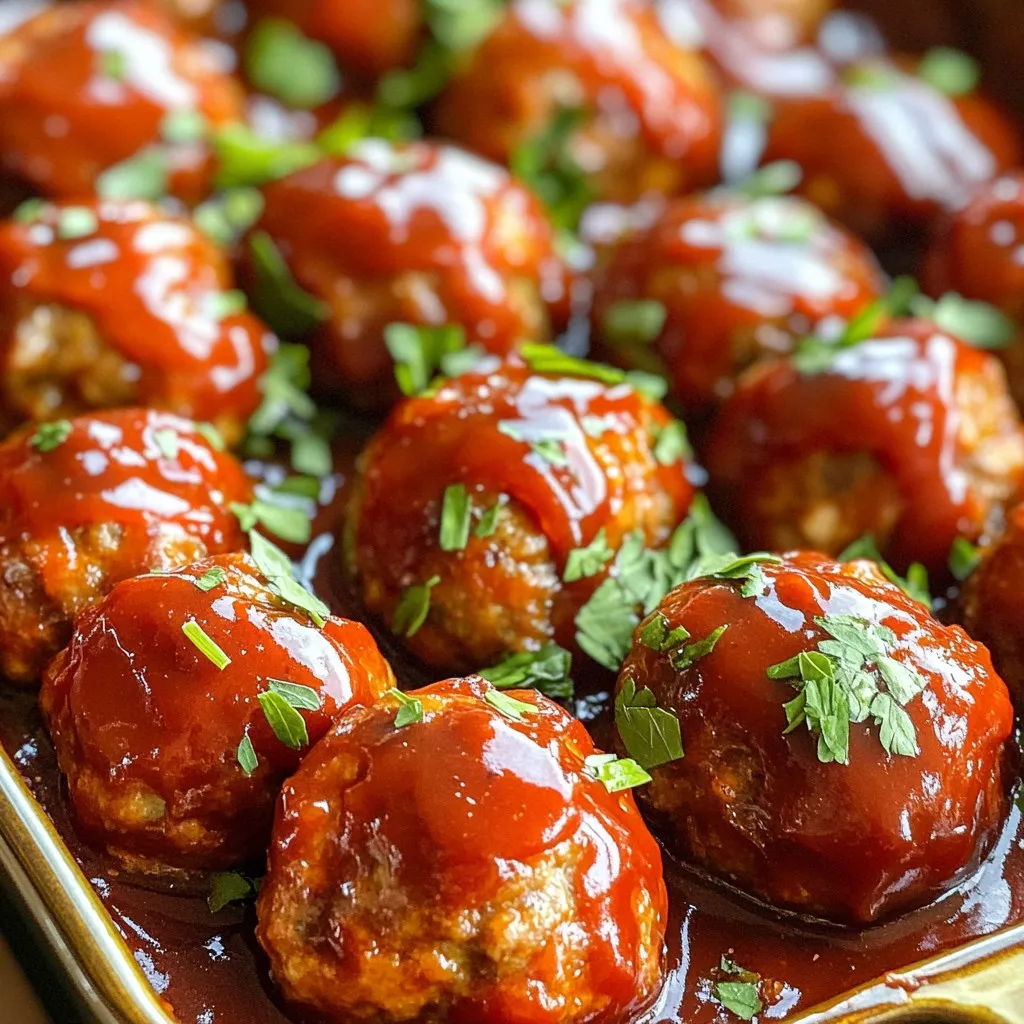
Ready for a recipe that blends comfort and flavor? My Slow Cooker Sweet & Spicy BBQ Meatballs are a game-changer! With simple ingredients and easy step-by-step instructions, you can create …

Welcome to a flavorful journey with my Creamy One-Pot Cajun Chicken Alfredo Delight! This dish combines rich, creamy sauce with the bold flavors of Cajun seasoning, making it perfect for …

Are you ready for a tasty twist on ramen? My Minute Thai Coconut Curry Ramen is a warm hug in a bowl. With creamy coconut milk and zesty red curry …
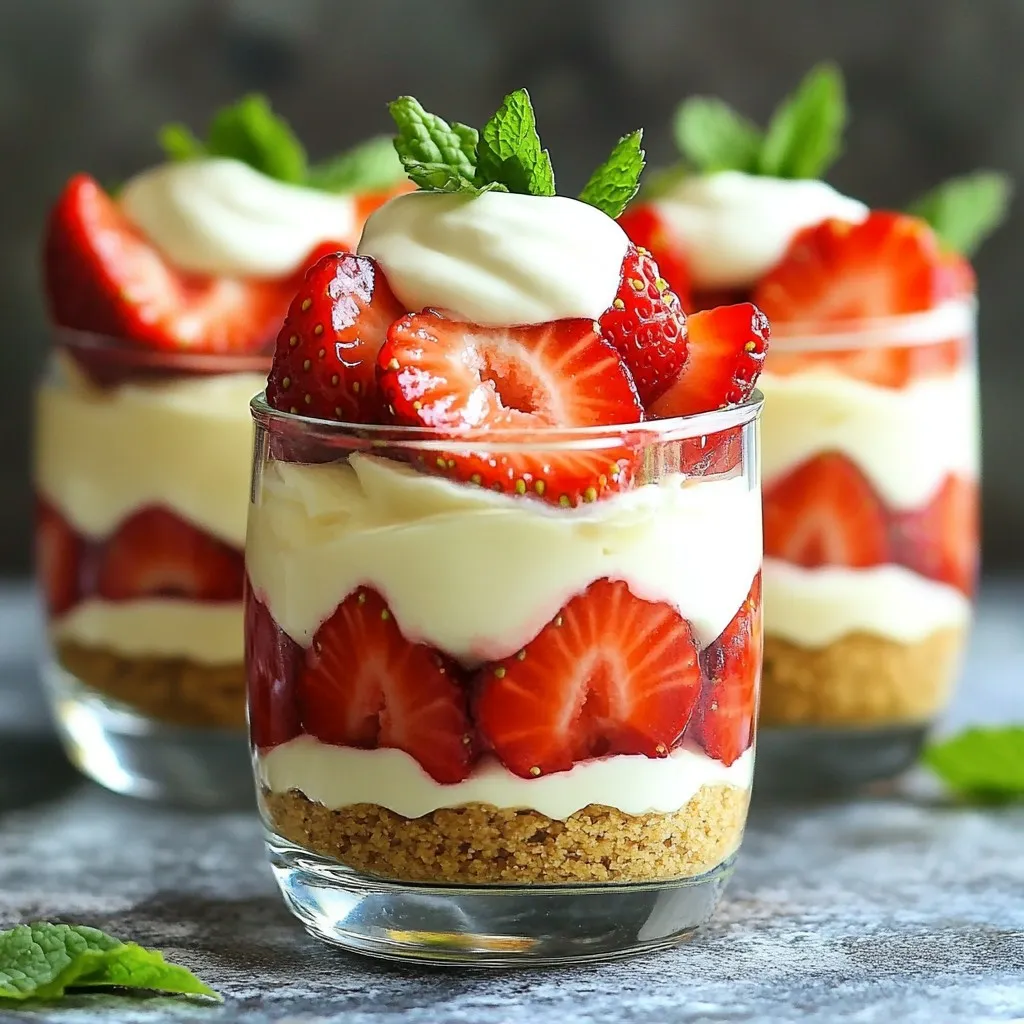
Are you ready to whip up a sweet treat that’s both easy and delicious? My No-Bake Strawberry Cheesecake Parfaits are the perfect dessert for any occasion. With just a few …
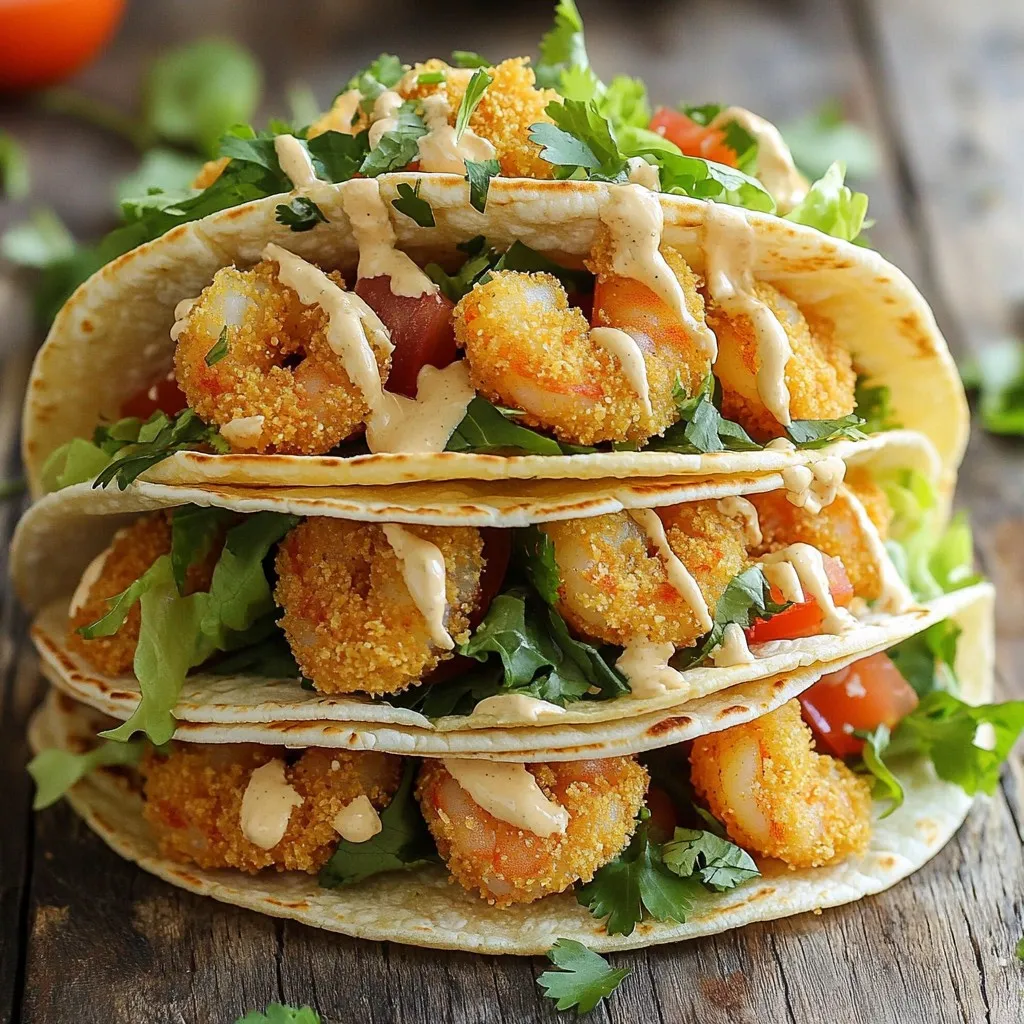
Get ready to enjoy a restaurant-quality meal at home with Air Fryer Bang Bang Shrimp Tacos! This dish combines crispy, flavorful shrimp with a spicy bang bang sauce, all in …
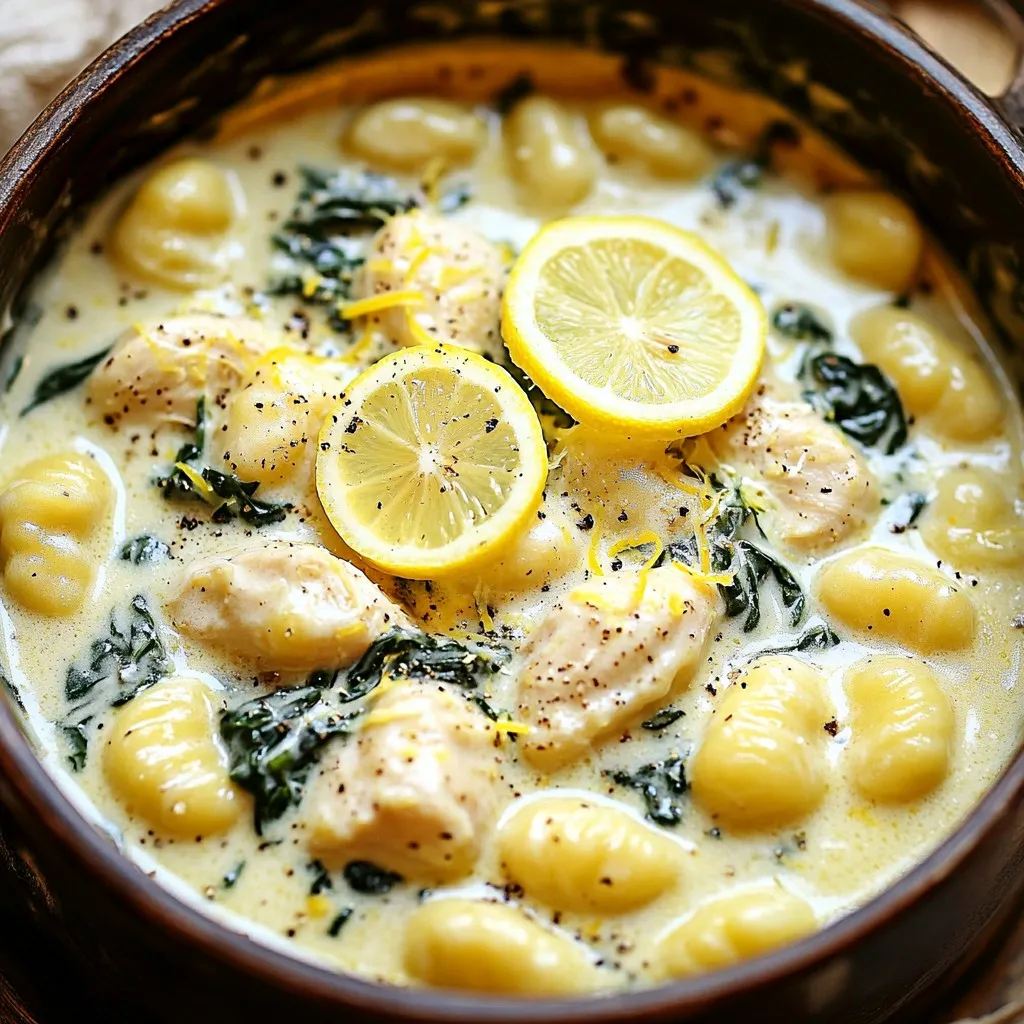
Are you ready to whip up a delightful meal in just one pot? This creamy lemon chicken gnocchi recipe combines tender chicken, fresh spinach, and rich flavors in a simple, …
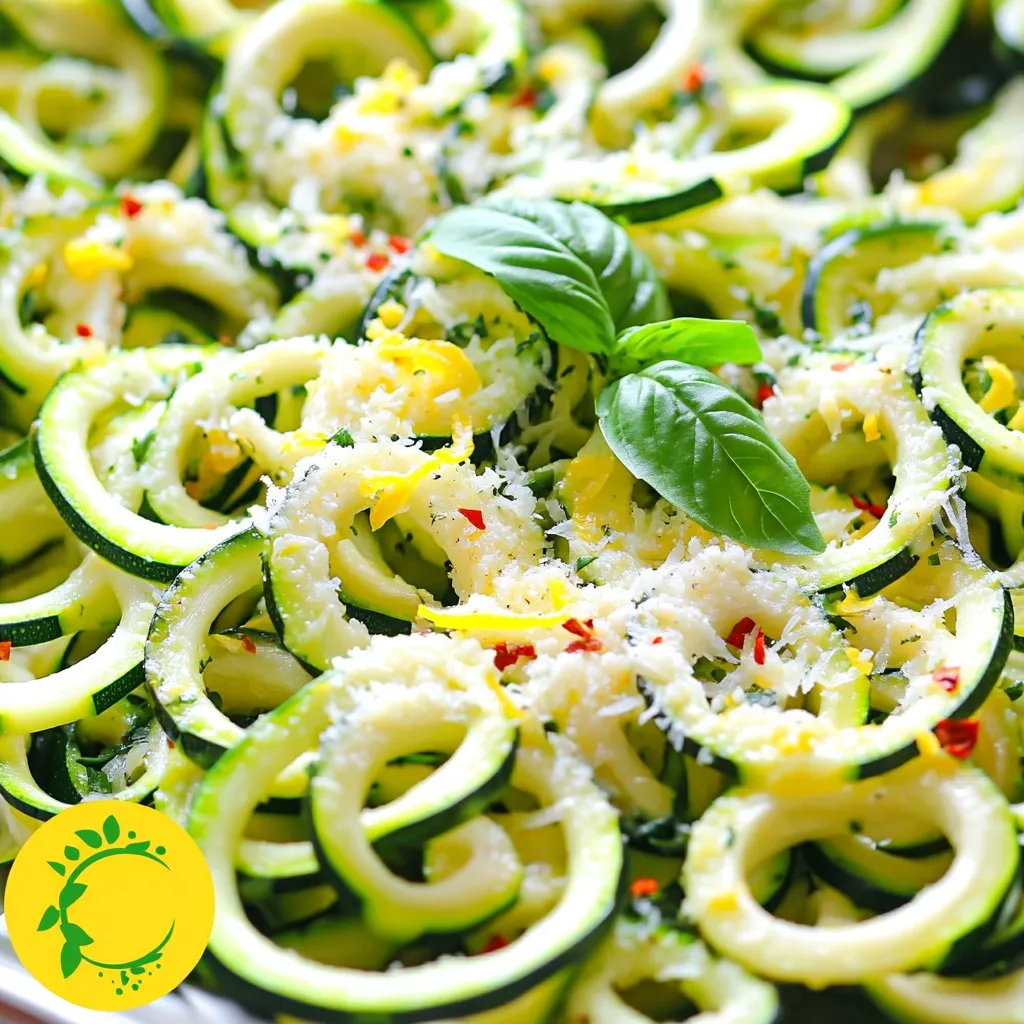
Looking for a quick and healthy meal? Minute Lemon Parmesan Zucchini Noodles are your answer! In just a few minutes, you can whip up a delicious, guilt-free dish that’s packed …

Craving a sweet and easy treat? You’ll love these No-Bake White Chocolate Cranberry Bliss Bars! I’ll share the simple steps to create these delicious bars without turning on your oven. …

Craving a cozy drink that warms your soul? Try my Brown Sugar Cinnamon Latte! This creamy and sweet delight combines rich espresso, velvety milk, and a hint of cinnamon. Perfect …