Easy Smothered Chicken and Rice Flavorful Comfort Meal
![- 4 boneless, skinless chicken thighs - 1 cup long-grain white rice - 2 cups low-sodium chicken broth - 1 large onion, finely chopped - 2 cloves garlic, minced - 1 cup bell peppers (mixed colors), diced - 1 cup cream of mushroom soup - 1 teaspoon paprika - 1 teaspoon dried thyme - 1 tablespoon olive oil - Salt and pepper to taste - Fresh parsley, chopped (for garnish) When I cook Easy Smothered Chicken and Rice, I start with the main ingredients. The chicken thighs are perfect for this dish. They stay juicy and tender. I use long-grain white rice, as it cooks well with the broth. Low-sodium chicken broth adds flavor without too much salt. Next, I chop the vegetables. A large onion adds sweetness. Garlic gives a nice kick. I like to use mixed bell peppers for color and taste. They make the dish look vibrant. For the creamy part, I grab the cream of mushroom soup. It adds a rich texture. Paprika gives it a warm spice. Dried thyme brings a fresh herbal note. I always use olive oil for cooking. It helps the chicken brown nicely. Salt and pepper are key for flavor. Finally, fresh parsley is my go-to for garnish. It adds a touch of green and brightness. You can find the full recipe [here]. - Heat olive oil in a large skillet. - Season chicken thighs with salt, pepper, and paprika. - Sear chicken until golden brown. Start by heating olive oil over medium heat in your large skillet. Use just enough oil to coat the bottom. Season your chicken thighs with salt, pepper, and paprika. This adds great flavor. Place the chicken in the skillet. Sear them for about four to five minutes on each side. Look for a nice golden color. Once done, remove the chicken and set it aside. - Add chopped onion, bell peppers, and garlic to the skillet. - Sauté vegetables until soft. In the same skillet, add your chopped onion, diced bell peppers, and minced garlic. The leftover oil will help flavor the veggies. Sauté these for about three to four minutes. You want them to become soft and fragrant. This step builds layers of flavor for your dish. - Stir in rice and toast for 2 minutes. - Add chicken broth and thyme, bring to a boil. - Place chicken on top of rice and spoon cream of mushroom soup over it. Next, stir in the long-grain white rice. Toast it in the skillet for about two minutes. This enhances its nutty flavor. Now, pour in the low-sodium chicken broth and dried thyme. Bring this mixture to a boil. Once it boils, lower your heat to a simmer. Carefully place the seared chicken on top of the rice. Spoon the cream of mushroom soup over the chicken. This adds creaminess and richness to the dish. - Cover and simmer for 20-25 minutes. - Check for doneness. Cover your skillet with a lid and let it simmer for 20 to 25 minutes. This allows the rice to cook and soak up all the flavors. After about 20 minutes, check to see if the rice is tender and the chicken is fully cooked. The internal temperature should reach 165°F (75°C). - Let sit for 5 minutes after cooking. - Fluff rice with a fork, garnish with parsley. Once done, take the skillet off the heat. Let it sit for five minutes. This resting time lets the flavors meld together. After resting, fluff the rice with a fork. This helps separate the grains. Finally, garnish your dish with fresh chopped parsley. It adds a lovely color and freshness to your meal. For the full recipe, check out the complete steps above. To get that golden brown crust on your chicken, start with a hot skillet. Heat olive oil over medium heat. Season your chicken thighs with salt, pepper, and paprika. Place them in the skillet. Sear for about 4-5 minutes on each side. You want a nice crust, so don’t rush it. What is the recommended internal temperature for chicken? The safe internal temperature is 165°F (75°C). Use a meat thermometer to check. This step ensures your chicken is juicy and safe to eat. How can you boost flavor in this dish? You can adjust the seasonings based on your taste. Add more paprika or a bit of cayenne for heat. Fresh herbs like thyme or rosemary can also add a nice touch. What are good substitutes for cream of mushroom soup? You can use cream of chicken soup or a homemade white sauce. For a lighter option, try Greek yogurt mixed with a bit of broth. What tips can help you achieve perfect rice consistency? Always rinse your rice before cooking. This removes excess starch and helps prevent it from becoming sticky. Use the right water-to-rice ratio, usually 2 cups of broth for 1 cup of rice. How do you avoid burnt rice? Keep an eye on the heat. Once your broth boils, lower the heat to a gentle simmer. Cover the skillet to keep moisture in. Let it cook undisturbed for 20-25 minutes. This method ensures tender, fluffy rice. For the full recipe, you can check the details above. {{image_2}} You can switch chicken thighs for chicken breasts. Breasts are leaner and cook faster. They may dry out, so watch them closely. You can also use turkey or pork. Both meats add a nice twist. Turkey gives a lighter flavor, while pork adds richness. Herbs and spices can change the taste of your dish. Try adding rosemary, oregano, or basil for a fresh kick. You can also use vegetable broth instead of chicken broth. This choice makes the dish vegetarian and keeps it flavorful. If you want a different base, choose jasmine or basmati rice. These options add a lovely aroma. You may also try quinoa or cauliflower rice. Quinoa is high in protein, and cauliflower rice is low in carbs. Both are great choices to mix things up. For the full recipe, check the details provided earlier. To keep your Easy Smothered Chicken and Rice fresh, store it in an airtight container. Place it in the fridge if you plan to eat it soon. This meal lasts about 3-4 days in the fridge. If you want to keep it longer, freeze it. In the freezer, it stays good for up to 3 months. Just make sure to remove as much air as possible before sealing. When you are ready to enjoy your leftovers, reheating is key. The best way is to use the microwave. Place the chicken and rice in a bowl, cover it with a damp paper towel, and heat for 2-3 minutes. You can also use the stove. Heat on low, adding a splash of broth or water to keep it moist. Stir often to prevent sticking. Easy Smothered Chicken and Rice pairs well with many sides. Try a simple green salad or steamed veggies. You could also serve it with crusty bread for soaking up the sauce. This dish is great for family dinners or casual gatherings. It's comforting and fills everyone up. Perfect for a cozy night in or meal prep for the week! Check out the Full Recipe for more details. Yes, you can prepare this dish ahead of time. To do this, follow these steps: - Cook the chicken and rice as per the recipe. - Allow the dish to cool completely. - Store it in an airtight container in the fridge for 2-3 days. This way, you save time on busy days. When you're ready to eat, heat it on the stove or in the microwave. Many sides pair well with smothered chicken and rice. Here are some ideas: - Steamed broccoli - Green beans - Side salad with vinaigrette - Garlic bread These sides add color and nutrition to your meal. They also make it more filling. Yes, this recipe works great for meal prep. Here are some tips: - Divide the dish into individual portions. - Use meal prep containers to keep everything fresh. - Label each container with the date. This makes it easy to grab a meal on the go. To ensure chicken is fully cooked, check the internal temperature. It should reach 165°F (75°C). Use a meat thermometer for accuracy. If you don't have one, cut into the thickest part of the chicken. The meat should be white, not pink. Yes, you can use brown rice, but cooking times change. Here’s how: - Use 2.5 cups of chicken broth instead of 2 cups. - Brown rice takes longer to cook, about 30-35 minutes. Keep an eye on the rice. It should be tender and fluffy. Adjust the liquid as needed to avoid dryness. For the full recipe, refer back to the main section. In this blog post, we explored a simple recipe for Easy Smothered Chicken and Rice. We covered key ingredients, step-by-step cooking instructions, and tips for perfecting the dish. As you cook, remember to adjust flavors to suit your taste. Experimenting with different proteins and grains can add variety. This recipe is not just easy; it's also a tasty meal that you can enjoy any night!](https://stirredrecipes.com/wp-content/uploads/2025/07/d6c0af18-8548-434a-bb57-427dcfefe86a.webp)
Craving a hearty meal that’s both easy to make and packed with flavor? Look no further than my Easy Smothered Chicken and Rice recipe. This dish features tender chicken thighs, …
Craving a hearty meal that’s both easy to make and packed with flavor? Look no further than my Easy Smothered Chicken and Rice recipe. This dish features tender chicken thighs, …

Looking for a tasty and unique breakfast? These flavorful yellow squash pancakes are quick and easy to make! Packed with nutritious ingredients and a savory twist, they’ll please even the …

Are you ready to try a cookie that’s both tasty and good for you? My Last Zucchini Cookie Recipe is delicious and simple to make. With just a few key …
Get ready to transform your meals with a burst of flavor! In this guide, I’ll show you how to make sweet and spicy pickled peppers that are not only easy …
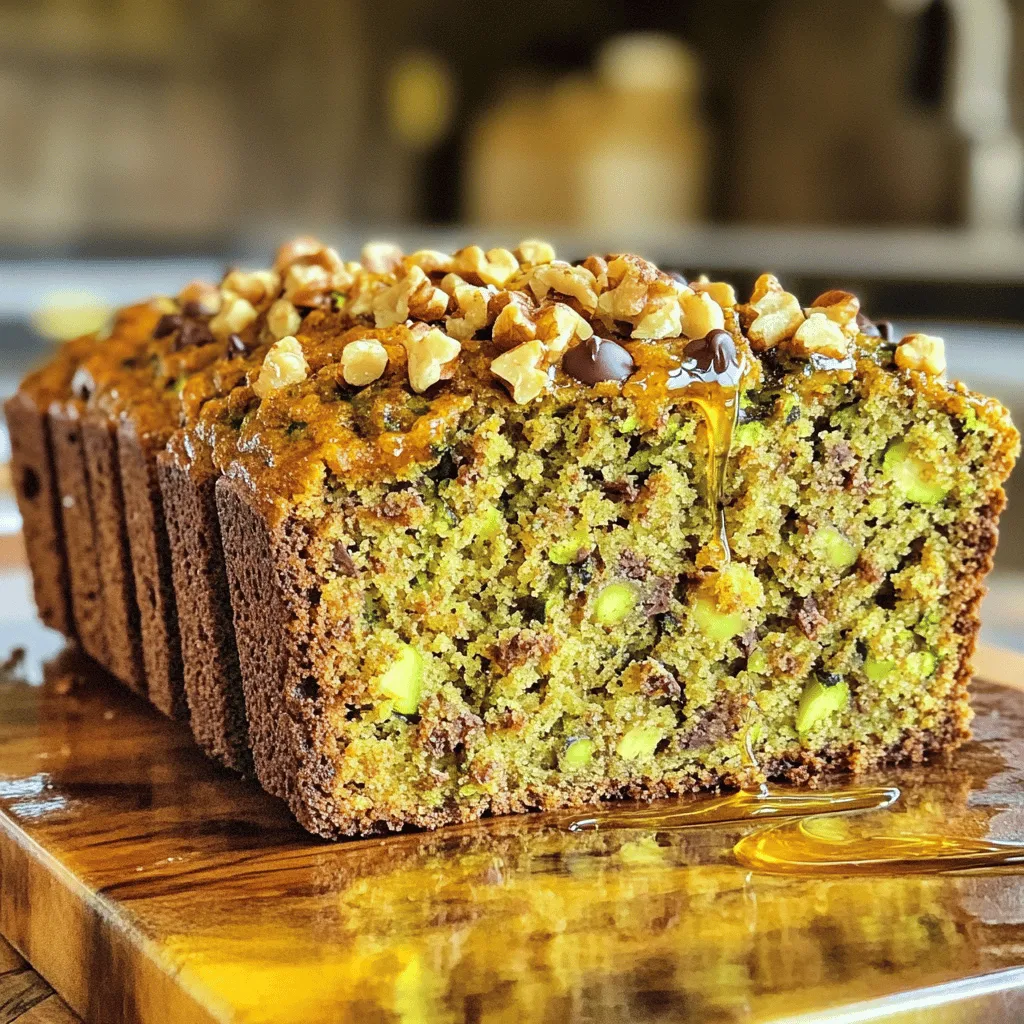
Are you ready to bake a treat that’s both easy and delicious? This gluten-free zucchini bread recipe is just what you need. With simple ingredients like zucchini, eggs, and gluten-free …
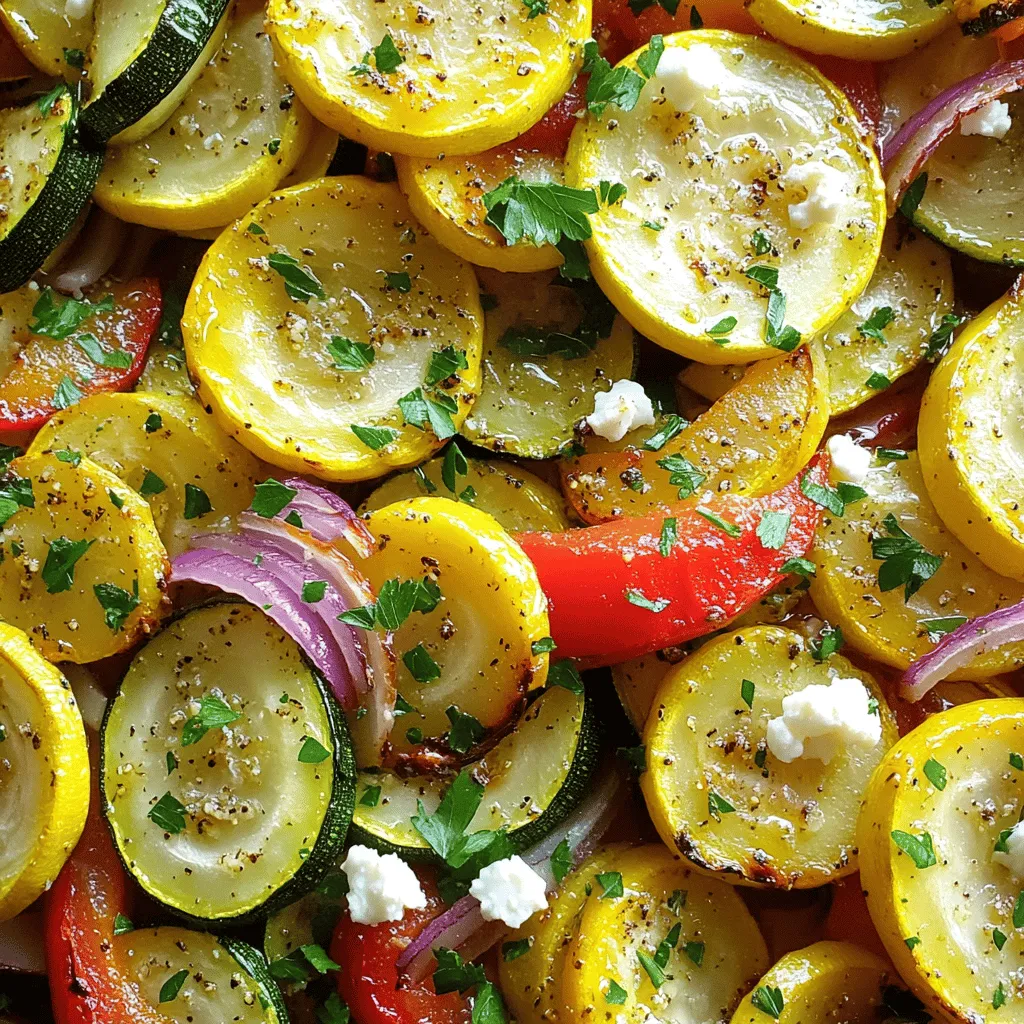
Are you looking for a simple, tasty side dish? Look no further! Easy roasted zucchini and squash are packed with flavor and nutrition. With just a few fresh ingredients and …

Are you ready to bring bold flavor to your dinner table? Garlic Parmesan Chicken is both easy and delicious! This recipe combines juicy chicken with crunchy breadcrumbs and savory garlic …
![- 4 medium zucchinis, sliced into half-moons - 1 tablespoon olive oil - 1 teaspoon smoked paprika - 1 teaspoon ground cumin - 1/2 teaspoon garlic powder - 1/2 teaspoon chili powder - Salt and pepper to taste - 1 cup cherry tomatoes, halved - 1/3 cup fresh cilantro, chopped - 1 lime, juiced - 1/2 cup crumbled feta cheese (optional) To create the best Mexican roasted zucchini, start with fresh, firm zucchinis. The olive oil gives it a nice richness. Smoked paprika adds a deep, smoky flavor while cumin brings warmth. Garlic powder and chili powder add a lovely kick. Salt and pepper enhance all these flavors perfectly. I love to add cherry tomatoes for a burst of sweetness. Fresh cilantro brightens the dish and lime juice gives it a refreshing twist. If you like cheese, crumbled feta is a tasty option to finish it off. You can find the complete recipe with step-by-step instructions in the [Full Recipe]. 1. Preheat the oven to 425°F (220°C). This step is key for a perfect roast. 2. In a large mixing bowl, combine the zucchini slices, olive oil, smoked paprika, ground cumin, garlic powder, chili powder, salt, and pepper. 3. Toss everything well to coat the zucchini evenly. This helps all the flavors stick. 1. Spread the seasoned zucchini on a baking sheet lined with parchment paper. Make sure to keep them in a single layer. 2. Roast in the preheated oven for about 15 minutes. The zucchini should be tender and slightly caramelized. Stir halfway through for even cooking. 3. After 15 minutes, add the halved cherry tomatoes to the baking sheet. Roast for an additional 5 minutes. This blend gives a burst of flavor. 1. Remove the baking sheet from the oven. Immediately sprinkle the chopped cilantro and lime juice over the zucchini and tomatoes. 2. For extra taste, you can optionally add crumbled feta cheese on top. 3. Serve warm. This dish is perfect as a side or a topping for tacos or salads. For the complete details, check the Full Recipe. - Choosing the right zucchinis for roasting Pick firm zucchinis with smooth skin. Avoid soft or wrinkled ones. Medium-sized zucchinis work best. They roast evenly and stay tender. - Best practices for seasoning Use olive oil to coat the zucchini. This helps the spices stick. My go-to spices include smoked paprika, cumin, and garlic powder. They add depth and warmth. Don’t forget salt and pepper for balance. - Adjusting cooking times based on desired texture For soft zucchini, roast for about 20 minutes. If you like a little crunch, check at 15 minutes. Stir halfway through to ensure even cooking. - Pairing with tacos or salads Mexican roasted zucchini makes a great topping for tacos. It adds flavor and color. You can also toss it into salads for a fresh crunch. - Incorporating into grain bowls Add roasted zucchini to grain bowls. Combine it with quinoa or brown rice. This makes a filling and healthy meal. - Using in meal prep for quick lunches Roast a big batch on Sunday. Store it in the fridge for easy lunches. Just reheat and enjoy with your favorite proteins or grains. For the full recipe, check out the complete details. {{image_2}} You can change the flavor of your Mexican roasted zucchini easily. Try adding different spices or herbs. For a fresh twist, use oregano or thyme. Oregano gives a nice earthy taste. Thyme adds a slight hint of sweetness. Both work well with zucchini. You can also mix in other vegetables. Bell peppers bring sweetness and color. Corn adds a nice crunch and sweetness, too. Just chop them up and toss them in with your zucchini. These changes make the dish even more vibrant and fun. If you want a vegan dish, it's simple! Just skip the feta cheese. The zucchini and spices still shine without it. You can add extra herbs or a squeeze of lime for flavor. For gluten-free options, this dish is already perfect. Just serve it as is or add it to a salad or bowl. You can also use it as a topping for gluten-free tacos. It's a great way to enjoy this healthy dish without any worries. For the full recipe, check out the detailed instructions above. To keep your Mexican roasted zucchini fresh, store it in the fridge. Use an airtight container. This method helps avoid moisture loss. Zucchini stays good for about three days. If you want to keep it longer, consider freezing. Place cooled zucchini in a freezer bag. Squeeze out the air to prevent freezer burn. To keep zucchini fresh longer, follow these tips: - Choose firm zucchinis without blemishes. - Store uncut zucchinis in a cool, dry place. - Avoid washing zucchinis until you're ready to use them. When it comes to reheating, the oven works best. Preheat your oven to 350°F (175°C). Spread leftovers on a baking sheet. Heat for about 10 minutes. This method keeps the texture nice and firm. You can also use a microwave. Place zucchini on a microwave-safe plate. Heat in 30-second intervals until warm. However, be careful not to overcook. Overcooking can turn your zucchini mushy. Enjoy your dish fresh and flavorful! For the full recipe, check the earlier section. You can serve Mexican roasted zucchini with many tasty dishes. Tacos are a great choice. The zucchini adds a fresh crunch. You can also pair it with grilled chicken or fish. It works well as a side for rice or quinoa bowls too. If you want a light meal, mix it into a salad. Try adding beans for protein. You can even use it as a topping for nachos. The flavors meld beautifully together. Don't forget to add some lime juice for extra zest! Yes, you can make this dish in advance. You can prepare the zucchini and spices a day before. Just store them in the fridge. This way, they stay fresh. On the day of serving, roast the zucchini for the best taste. It only takes about 20 minutes. If you want, you can roast it and store it in the fridge. Reheat it before serving for the best flavor. Mexican roasted zucchini is low in calories and high in flavor. One serving has around 100 calories. It is packed with vitamins and minerals. Zucchini is rich in fiber, helping you feel full. Using fresh ingredients like tomatoes and cilantro adds more nutrients. If you skip the feta cheese, you save even more calories. This dish is great for a healthy meal. Enjoy it guilt-free! In this blog post, we explored a delicious recipe for Mexican roasted zucchini. We covered the key ingredients needed, like zucchinis, spices, and tomatoes. The step-by-step instructions guided you through the preparation and roasting process. I shared tips on perfecting your dish and variations to suit your taste. Finally, I provided storage info and answers to common questions. This dish is simple, tasty, and perfect for any meal. Enjoy your cooking!](https://stirredrecipes.com/wp-content/uploads/2025/07/a157ac8a-93f8-40e2-9f87-880d76c5c7bb.webp)
If you’re looking for a burst of flavor and a healthy dish, Mexican Roasted Zucchini ticks all the boxes. This simple recipe combines fresh zucchini with vibrant spices, making it …
![- 1 medium butternut squash, peeled and cubed - 2 tablespoons olive oil - ½ cup dried cranberries - ½ cup walnuts, roughly chopped - 2 cups fresh spinach or mixed greens - ¼ cup feta cheese, crumbled - 3 tablespoons balsamic vinegar - 1 tablespoon maple syrup - 1 teaspoon Dijon mustard - Salt and pepper to taste The key to this salad is the butternut squash. It gives a sweet flavor and a nice texture. When you choose your squash, look for one that feels heavy and has smooth skin. The olive oil helps roast the squash, making it tender and golden brown. Dried cranberries add a burst of tartness. They pair well with the creamy feta cheese. The walnuts provide a nice crunch that balances the softness of the squash. You can swap the spinach for mixed greens if you prefer. For the dressing, balsamic vinegar brings a tangy flavor. Maple syrup adds sweetness to the glaze. Dijon mustard gives it a kick. Salt and pepper are essential for bringing out all the flavors. For the full recipe, check the earlier section. Preheating the oven Start by preheating your oven to 400°F (200°C). This heat is perfect for roasting the squash. Preparing the butternut squash Next, peel and cube one medium butternut squash. Make sure the pieces are about the same size. This helps them cook evenly. In a large bowl, toss the squash with two tablespoons of olive oil, salt, and pepper. Coat each piece well. Making the cranberry glaze In a small saucepan, mix ¼ cup of balsamic vinegar, 1 tablespoon of maple syrup, and 1 teaspoon of Dijon mustard. Heat this over medium heat. Stir often and let it simmer for about five minutes. It should thicken slightly. Roasting the squash Spread the coated squash on a lined baking sheet. Place it in the preheated oven. Roast for 25-30 minutes. Remember to flip the pieces halfway through. They should be tender and caramelized when done. Assembling the salad Once the squash is roasted, let it cool for a few minutes. In a large salad bowl, combine the roasted squash, ½ cup of dried cranberries, ½ cup of roughly chopped walnuts, and 2 cups of fresh spinach or mixed greens. Crumble ¼ cup of feta cheese on top. Drizzling the glaze Finally, drizzle the cranberry glaze over your salad. Gently toss everything together. Make sure all the ingredients get coated. Serve the salad warm or at room temperature for the best flavors. For the complete recipe, check the [Full Recipe]. For the best roasted butternut squash, set your oven to 400°F (200°C). This temperature helps caramelize the squash perfectly. To ensure even caramelization, cut the squash into uniform cubes. This way, all pieces cook at the same rate. Spread the cubes out on the baking sheet. Avoid crowding them; this lets the heat circulate. Flip the squash halfway through roasting. This helps achieve that lovely golden color on all sides. When picking butternut squash, look for firm and heavy ones. They should have a smooth skin and no blemishes. A good squash feels heavy for its size, which means it's full of flavor. If you want a different taste, try goat cheese instead of feta. It adds a creamy and tangy touch. For a dairy-free option, use avocado or a nut-based cheese. Both options work well in this salad. For the full recipe, check out the complete instructions above. {{image_2}} You can change this salad with seasonal items. In fall, add roasted apples or pears. They give a sweet and juicy bite. In winter, try adding pomegranate seeds for a burst of color and flavor. The seeds add a nice crunch too. For vegan diets, replace feta cheese with avocado or tofu. This switch keeps it creamy and tasty. For gluten-free needs, make sure your balsamic vinegar has no gluten. Most brands are safe, but check labels. These swaps keep everyone happy at the table. To store leftovers, place the salad in an airtight container. This keeps the flavors fresh. If you have extra glaze, store it in a separate container. It helps maintain the salad's crispness. Use the salad within three days for the best taste. You can reheat this salad in the microwave or oven. If using the microwave, warm it for a short time. This keeps the squash soft but may wilt the greens. Oven reheating keeps the salad's texture better. Preheat the oven to 350°F (175°C) and heat for about 10 minutes. Enjoy the salad warm or at room temperature. For detailed steps, check the Full Recipe. Can I substitute fresh cranberries? Yes, you can use fresh cranberries. They will add a tart flavor. Just chop them up and mix them in. You might want to add a bit more maple syrup for sweetness. How do I make this salad in advance? You can prepare the butternut squash ahead of time. Roast it and store it in the fridge. Mix the salad just before serving for best taste. Keep the cranberry glaze separate until ready to serve. What can I serve with this salad? This salad pairs well with roasted chicken or fish. It also goes great with a warm grain bowl. You can even serve it as a side at a holiday meal. Calorie count per serving Each serving has about 250 calories. This number can change based on the amount of feta or walnuts you add. Health benefits of key ingredients - Butternut squash is high in vitamins A and C. - Cranberries are great for urinary health and rich in antioxidants. - Walnuts offer healthy fats and protein. - Spinach is packed with iron and vitamins. This salad is not just tasty; it’s good for you too! Enjoy the full recipe for a delightful meal. This blog post covered how to make a delicious butternut squash salad. We explored key ingredients like butternut squash, olive oil, and cranberries. I gave easy steps for preparation, cooking, and tips for perfect roasting. We also discussed variations and how to store leftovers properly. In closing, this salad not only tastes great but is healthy too. Try different ingredients to make it your own. Enjoy experimenting in the kitchen!](https://stirredrecipes.com/wp-content/uploads/2025/07/70185da8-76a1-4e59-bdf2-614622800200.webp)
Looking for a fresh and tasty salad that impresses? Try my Cranberry-Glazed Roasted Butternut Squash Salad Delight! It’s packed with sweet, roasted squash, crunchy walnuts, and a tangy cranberry glaze. …

Are you looking for a tasty treat that’s both flavorful and nutritious? Zucchini carrot muffins are the perfect choice. They pack in veggies and delicious spices while being easy to …