Sheet Pan Roasted Fall Veggies Flavorful and Simple
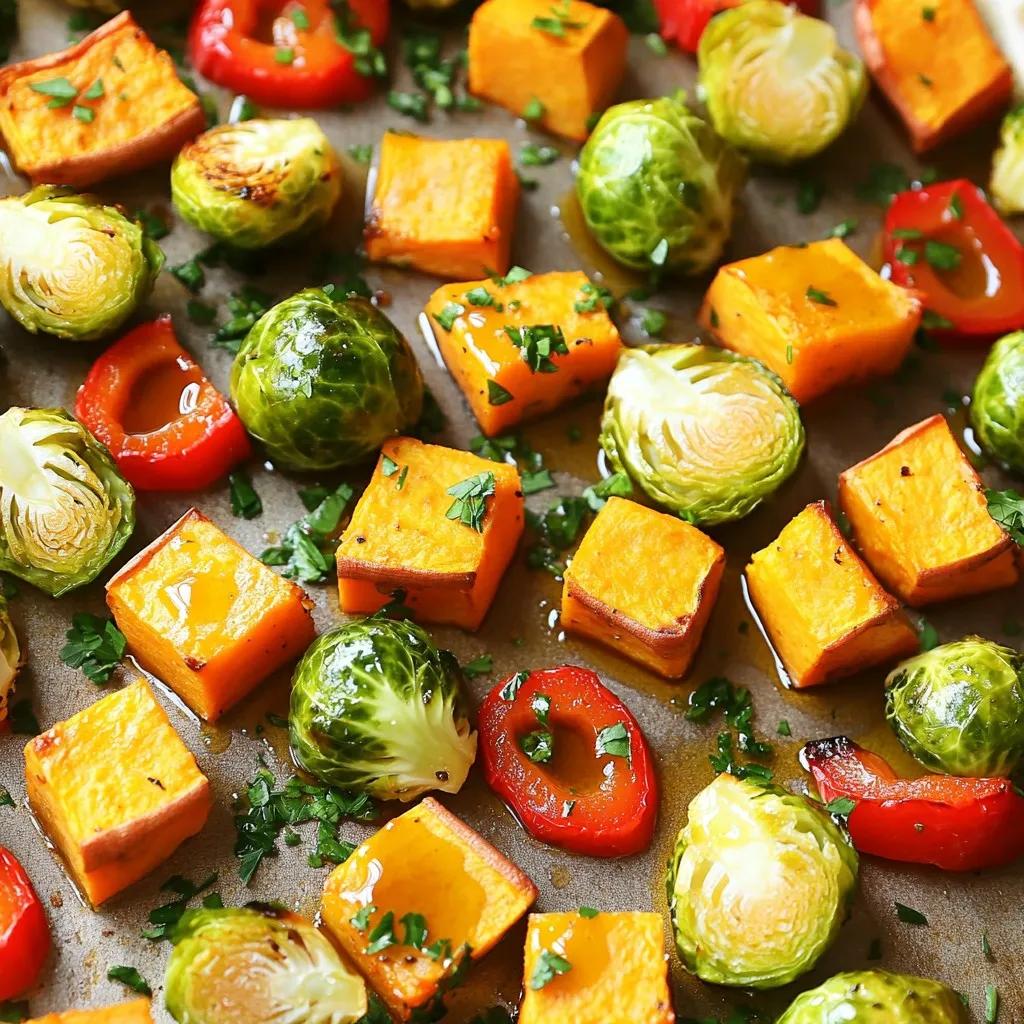
Autumn brings a bounty of fresh veggies just waiting to be roasted! In this guide, I’ll show you how to make flavorful and simple sheet pan roasted fall veggies. With …
Autumn brings a bounty of fresh veggies just waiting to be roasted! In this guide, I’ll show you how to make flavorful and simple sheet pan roasted fall veggies. With …
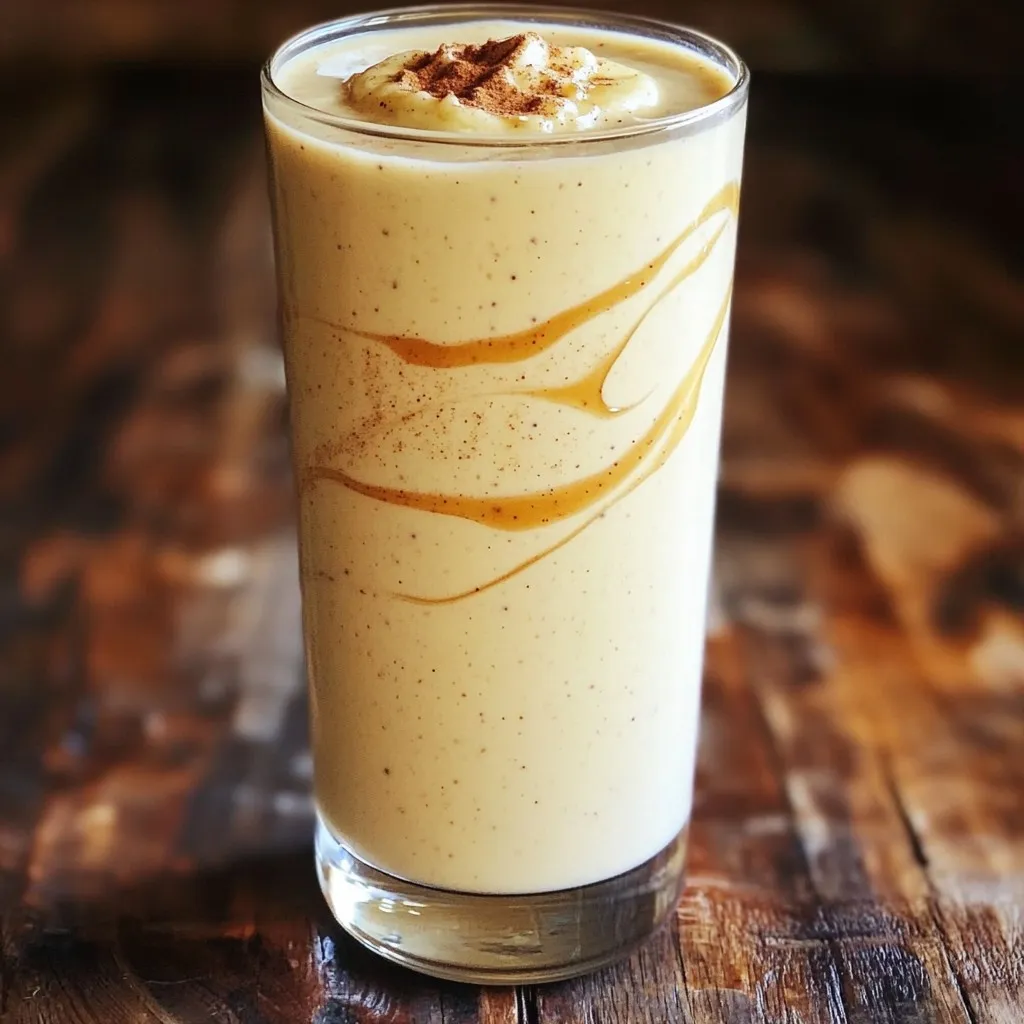
Are you ready to enjoy a delicious and nutritious treat? The Protein Cinnamon Roll Smoothie is here to satisfy your cravings while boosting your health. With a blend of ripe …
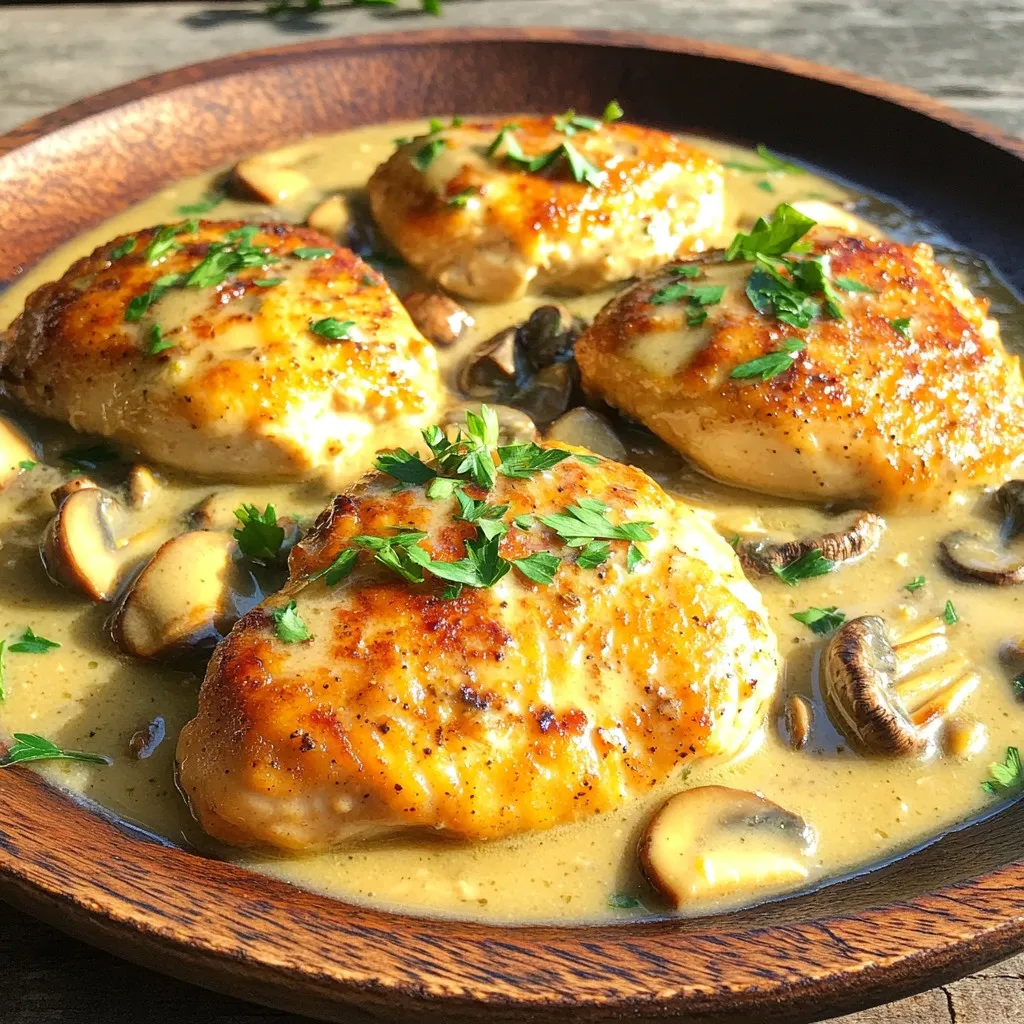
Welcome to a dish that’s simple yet packed with flavor: One-Pan Creamy Garlic Mushroom Chicken Cutlets! In just one skillet, you’ll create tender chicken cutlets bathed in a rich, creamy …
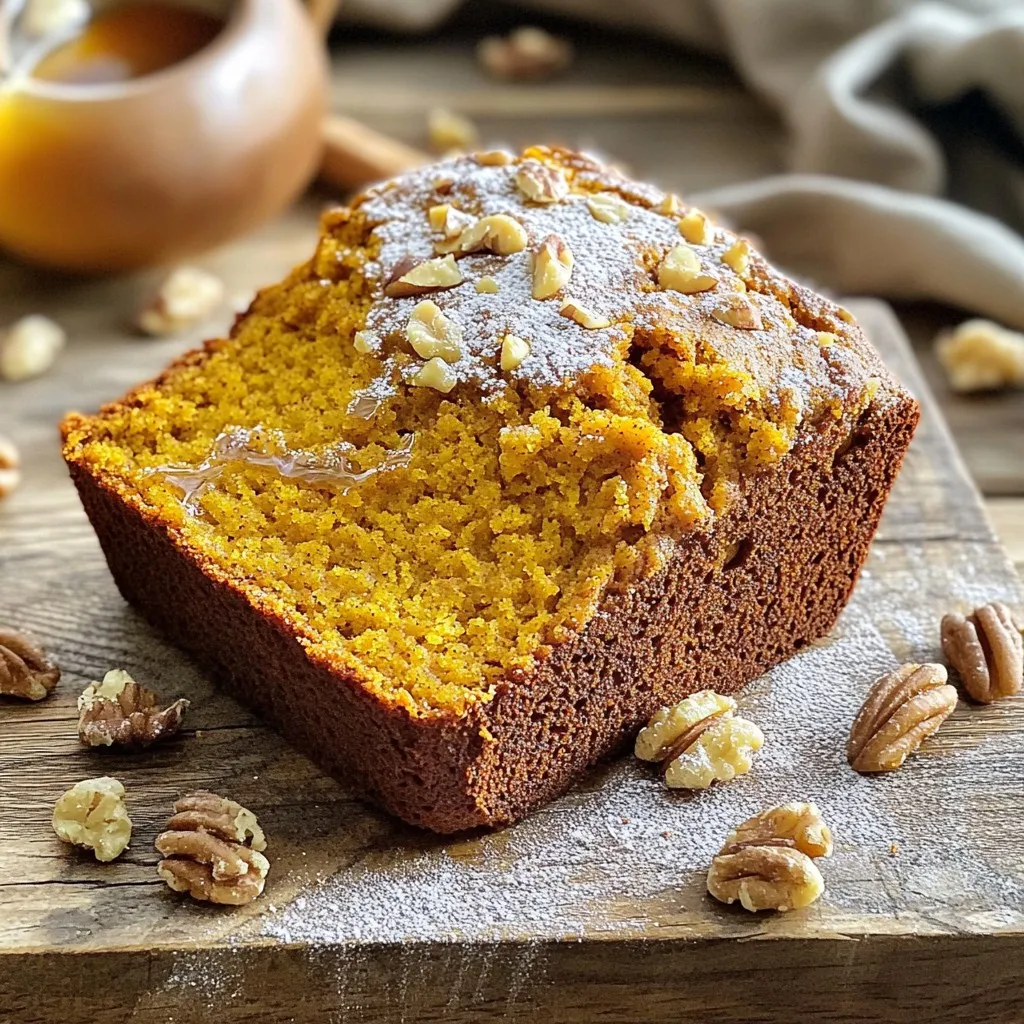
If you love rich flavors and warm spices, you’ll adore my Spiced Pumpkin Banana Bread. This recipe blends ripe bananas with pumpkin, creating a soft, moist treat perfect for any …

If you’re craving a fresh, zesty twist on breakfast, you’ve found it! My Creamy Lemon Ricotta Pancake Bites are not just delicious—they’re quick and easy to make, too. With the …

You may have heard of the Viral TikTok Feta Pasta Bake and wondered what the fuss is all about. This dish blends creamy feta with fresh veggies to create a …
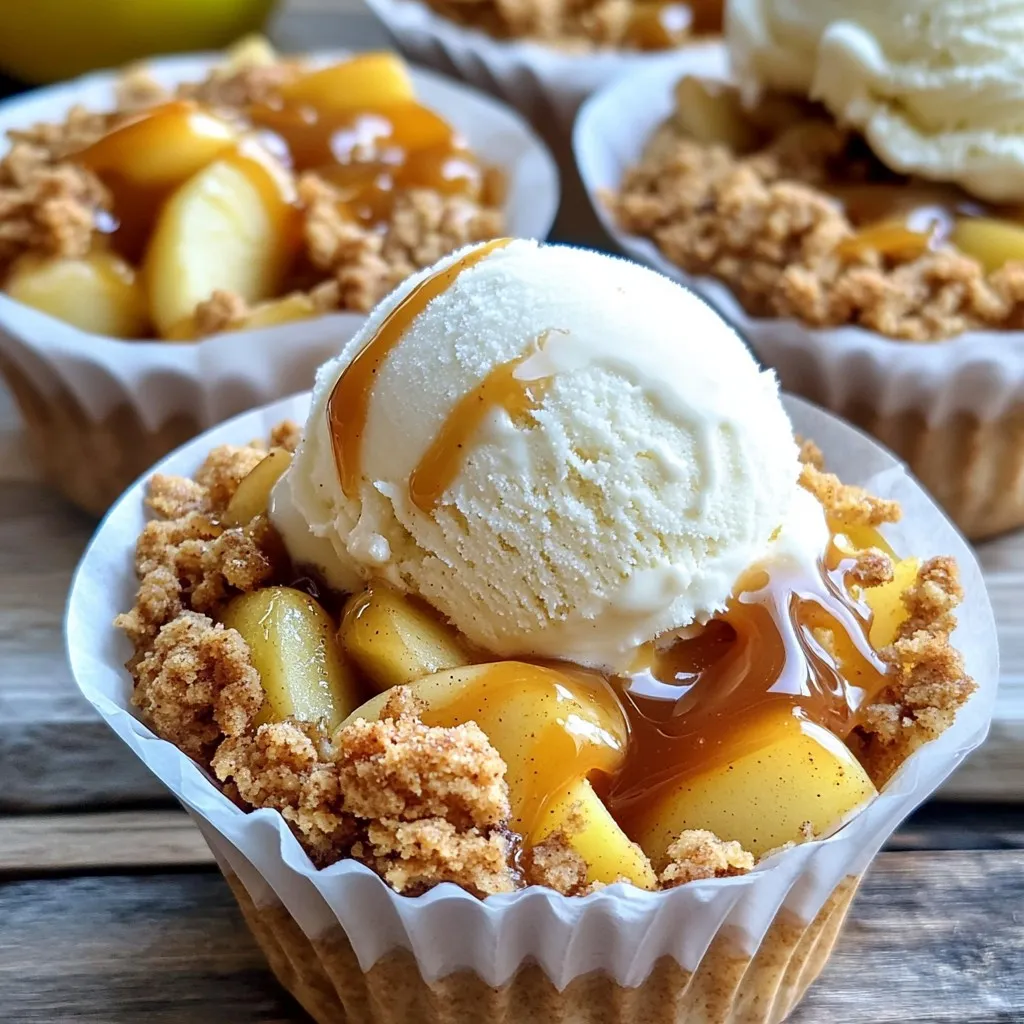
Get ready to enjoy a dessert that pleases both your taste buds and your eyes! My Salted Caramel Apple Crumble Cups are the perfect blend of sweet and salty, with …
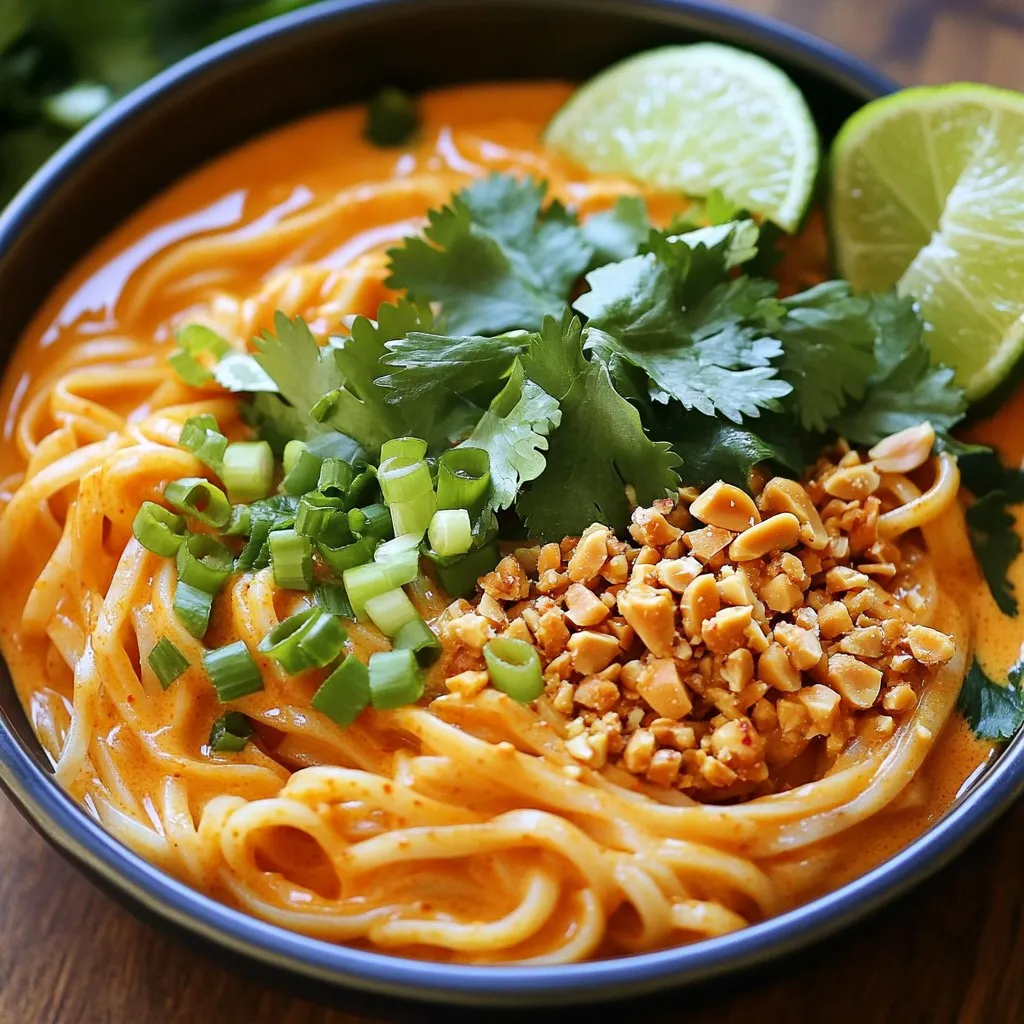
Craving a quick and tasty meal? Dive into the world of Minute Creamy Gochujang Noodle Bowls! This simple dish combines spicy gochujang, rich coconut milk, and fresh toppings for a …
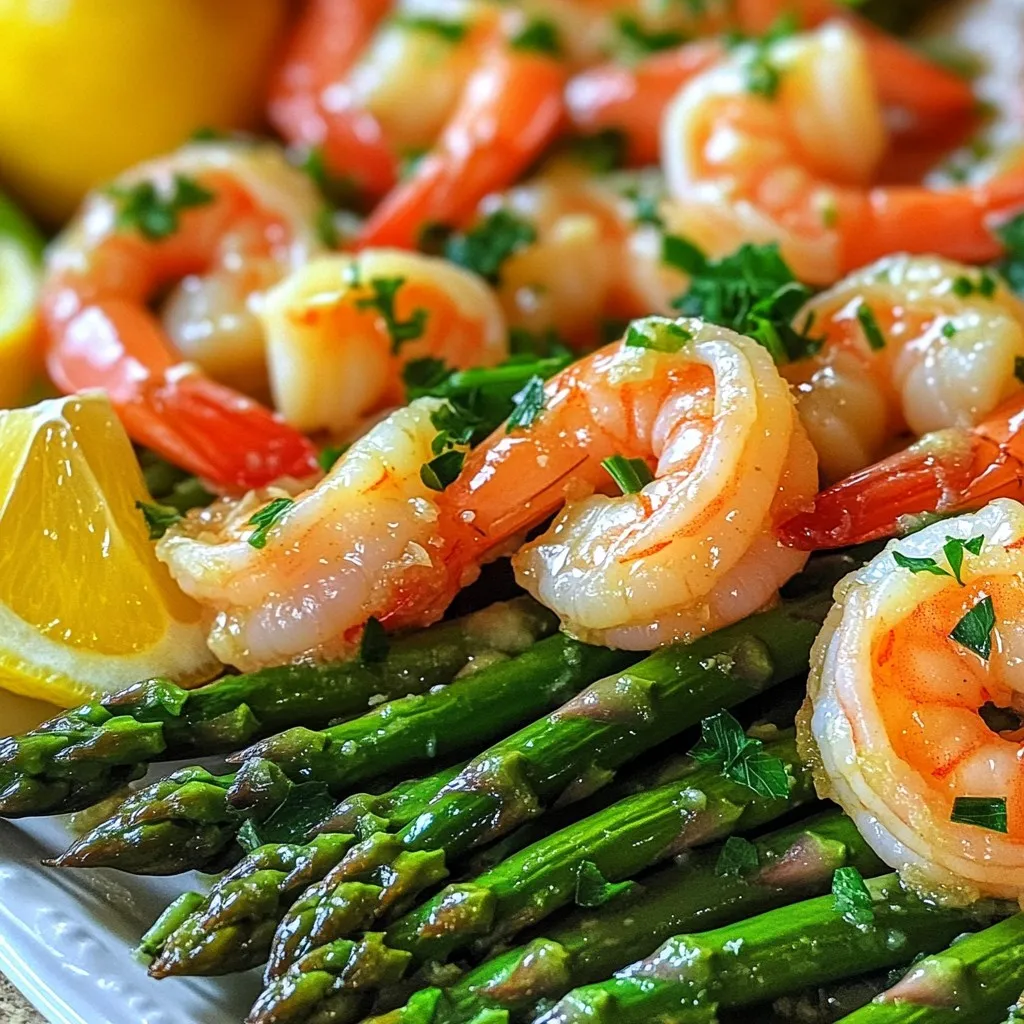
Get ready to savor a delightful meal with my Garlic Butter Shrimp & Asparagus Sheet-Pan recipe! This dish is quick, easy, and bursting with flavor. With just a few fresh …

Craving a sweet treat that requires no baking? You’re in the right place! My No-Bake Chocolate Coconut Almond Bars are a delightful combination of rich chocolate, chewy dates, and crunchy …