Baked Apple Crumble Breakfast Bars Simple and Tasty
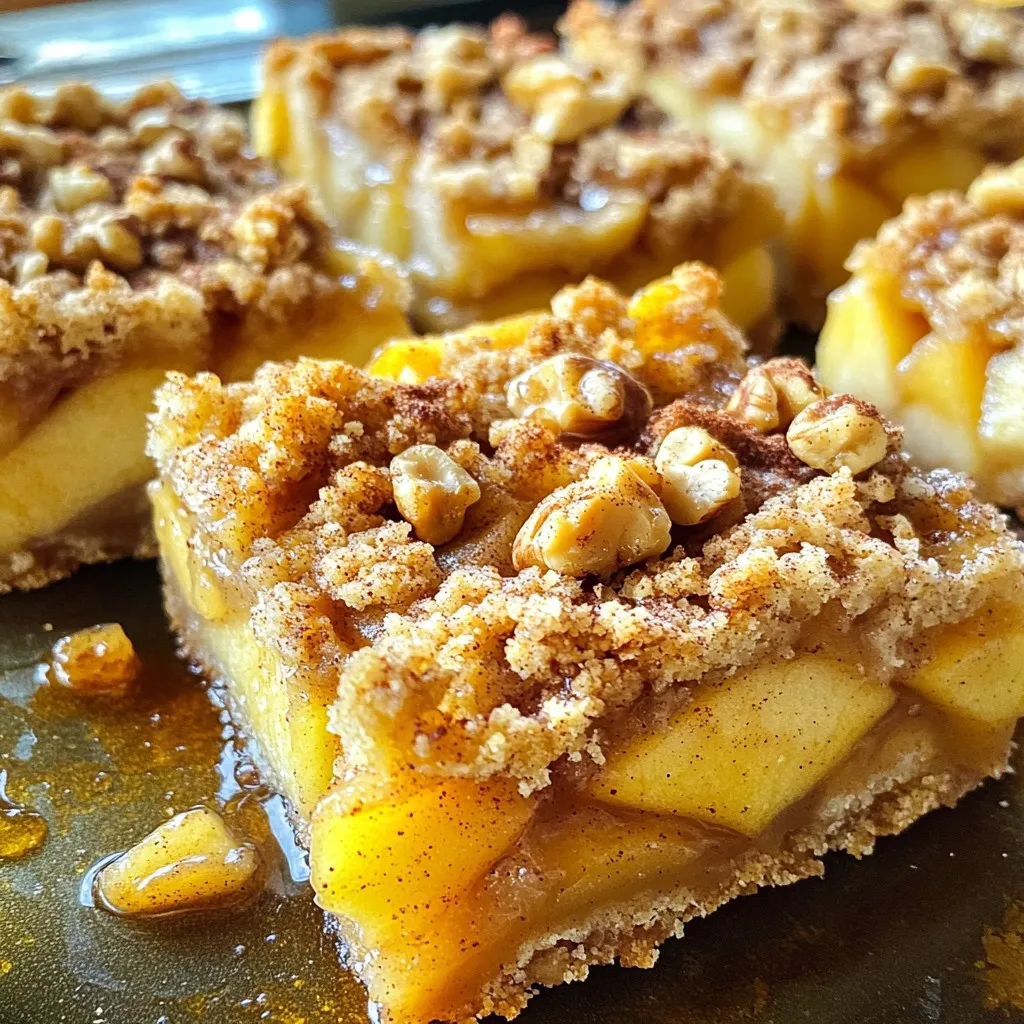
Imagine waking up to the sweet aroma of baked apple crumble breakfast bars! These tasty treats combine warm, spiced apples with a crispy oat topping. They make a perfect start …
Imagine waking up to the sweet aroma of baked apple crumble breakfast bars! These tasty treats combine warm, spiced apples with a crispy oat topping. They make a perfect start …

Are you craving a quick, flavorful meal? Look no further than my Minute Chili Lime Tuna Rice Bowls! This easy dish combines zesty flavors with nutritious ingredients in just minutes. …
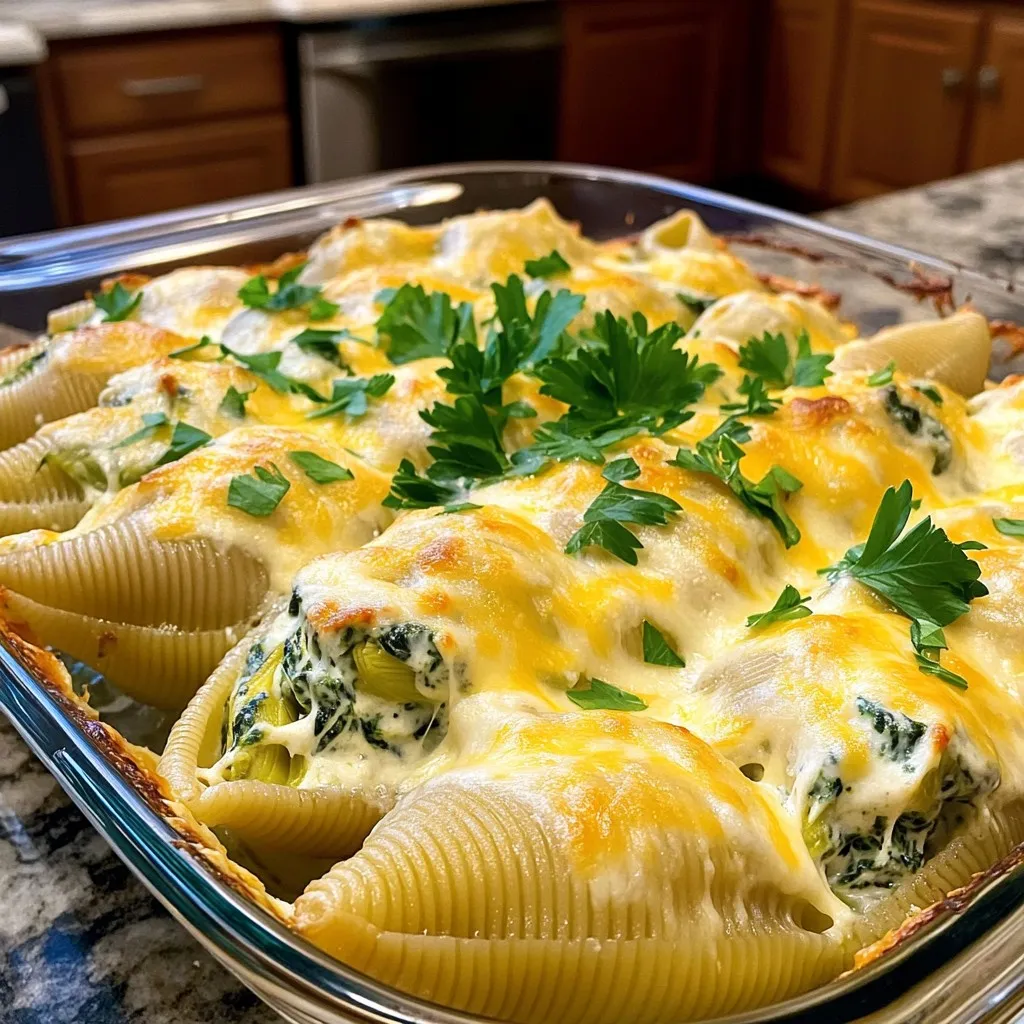
Get ready to dive into a dish that’s a crowd-pleaser! Creamy Spinach Artichoke Stuffed Shells bring a burst of flavor to your table. I’ll guide you through the easy steps …
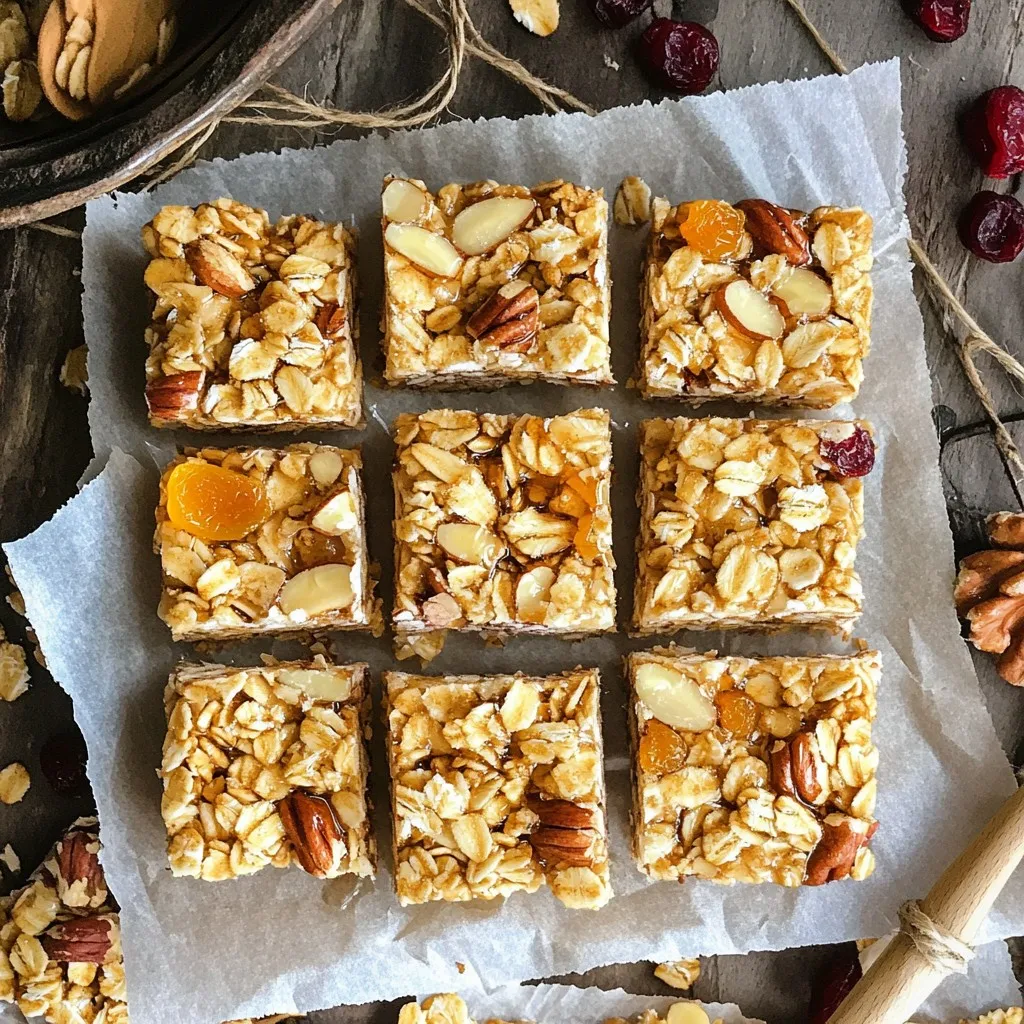
Are you looking for a quick snack that’s both easy to make and delicious? These Maple Brown Sugar Granola Bars are your answer! Packed with oats, nuts, and a touch …
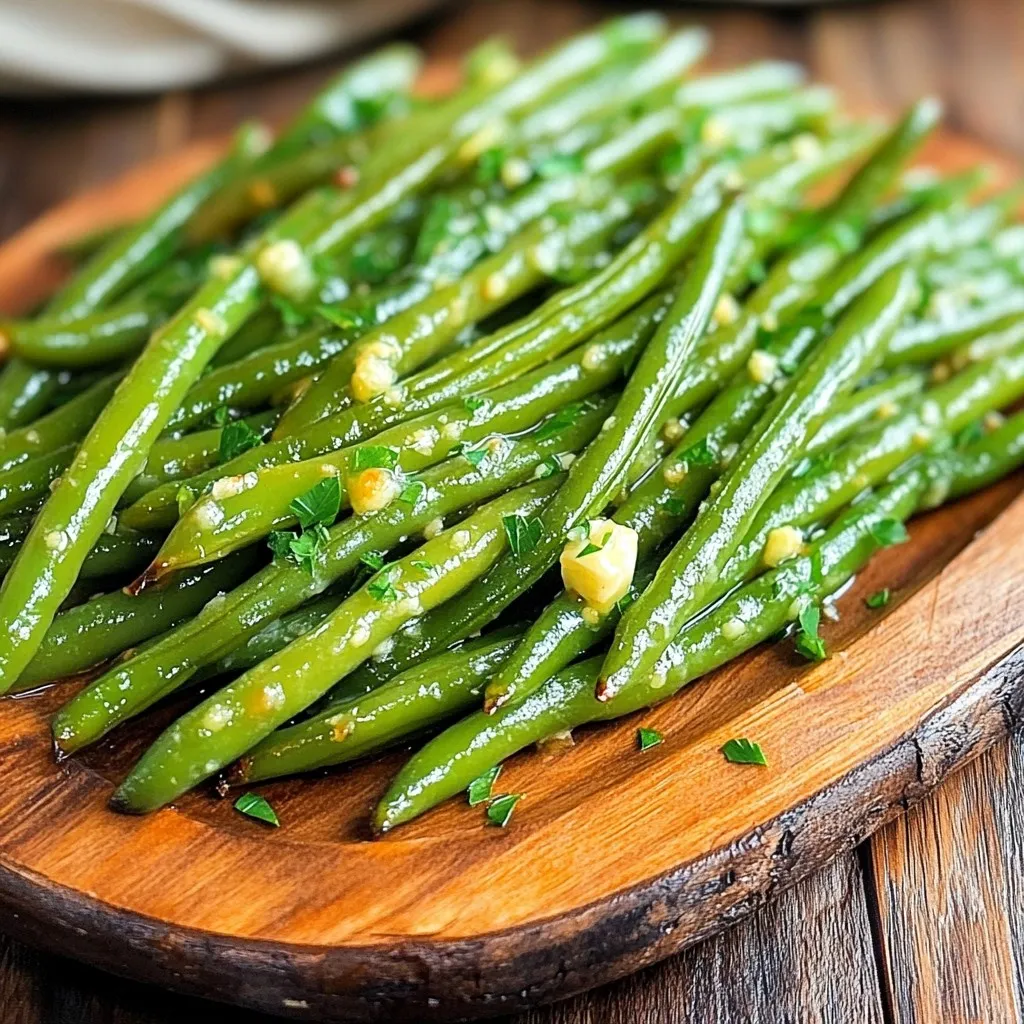
Looking for a quick and tasty side dish? You’ve found it! Air Fryer Garlic Butter Green Beans are simple, savory, and full of flavor. In just a few steps, you’ll …

Get ready to indulge in the ultimate fall treat: Cinnamon Sugar Pumpkin Donut Muffins! These fluffy, flavorful muffins combine the warm spices of pumpkin pie with a sweet, cinnamon sugar …

Are you ready to treat your taste buds with cheesy goodness? This easy and flavorful Cheesy Pizza Pockets recipe is perfect for a snack or quick meal. Imagine tender pizza …
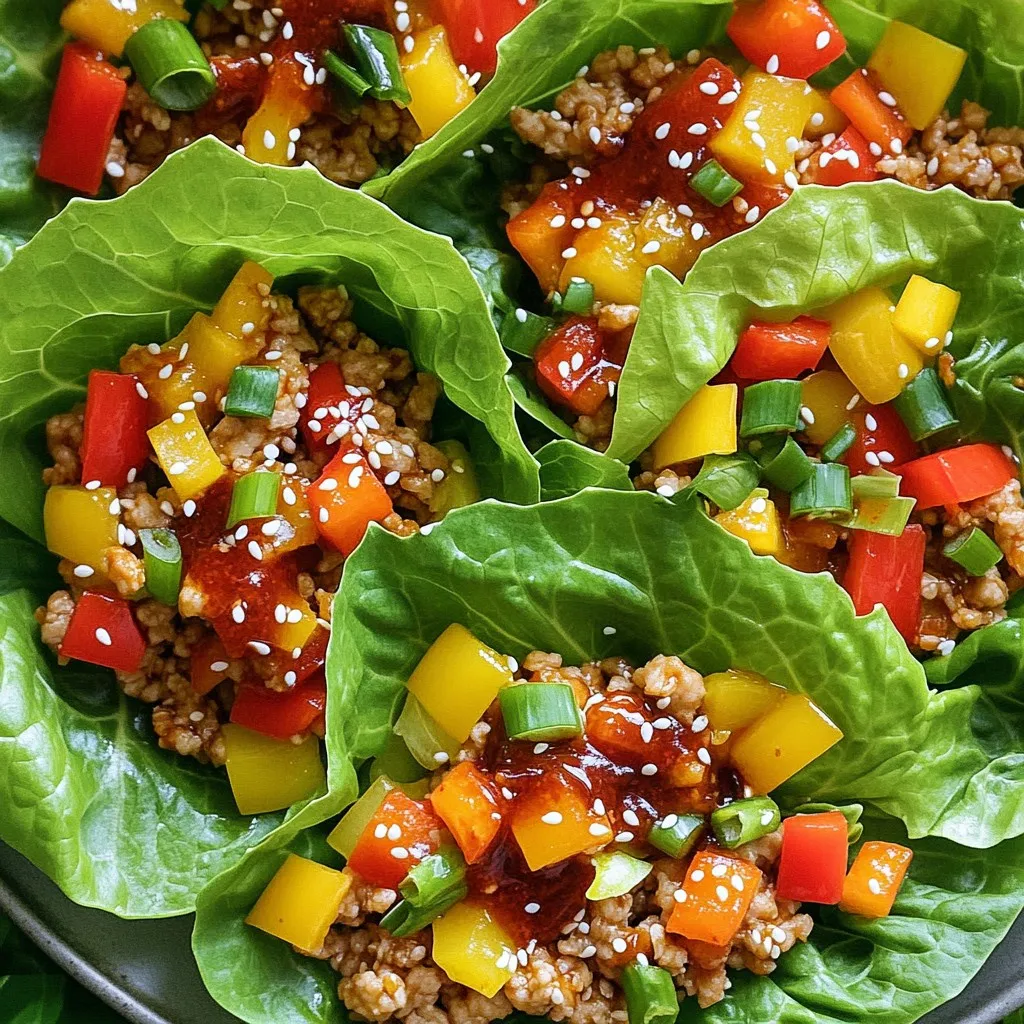
Are you ready for a flavor explosion? These Viral Honey Sriracha Chicken Lettuce Wraps will make your taste buds dance! I’ll show you how to whip up this quick, easy, …
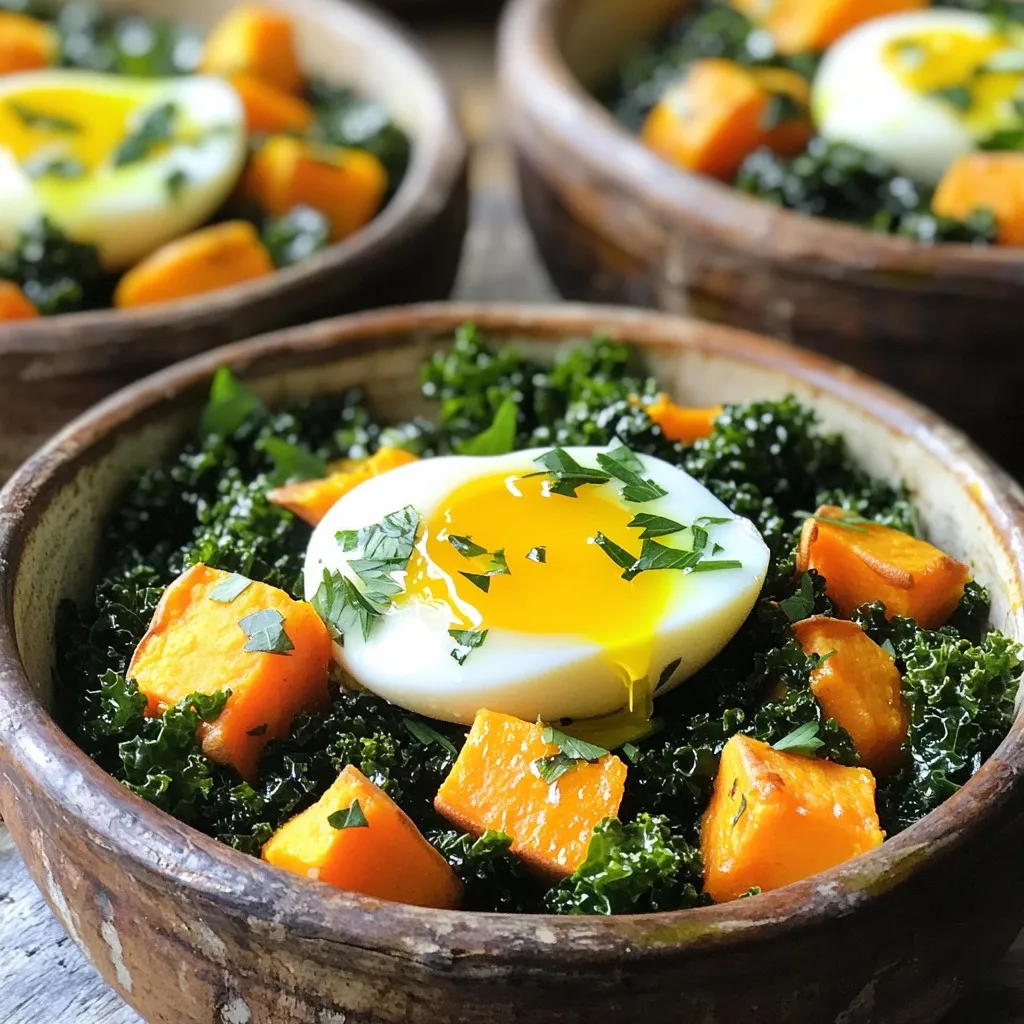
Looking for a hearty breakfast that’s packed with flavor? My Savory Sweet Potato & Kale Breakfast Hash is the answer! This recipe is simple, healthy, and perfect for any morning. …
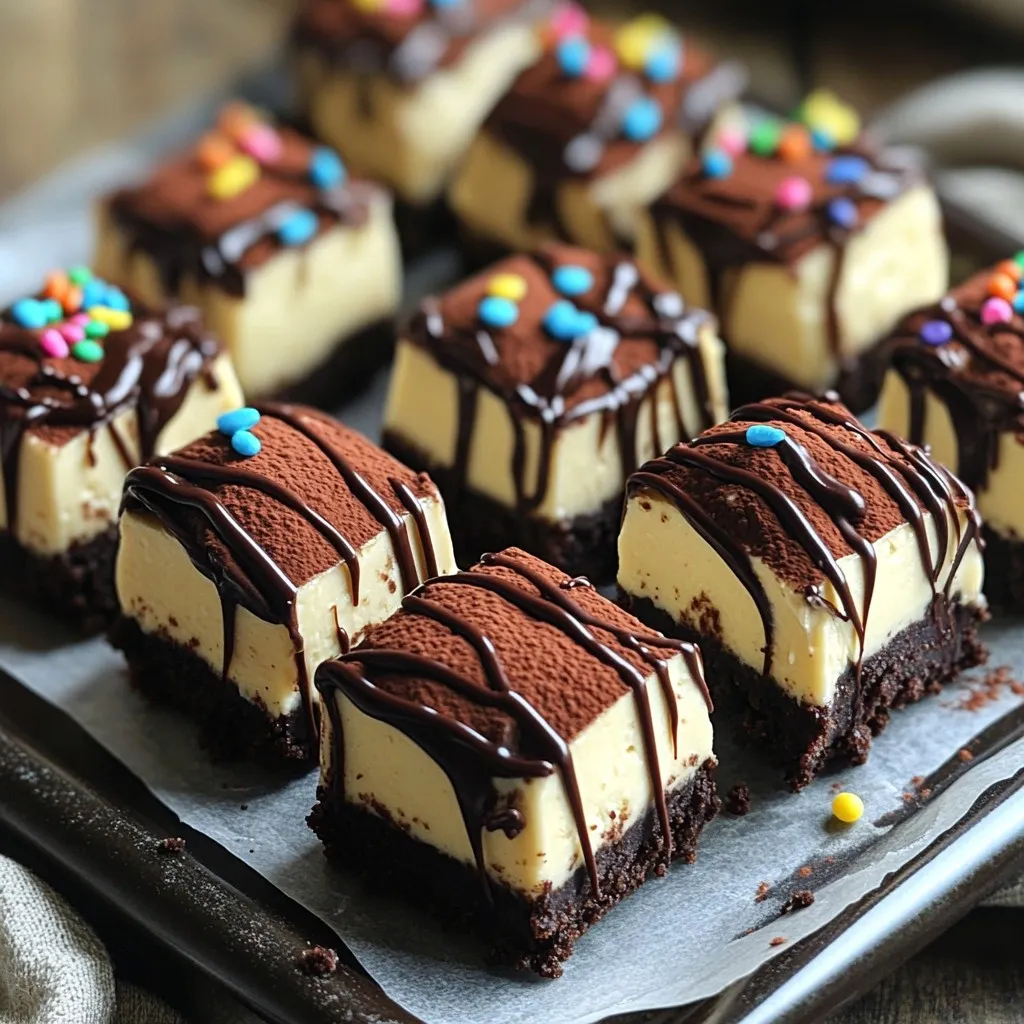
Are you ready to indulge in a sweet treat that’s easy to make? These No-Bake Mocha Espresso Cheesecake Bites are the perfect mix of creamy and rich flavors, all without …