TikTok Salmon Sushi Bowls Fresh and Flavorful Delight
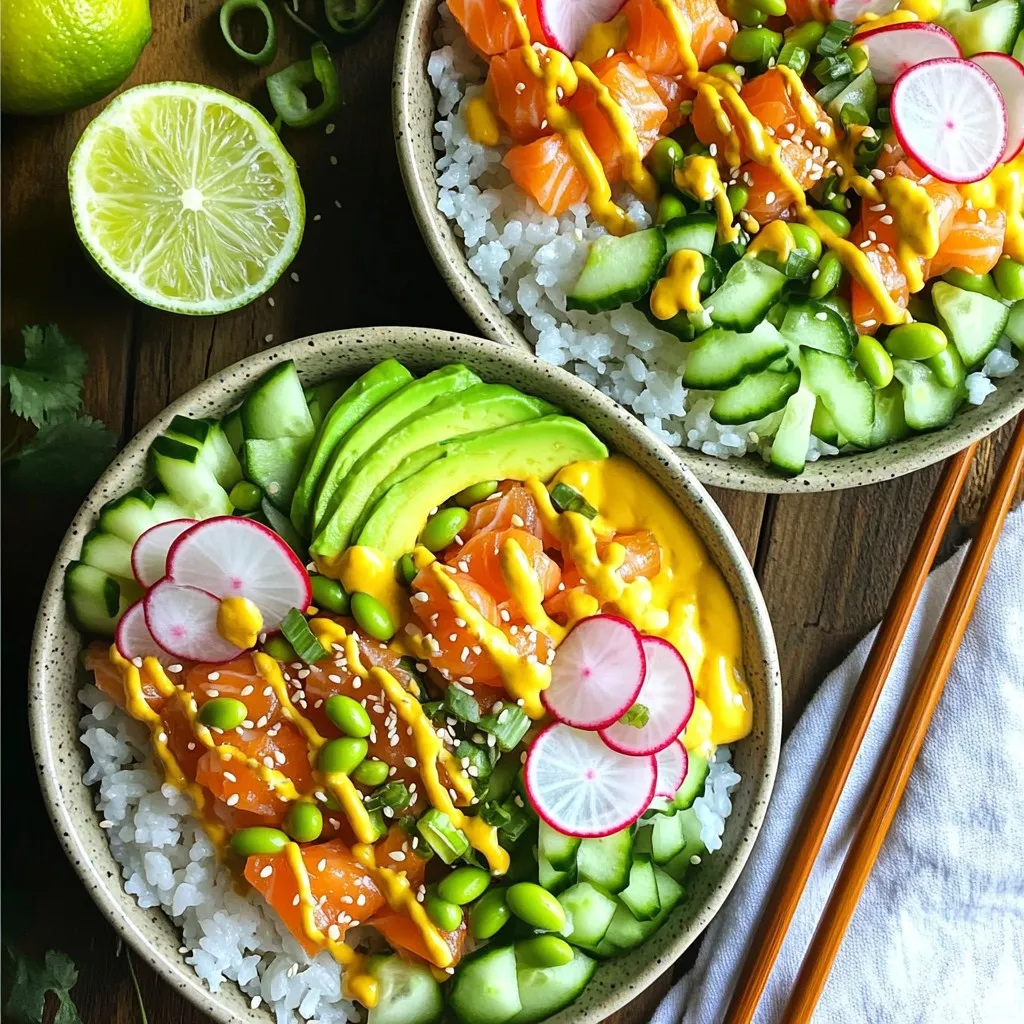
Are you ready to elevate your home cooking? TikTok Salmon Sushi Bowls are not just a trend; they’re a fresh and tasty meal you can whip up in no time. …
Are you ready to elevate your home cooking? TikTok Salmon Sushi Bowls are not just a trend; they’re a fresh and tasty meal you can whip up in no time. …
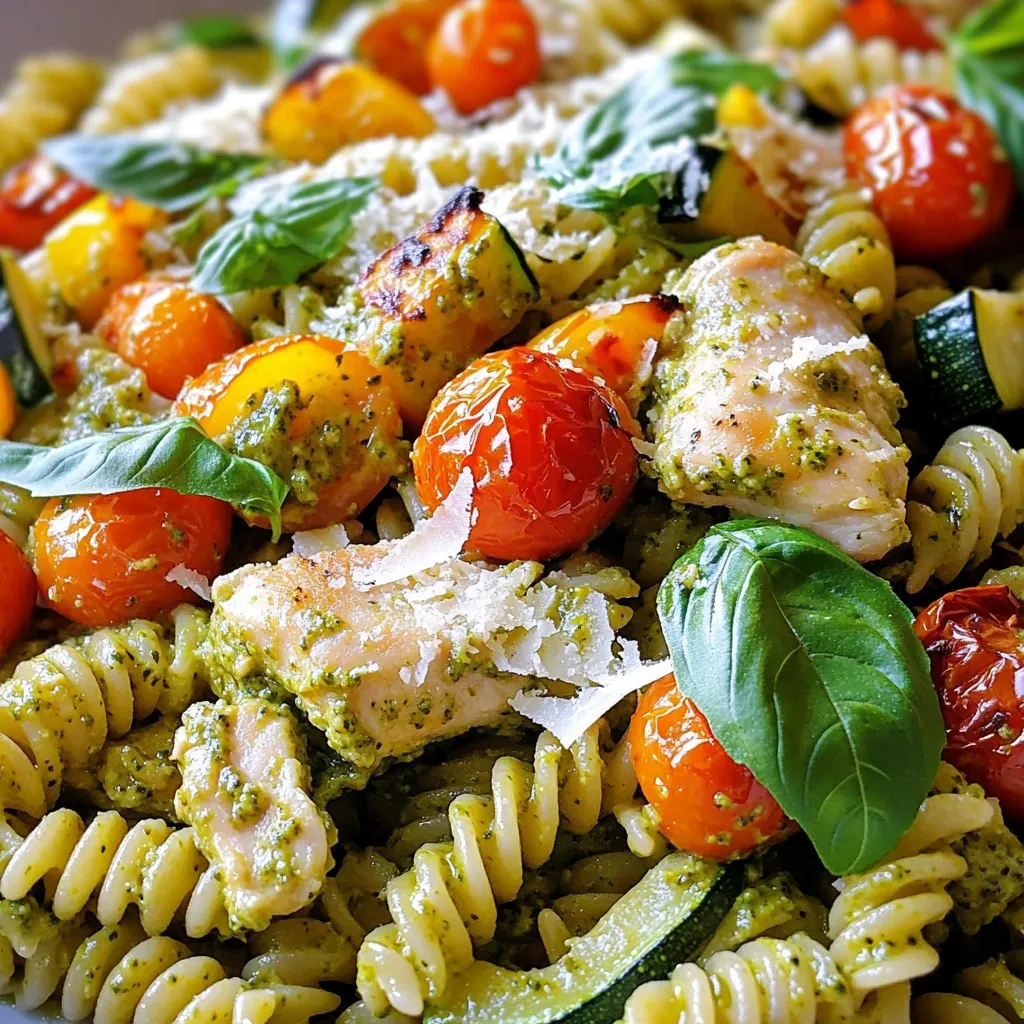
Are you ready to impress your family with a delicious meal? My Creamy Pesto Chicken & Roasted Veggie Pasta is both easy to make and bursting with flavor. With fresh …

Are you ready to make a tasty treat that’s both sweet and crispy? Air Fryer Cinnamon Sugar Sweet Potato Chips are a perfect snack. With just a few simple ingredients …
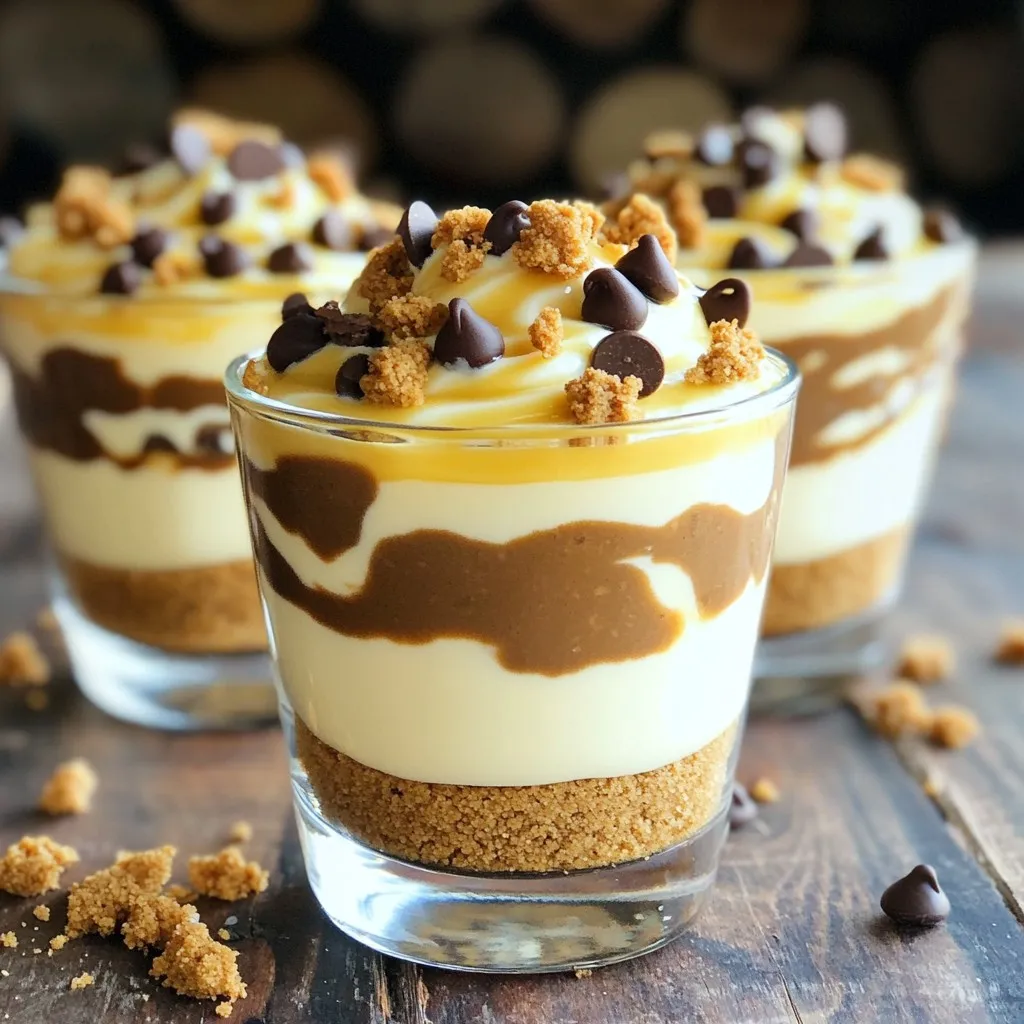
Are you ready to indulge in a creamy, sweet treat without turning on your oven? These No-Bake Cookie Butter Cheesecake Cups are the answer! With just a few easy steps …
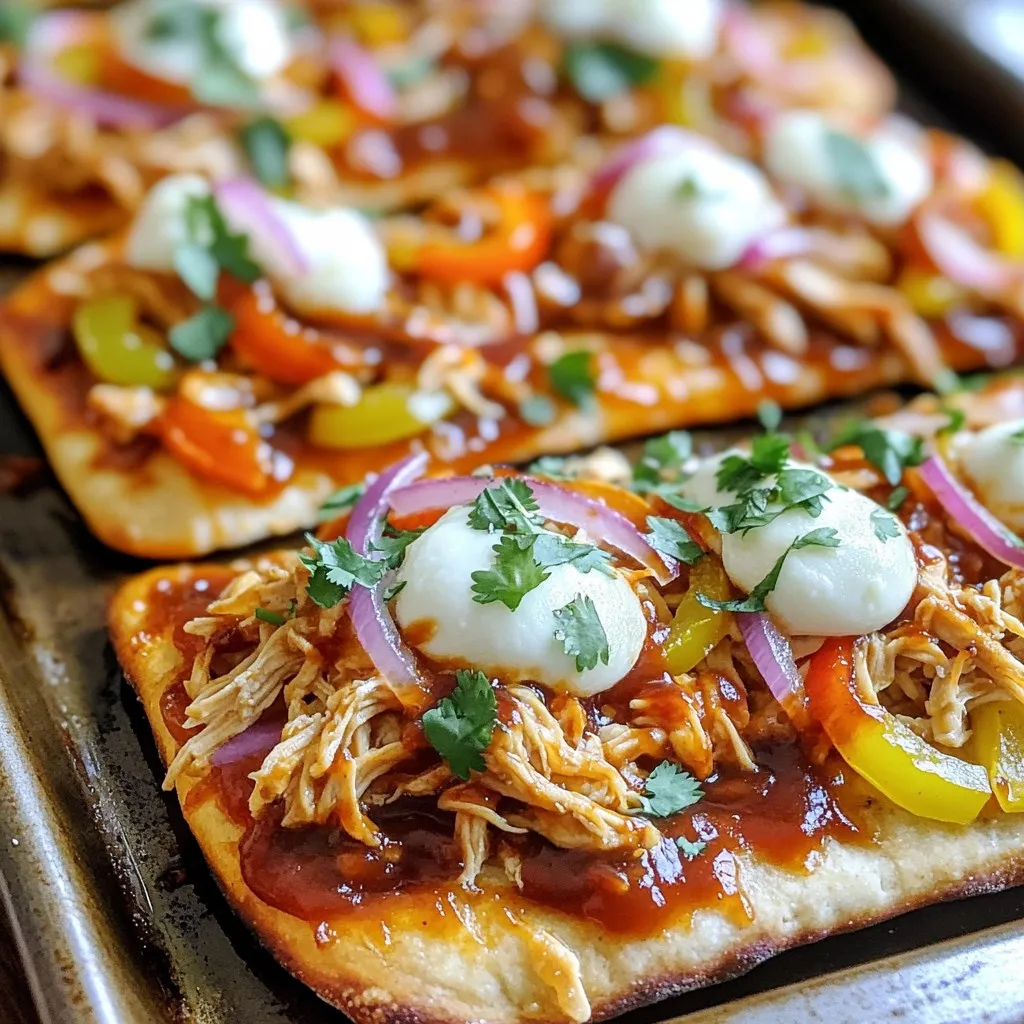
Get ready to satisfy your cravings with my easy Sheet-Pan BBQ Chicken Flatbreads! This recipe is perfect for busy weeknights and uses simple ingredients like cooked chicken, BBQ sauce, and …
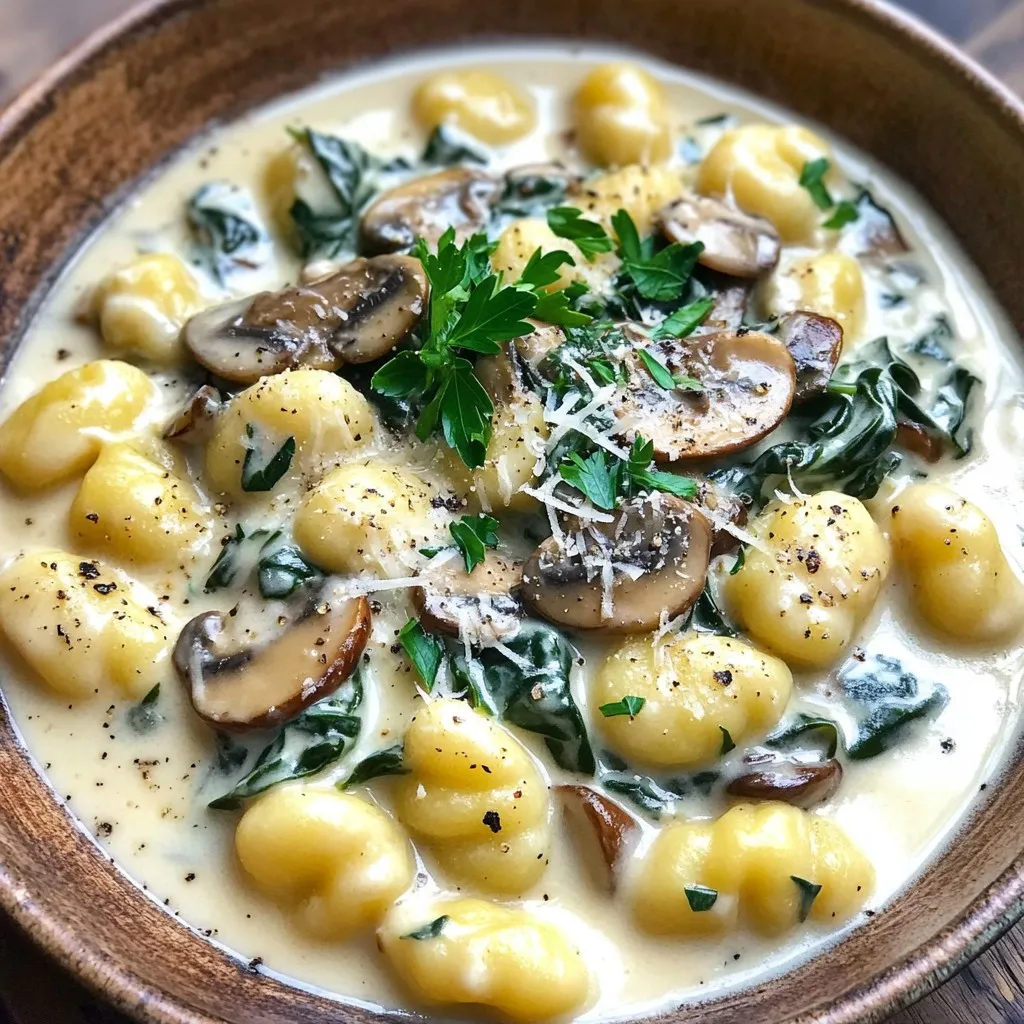
Are you ready to whip up a comforting meal in just one pan? In this post, I’ll share my easy recipe for One-Pan Creamy Mushroom Spinach Gnocchi Delight. Packed with …
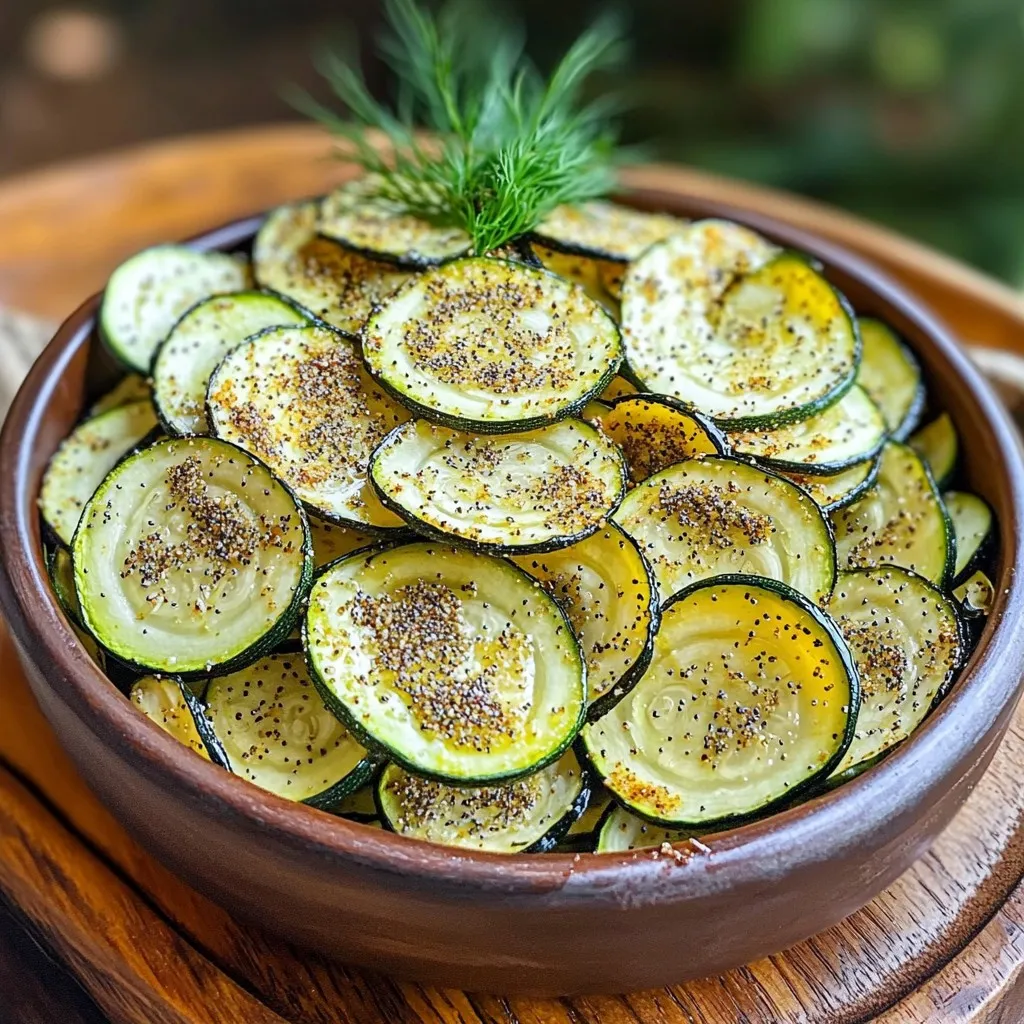
Are you ready to snack smarter? These Air Fryer Everything Bagel Zucchini Chips bring a tasty twist to your munching routine. With just a few simple ingredients and easy steps, …
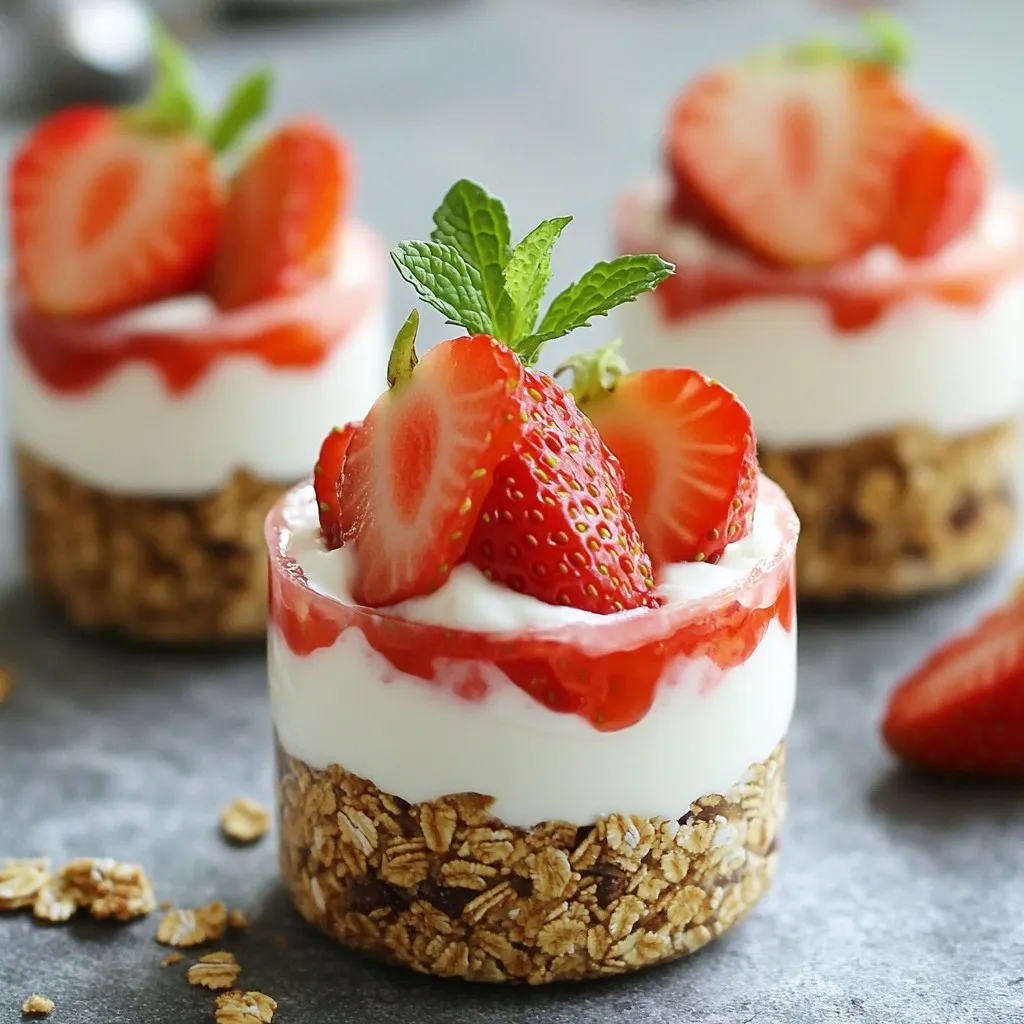
Ready for a tasty treat that’s both healthy and easy to make? My No-Bake Strawberry Cheesecake Protein Cups are not just delicious; they’re packed with protein to energize your day. …
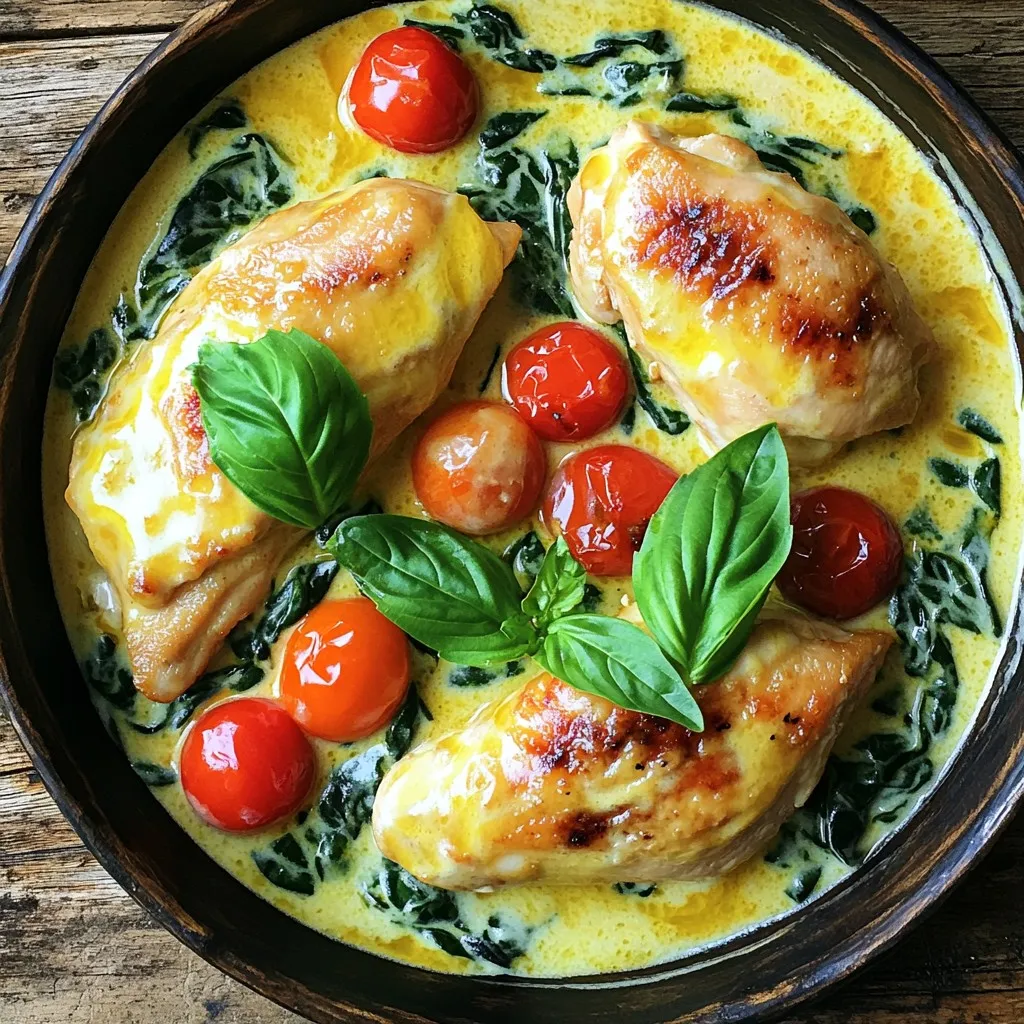
Get ready to savor a dish that combines rich flavors and creamy goodness! My Instant Pot Creamy Tuscan Chicken is not just easy to make; it’s a comforting meal that …
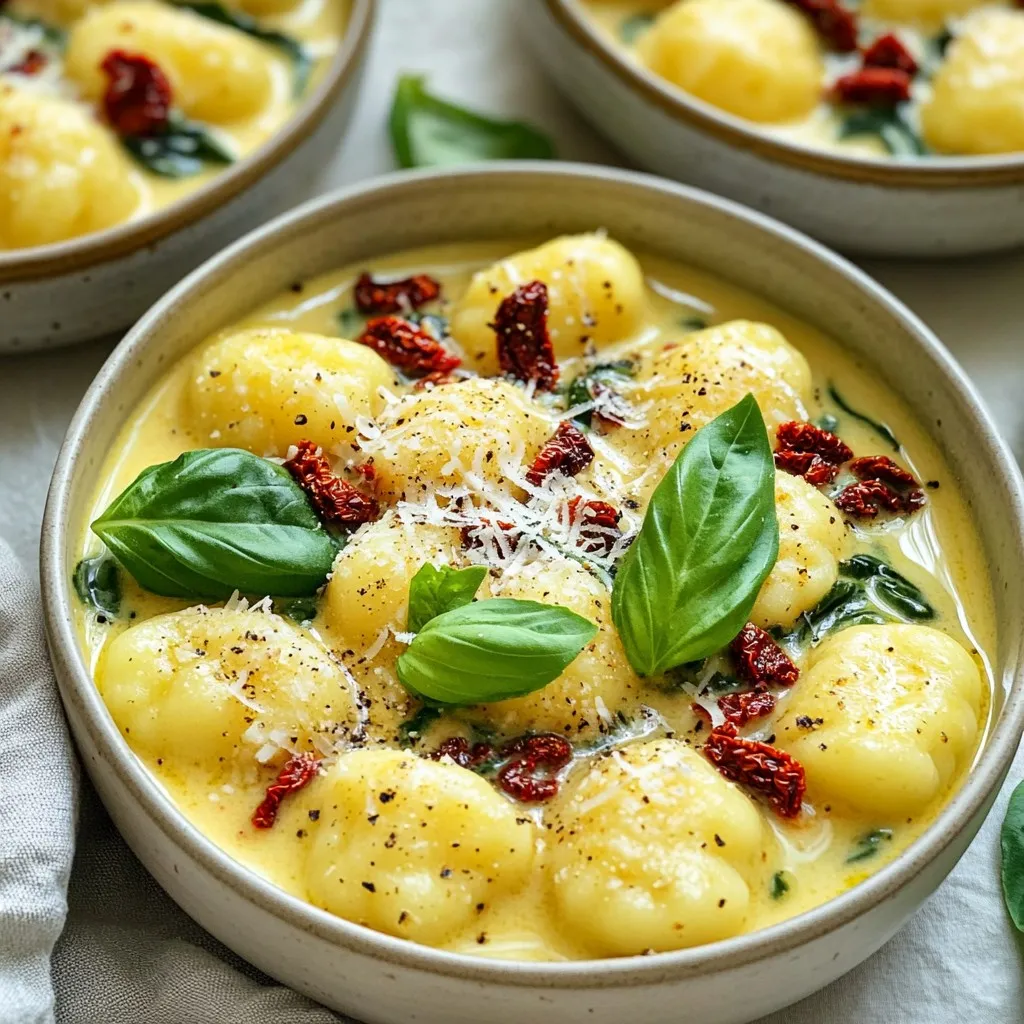
Are you ready to impress your family with a delicious meal that’s easy to make? In this blog post, I’ll share my simple recipe for One-Pot Creamy Sun-Dried Tomato Gnocchi. …