Apple Cinnamon Oatmeal Cookies Flavorful Homemade Treat
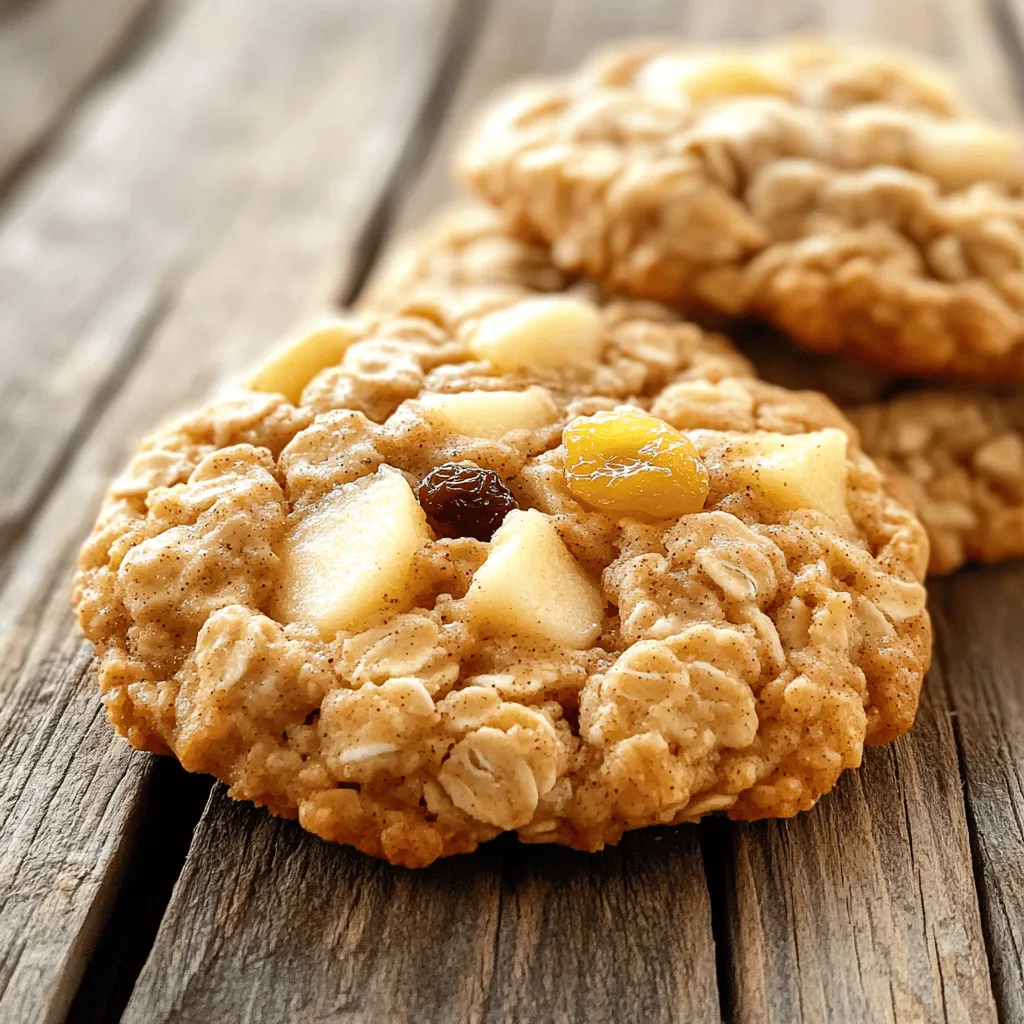
Are you craving a warm, sweet treat? Look no further than my Apple Cinnamon Oatmeal Cookies! These cookies blend the heartiness of oats with the sweetness of fresh apples and …
Are you craving a warm, sweet treat? Look no further than my Apple Cinnamon Oatmeal Cookies! These cookies blend the heartiness of oats with the sweetness of fresh apples and …
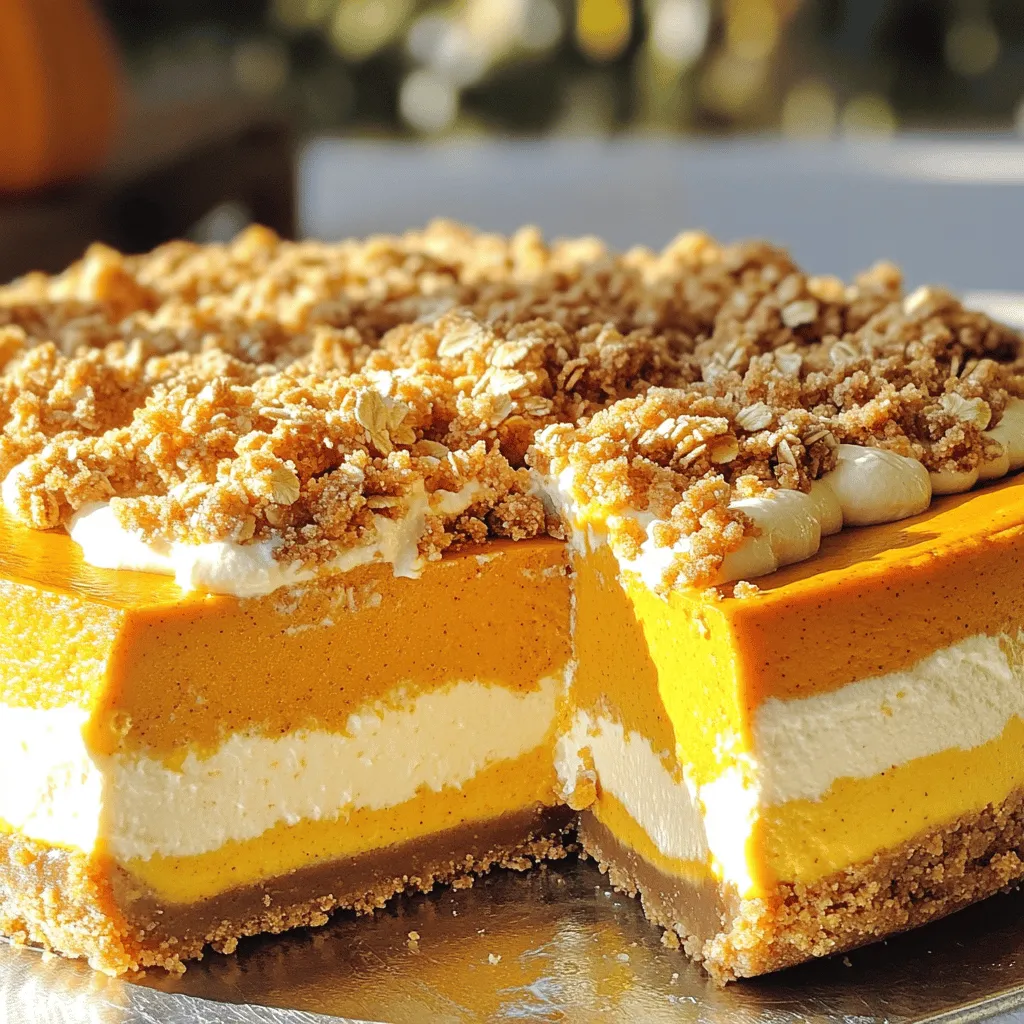
Get ready to savor the season with my Pumpkin Streusel Cheesecake! This delightful fall treat combines creamy pumpkin filling with a crunchy streusel topping, perfect for any gathering or cozy …
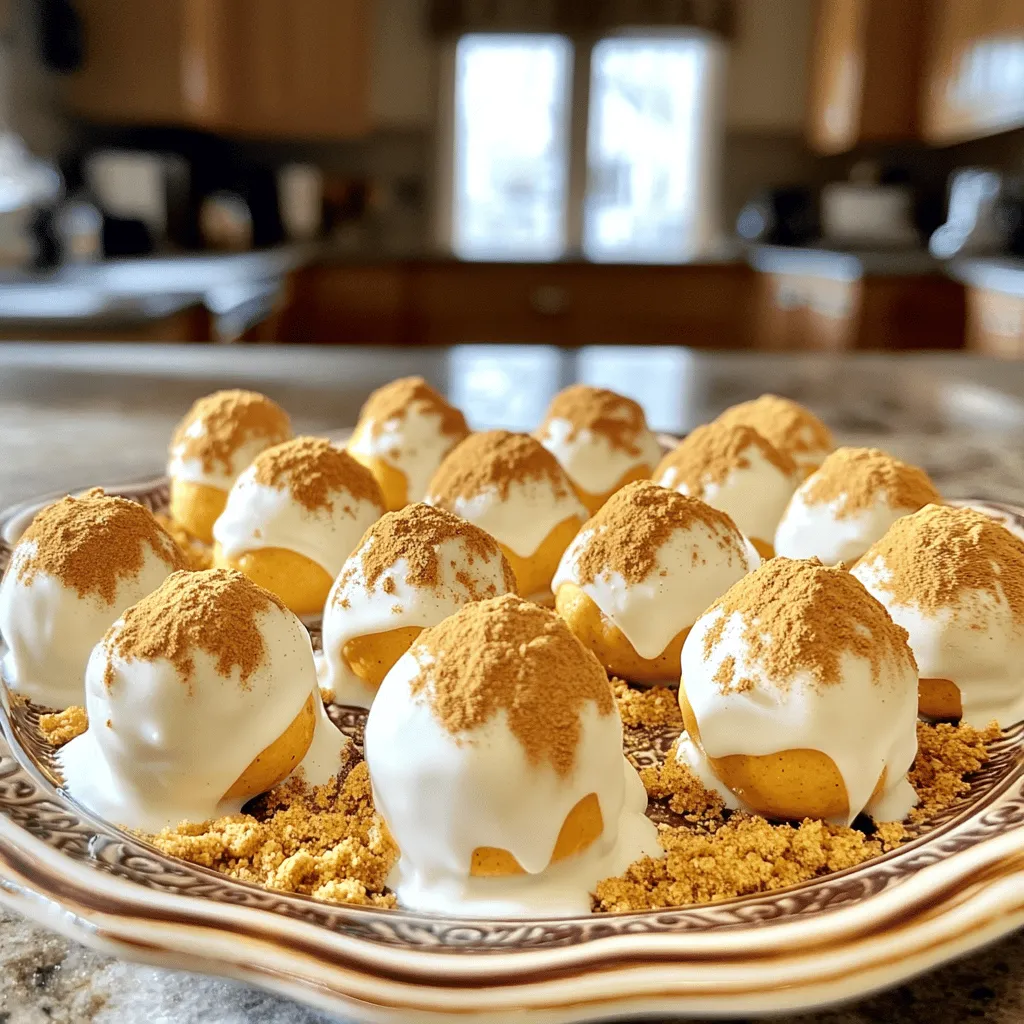
Looking for a sweet treat that captures the essence of fall? Let me introduce you to Pumpkin Cheesecake Truffles! These bite-sized delights blend creamy pumpkin, rich cream cheese, and warm …
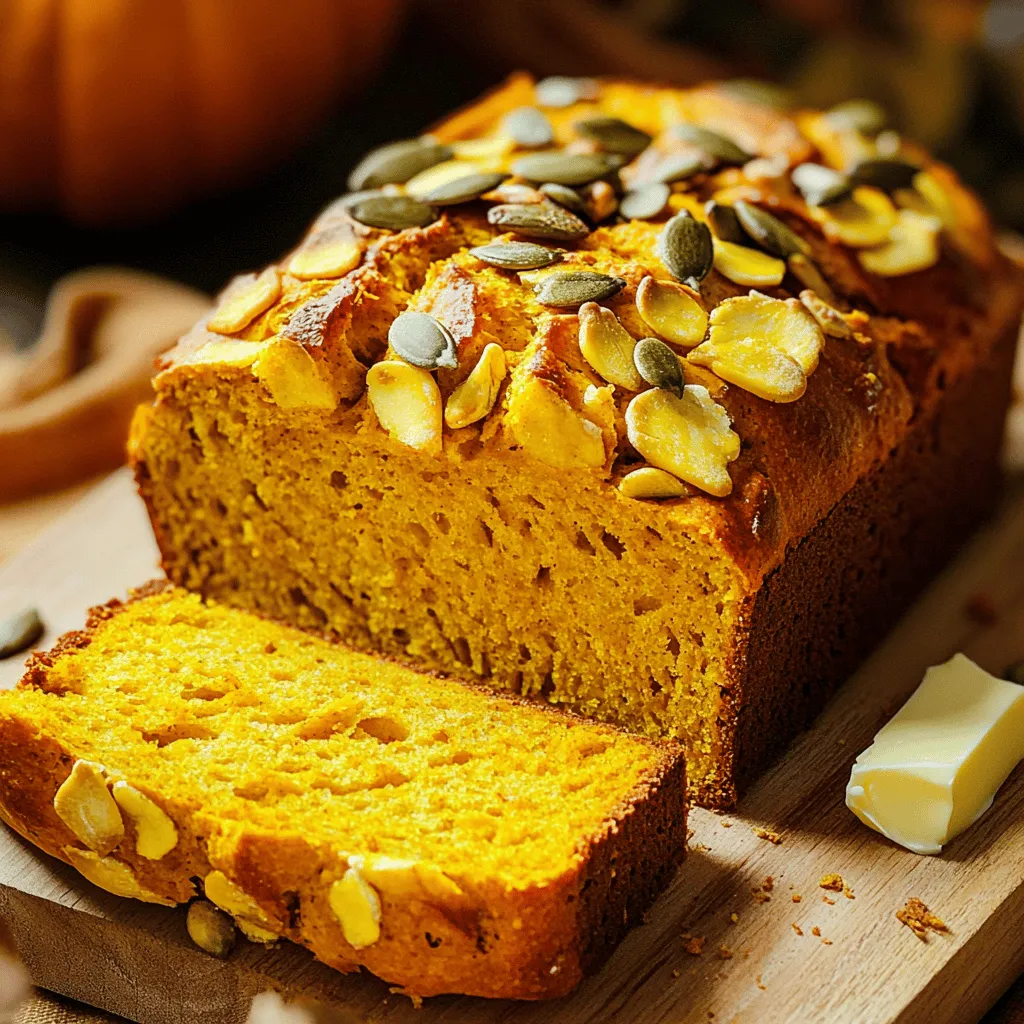
Pumpkin sourdough bread is a warm and tasty treat that’s easy to make. With its rich flavor and cozy spices, this bread is perfect for fall or any time you …

Warm, cheesy, and full of flavor, Canadian Cheddar Soup is the ultimate comfort food. This rich dish combines creamy textures and bold tastes, perfect for chilly days. In this post, …
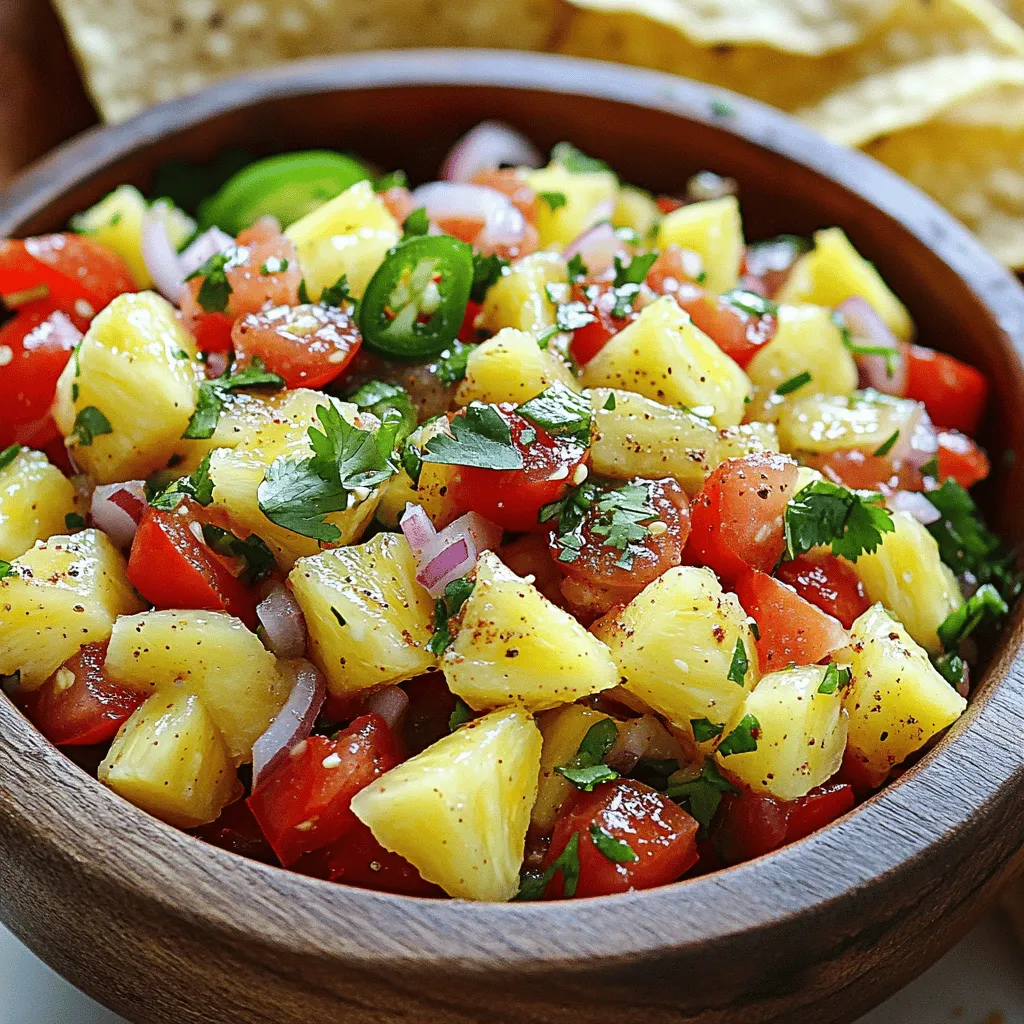
Summer is here, and it’s time to spice up your meals with something fresh and vibrant! Fresh Pineapple Pico de Gallo adds a tasty twist to your summer gatherings. This …

Are you ready to whip up something sweet and simple? You can make delicious Two Ingredient Caramel Apple Fudge with just apple butter and white chocolate chips. In this quick …
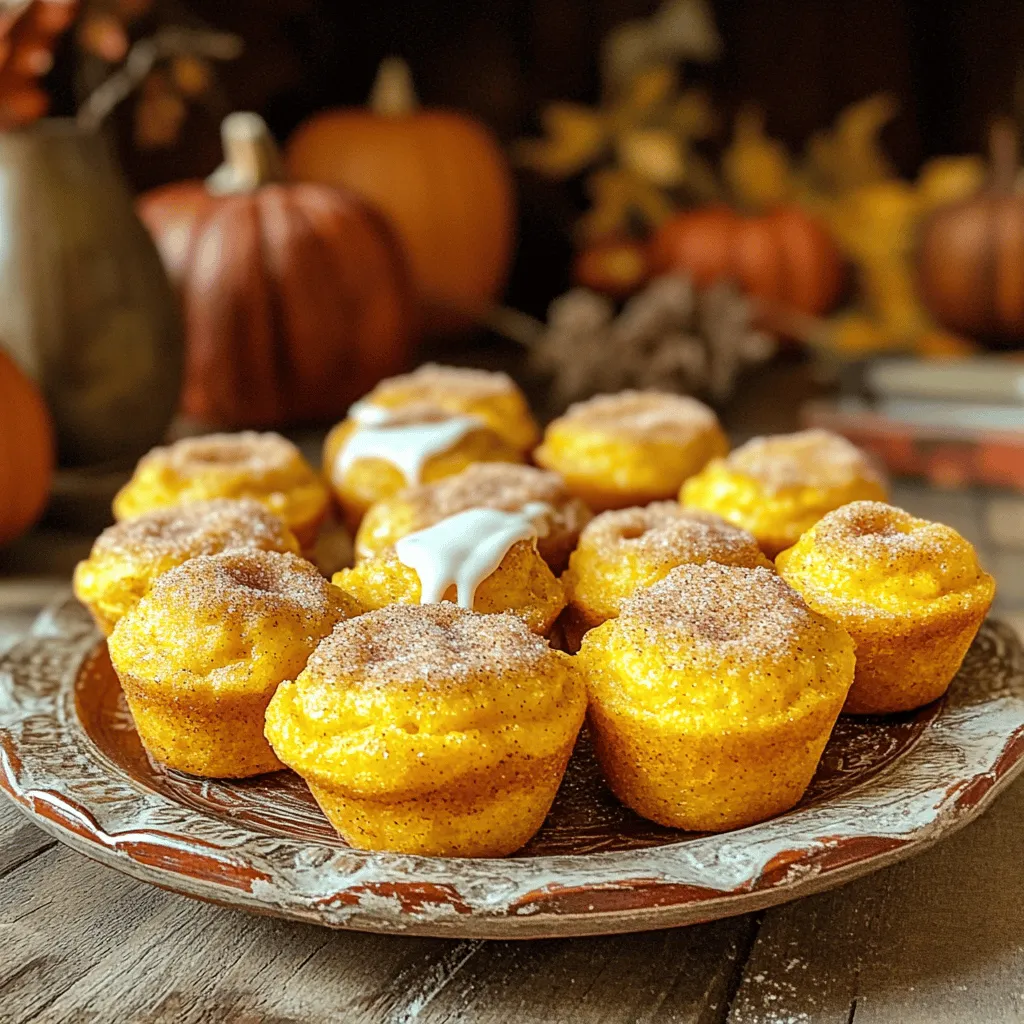
Are you ready for a fall treat that combines the best of both worlds? Pumpkin donut muffins are a delightful way to enjoy pumpkin’s rich flavor with a sweet twist. …
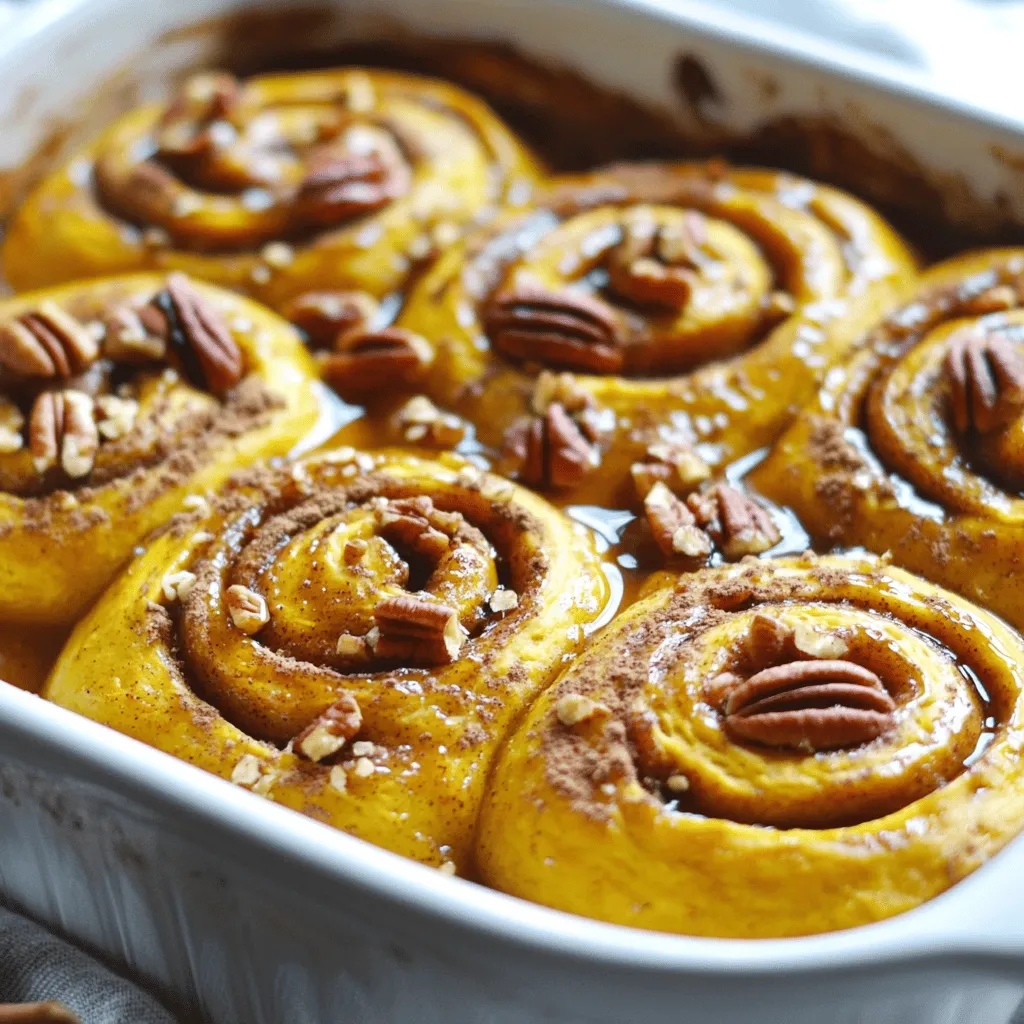
Get ready to enjoy fall flavors with my Pumpkin Cinnamon Roll Bake! This dish combines warm spices and soft, gooey cinnamon rolls for a treat that’s both simple and delicious. …
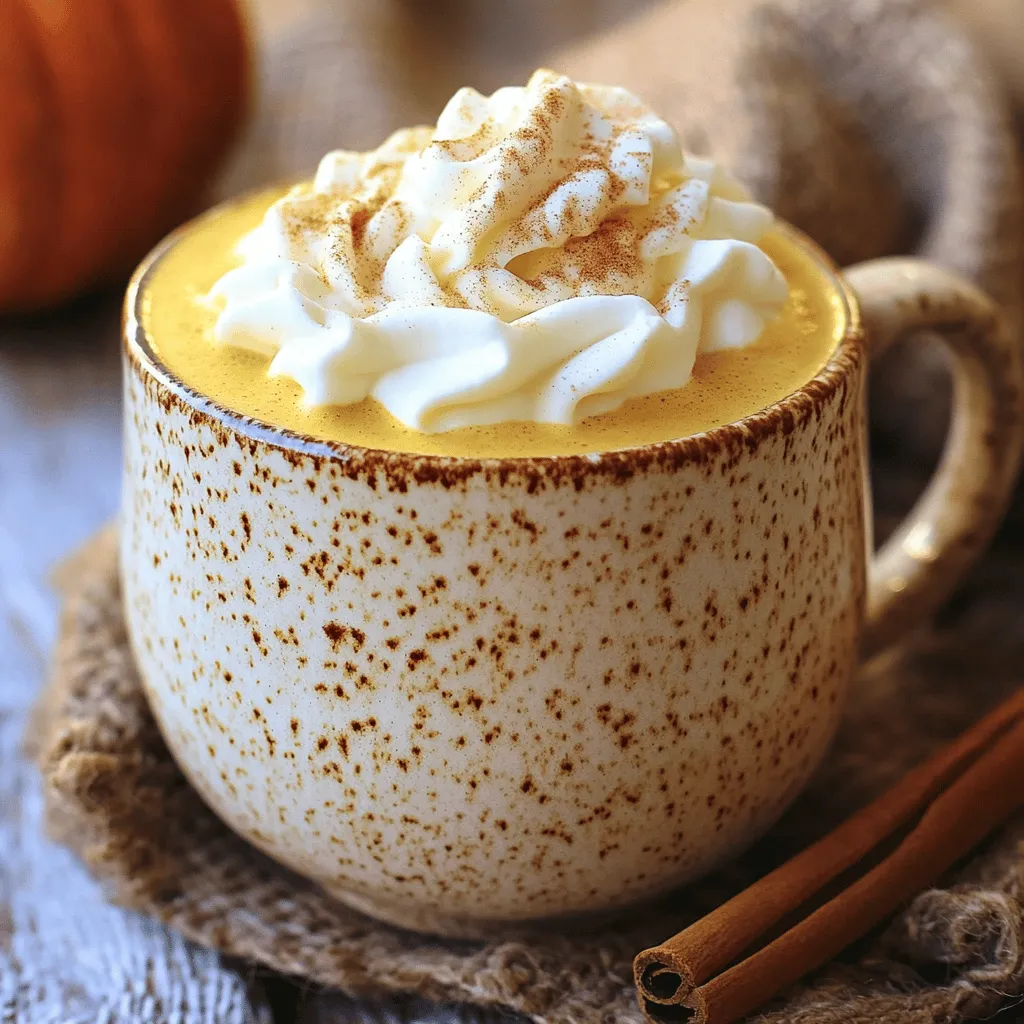
As the leaves change and the air gets crisp, nothing warms you up like a Pumpkin Spice Latte. This comforting fall drink is not just trendy; it’s a cozy hug …