Mango Dragonfruit Lemonade Refresher Fresh and Fruity

Are you ready to quench your thirst with a burst of flavor? The Mango Dragonfruit Lemonade Refresher is a vibrant, fruity drink that’s perfect for any day. You’ll love how …
Are you ready to quench your thirst with a burst of flavor? The Mango Dragonfruit Lemonade Refresher is a vibrant, fruity drink that’s perfect for any day. You’ll love how …

If you’re craving a warm hug in a bowl, look no further than my Instant Pot Chicken Noodle Soup. This dish is not just easy to make; it’s packed with …
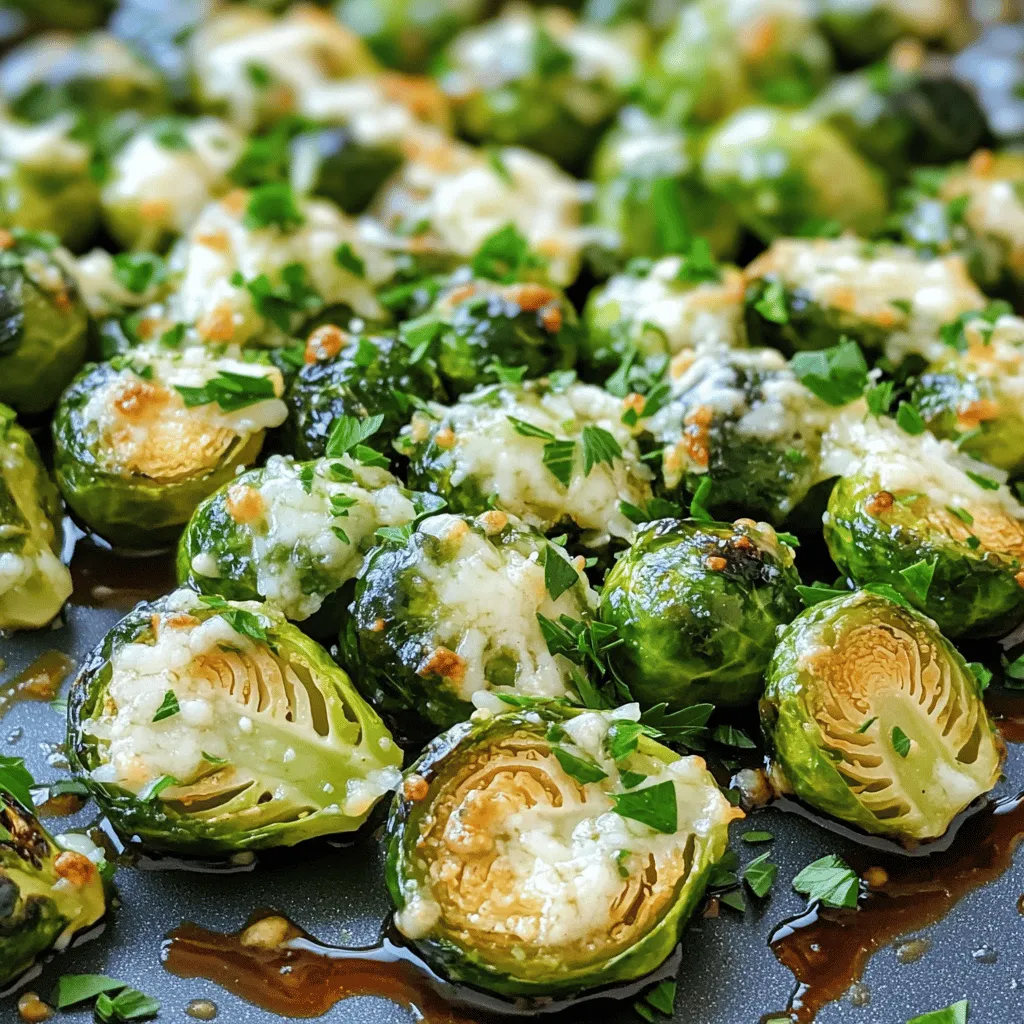
Ready to elevate your side dish game? Garlic Parmesan Roasted Brussels Sprouts are here to steal the show! With just a handful of fresh ingredients, you’ll create a savory, crispy, …

Who doesn’t love cookies? Imagine biting into a soft brownie cookie, only to find an Oreo hiding inside. That’s right! I’m talking about Oreo Stuffed Brownie Cookies—tempting and easy to …

Are you ready to savor a taste explosion? My Air Fryer Honey Garlic Chicken Bites are quick, easy, and packed with flavor! With just a few simple ingredients like chicken, …

Looking for a delightful way to enjoy fall flavors? You’ll love this Iced Apple Crisp Oatmilk Macchiato! With cozy cinnamon, sweet maple syrup, and creamy oat milk, this drink is …

If you love corn, you must try Classic Elote Off the Cob! This simple recipe packs a punch with fresh corn, creamy sauce, and a hint of spice. I’ll guide …
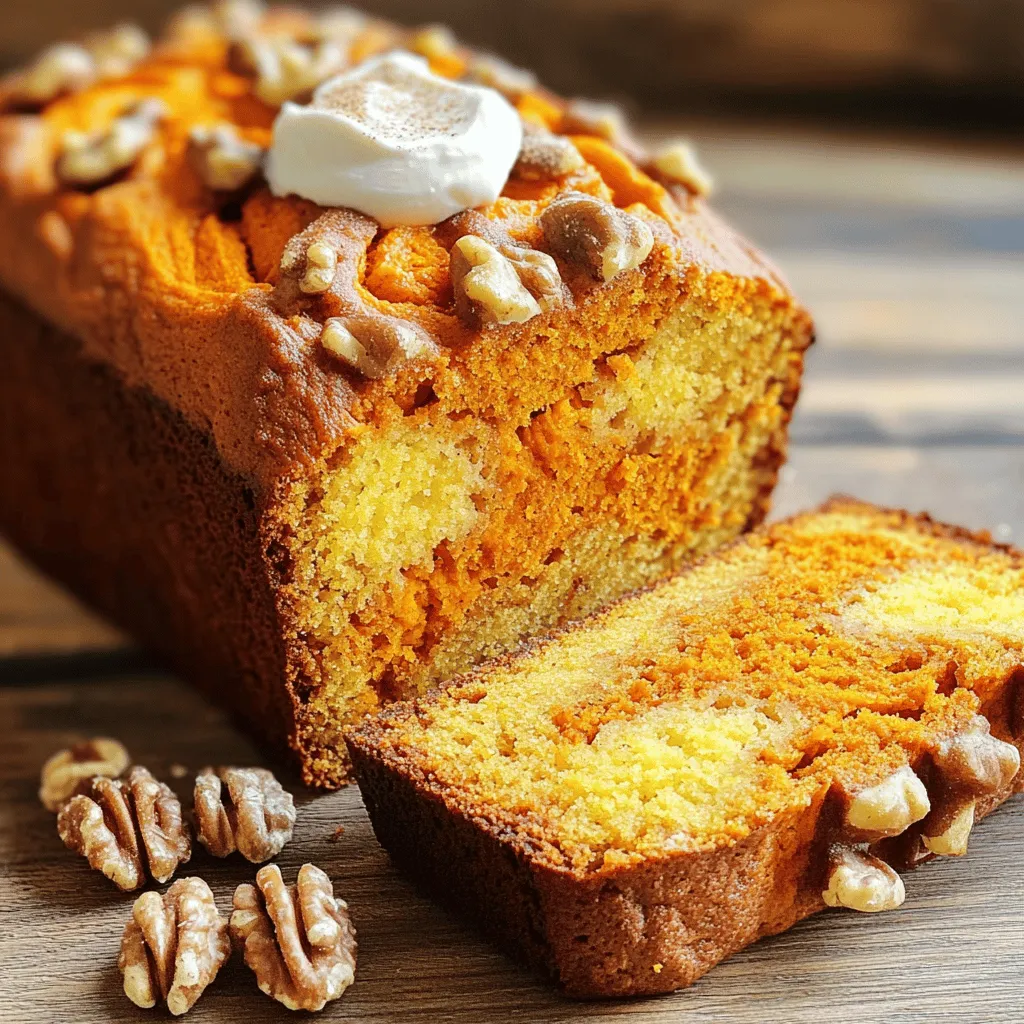
Welcome to my kitchen! Today, I’m sharing a delightful and easy recipe for Spiced Pumpkin Walnut Bread. This treat is perfect for cozy days and brings the warm flavors of …

Welcome to a delightful baking journey! Today, I’ll guide you through making Bakery-Style Zucchini Bread with Streusel. This sweet loaf is moist, fluffy, and topped with a crunchy, delicious streusel. …

Are you ready to savor the season with a delicious Pumpkin Pull-Apart Loaf? This soft delight combines warm spices and rich pumpkin flavor into a cozy treat perfect for gatherings …