Air Fryer Pumpkin Donut Holes Irresistible Treat

If you love fall flavors and sweet treats, you’ll adore these Air Fryer Pumpkin Donut Holes! Made with warm spices and rich pumpkin puree, they are a cozy, delicious snack. …
If you love fall flavors and sweet treats, you’ll adore these Air Fryer Pumpkin Donut Holes! Made with warm spices and rich pumpkin puree, they are a cozy, delicious snack. …

Are you ready to spice up your weeknight dinners? This Ingredient Salsa Chicken recipe is simple and packed with flavor. You’ll find everything you need right here, from a list …
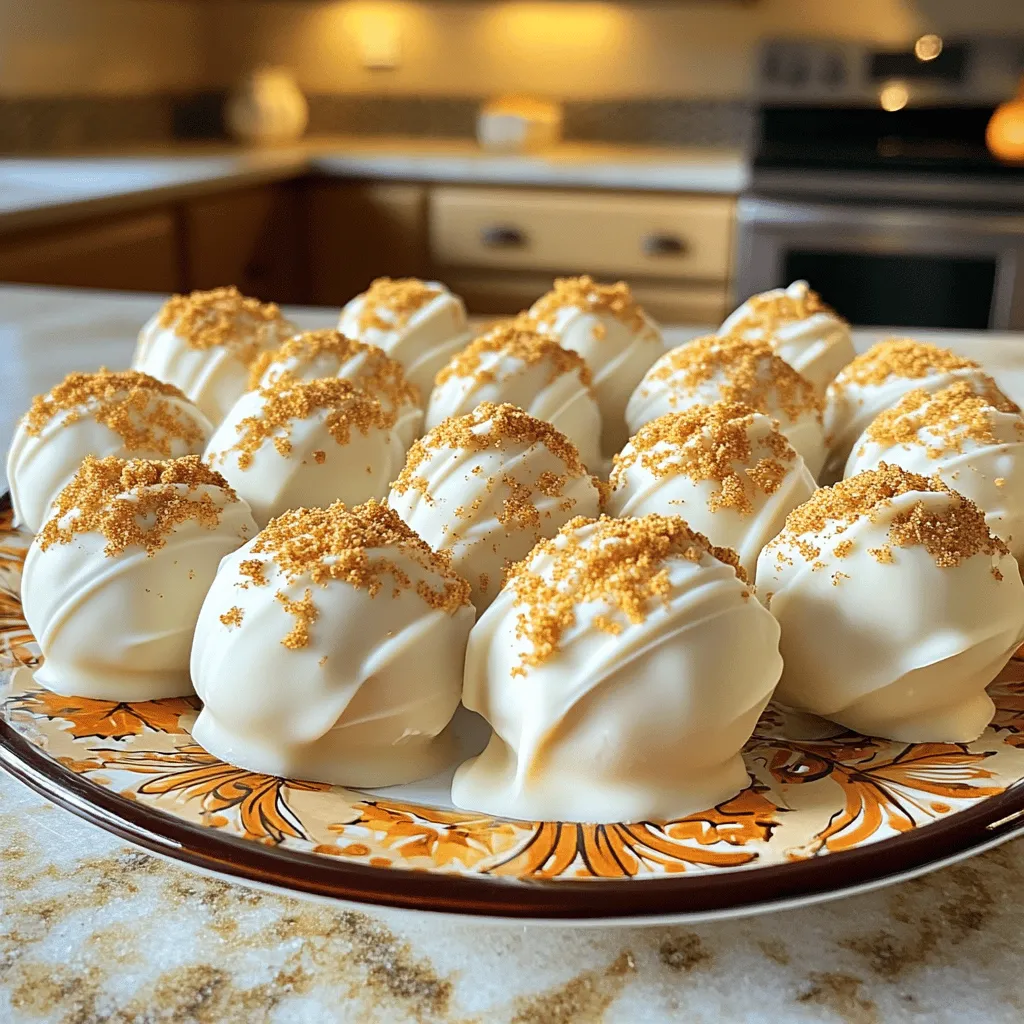
Are you ready to indulge in a dreamy autumn treat? These Pumpkin Cheesecake Truffles blend creamy pumpkin, rich white chocolate, and a hint of spice to create an irresistible dessert. …
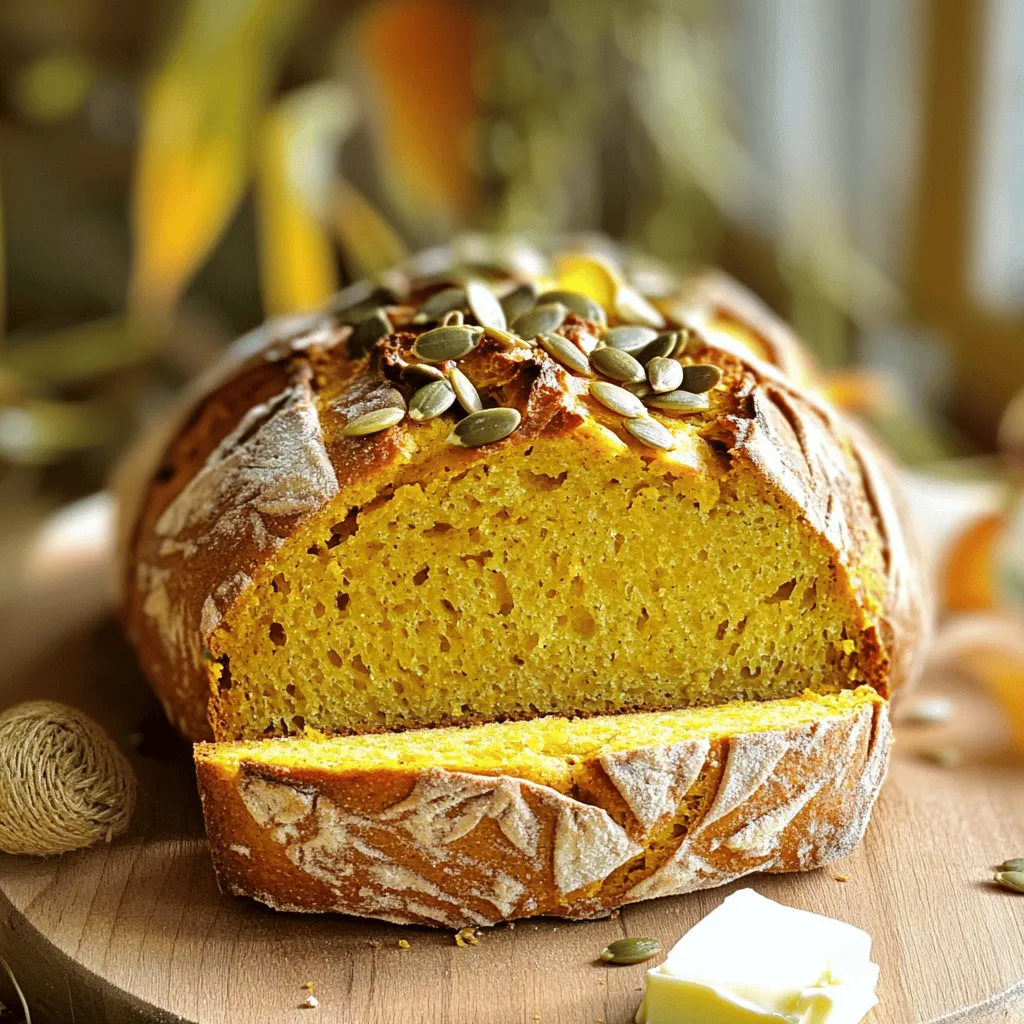
If you love fresh bread with a twist, you need to try making pumpkin sourdough bread! This savory treat mixes the earthiness of sourdough with the warmth of pumpkin. I’ll …
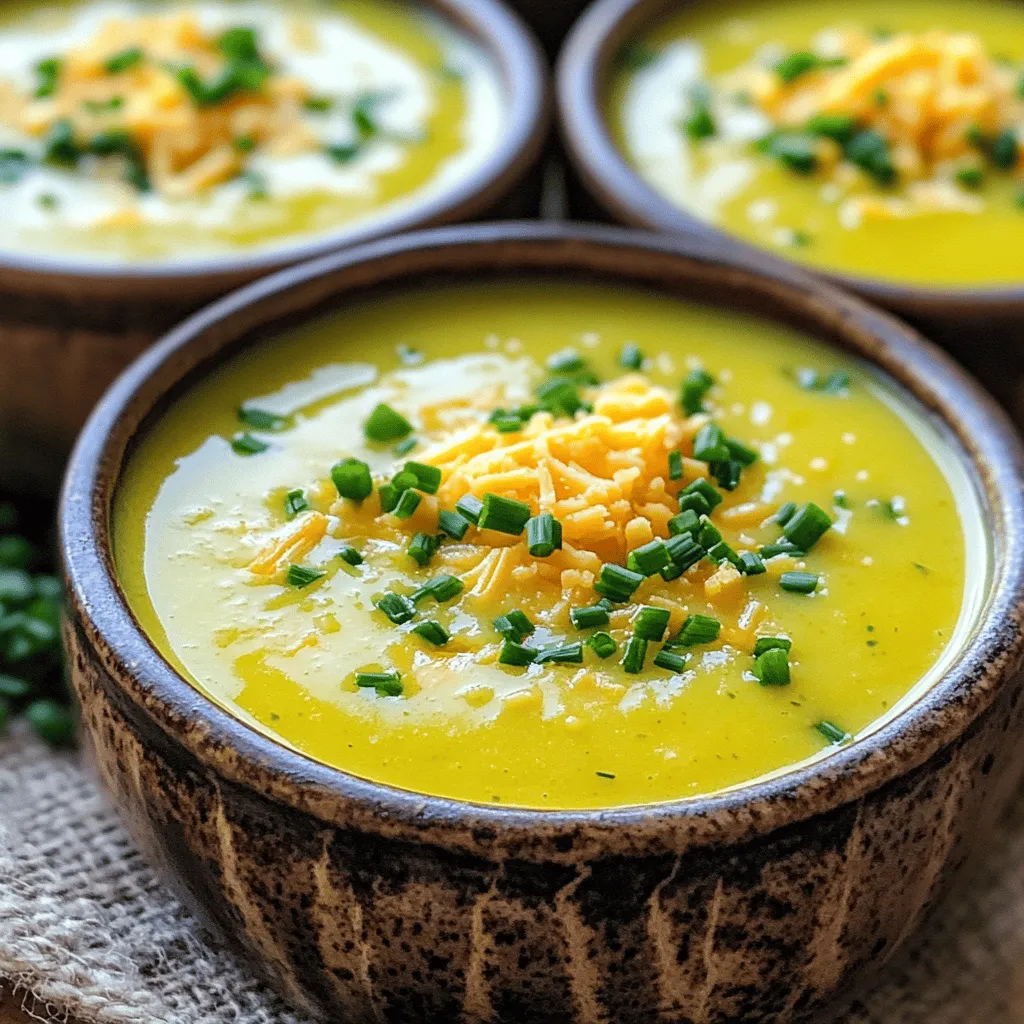
If you’re craving a bowl of warmth, Canadian Cheddar Soup is your answer. This comforting and creamy delight brings together rich cheddar, fresh herbs, and hearty potatoes. I’ll guide you …
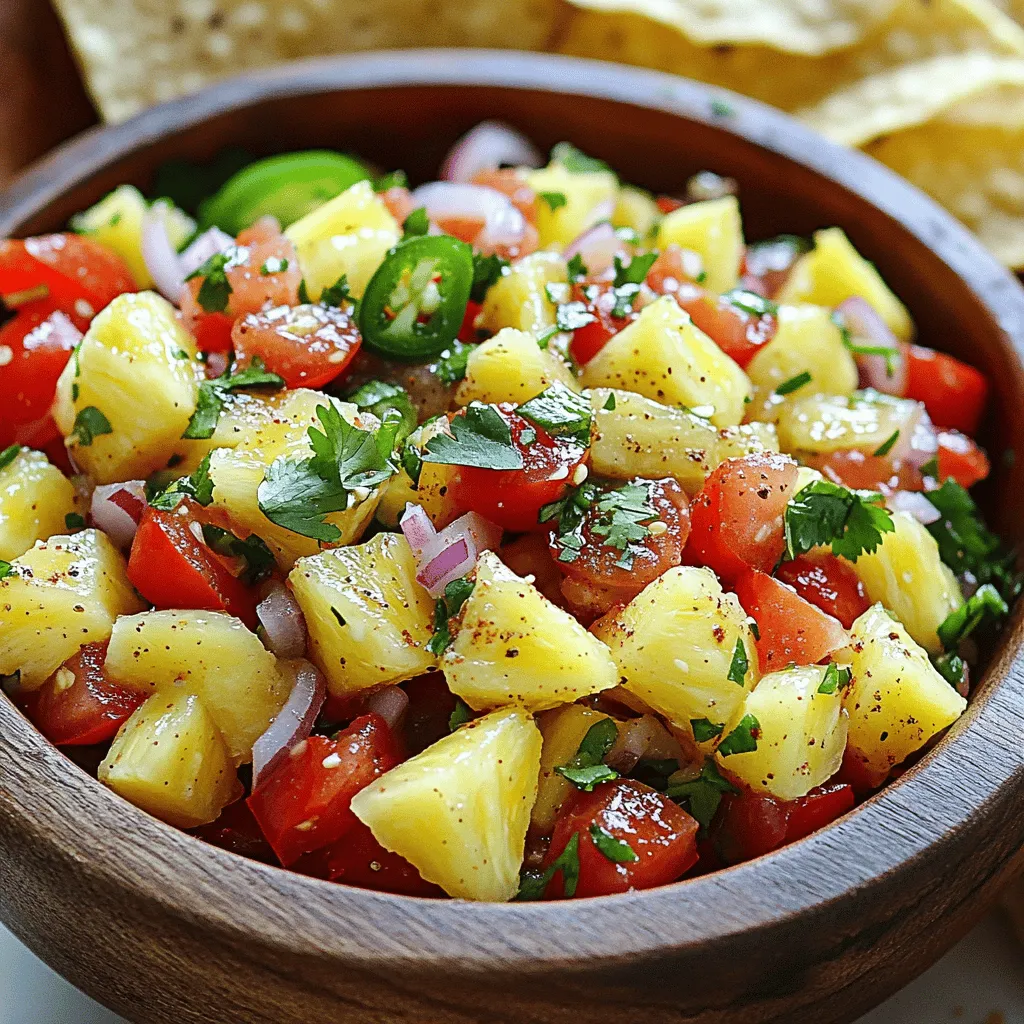
Are you ready to spice up your meals? Fresh Pineapple Pico de Gallo brings a burst of flavor that can transform any dish. You’ll love how this simple mix of …

Craving a sweet treat that’s quick and easy? Look no further! In this post, I’ll show you how to make Two Ingredient Caramel Apple Fudge using just apple butter and …

Are you ready to taste something amazing? Smash Burger Tacos bring the best of both worlds. Imagine juicy beef patties wrapped in warm corn tortillas, topped with melty cheese and …
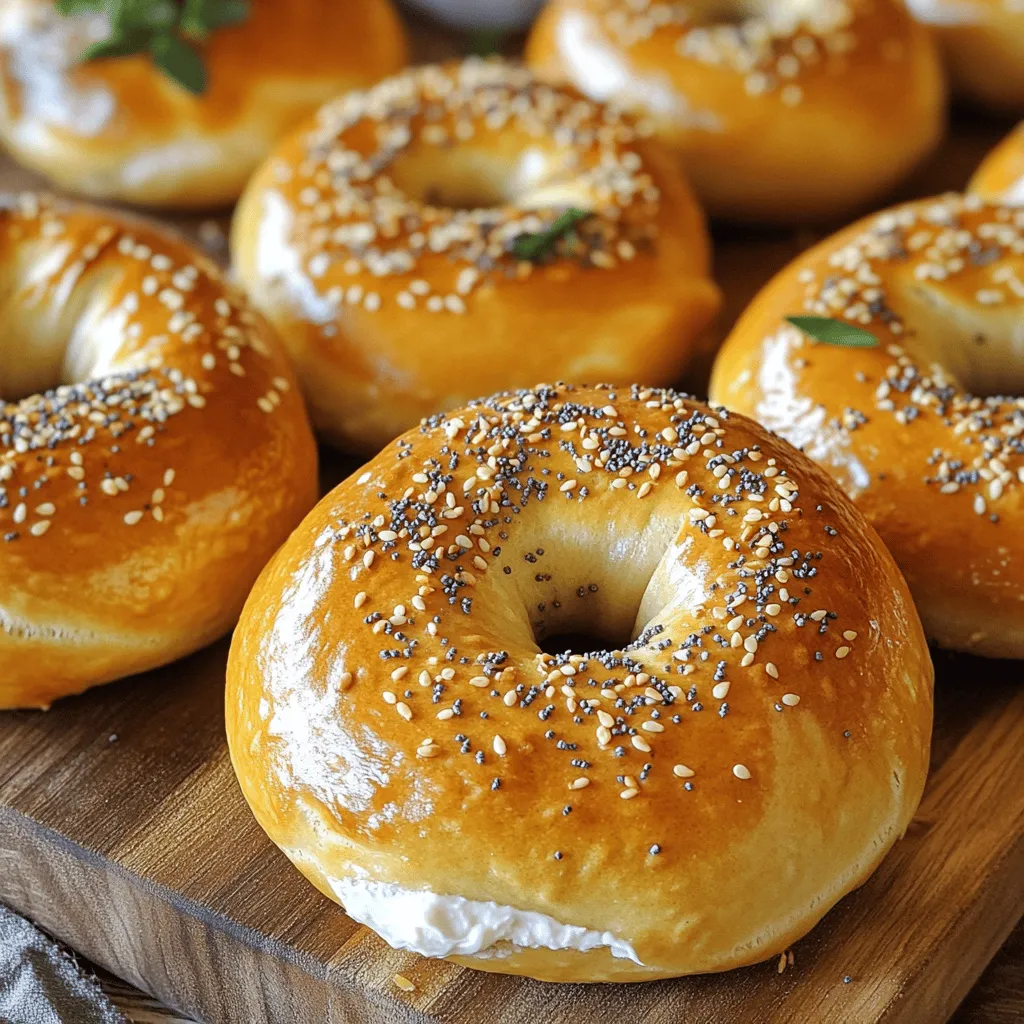
Looking for a quick, tasty treat that’s good for you? I’ve got the perfect recipe: Healthy Greek Yogurt Bagels! These bagels are not only easy to make, but they also …
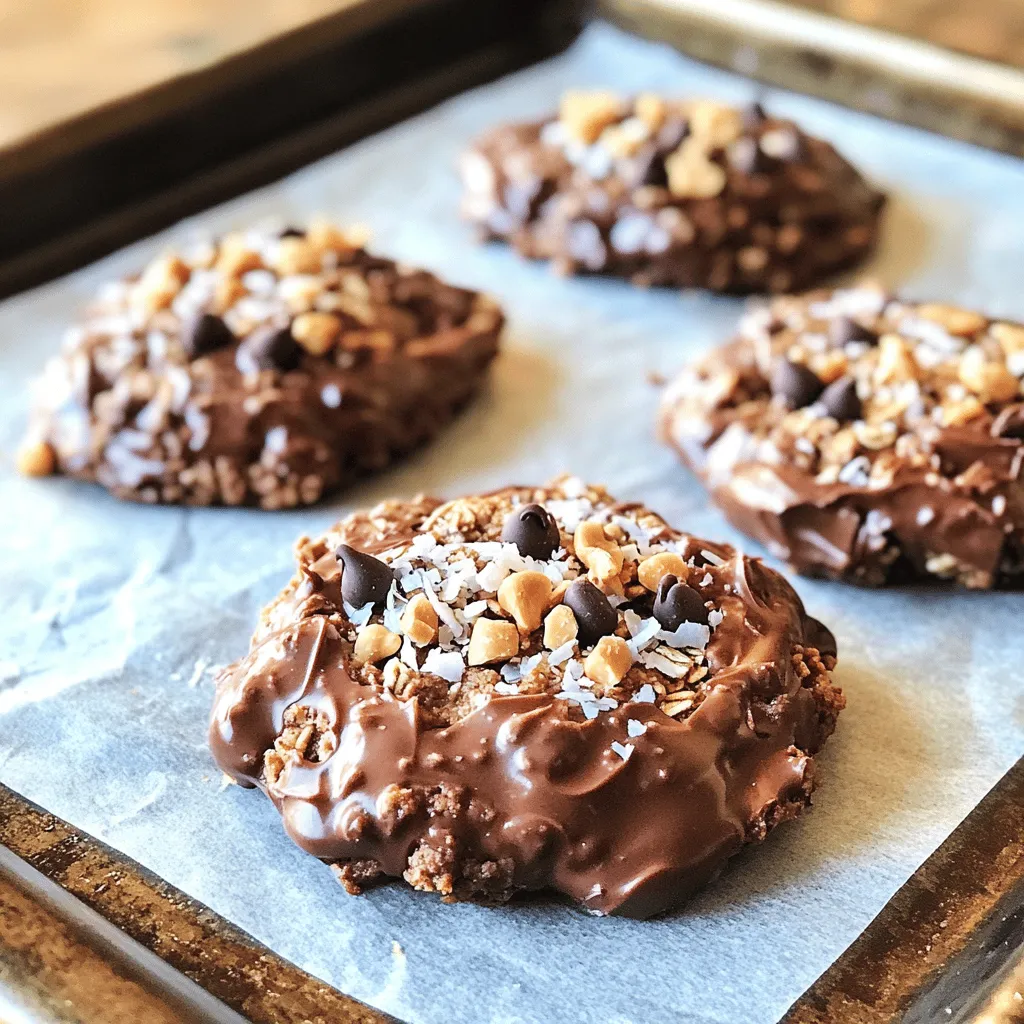
If you crave a sweet treat without turning on the oven, you’re in for a real delight! These Chocolate Peanut Butter No-Bake Cookies are easy to make and packed with …