Tuscan Chicken Pasta Flavorful Dinner Delight
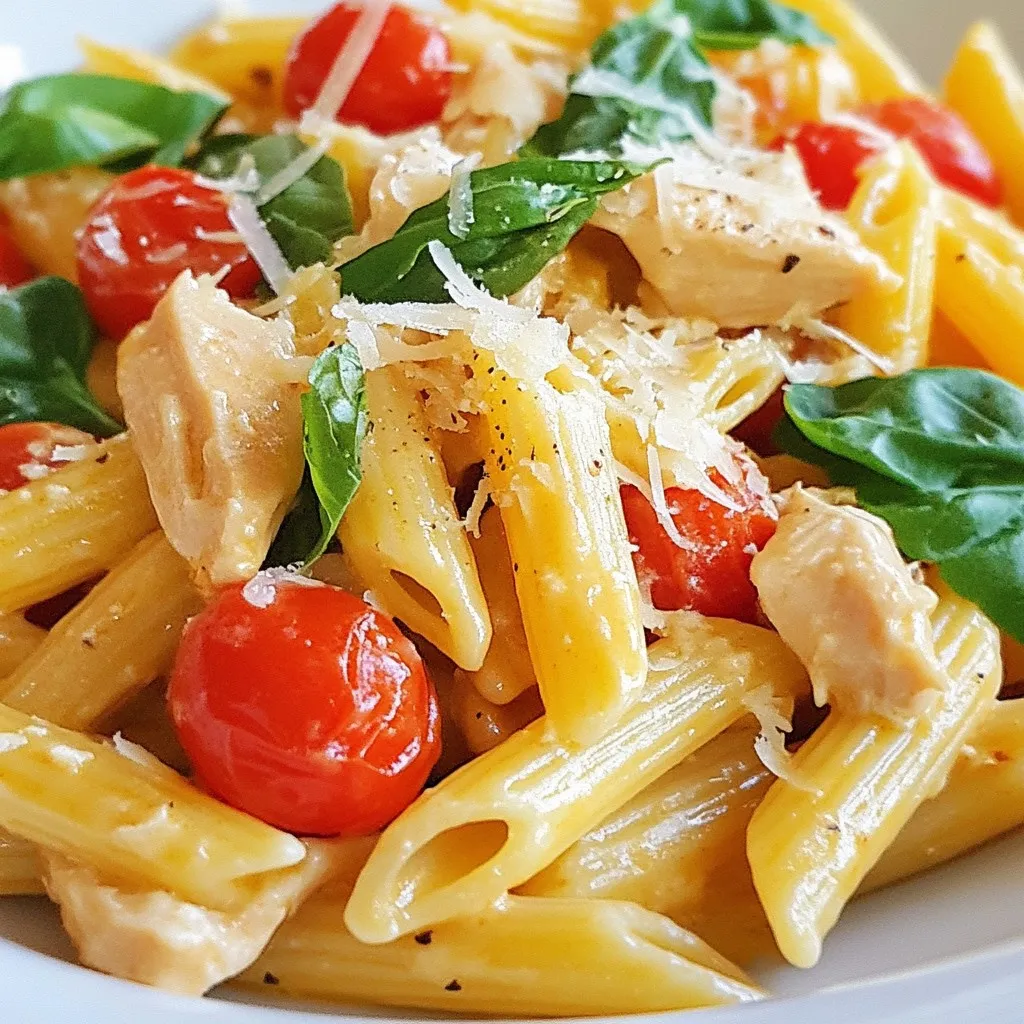
Looking for a hearty meal that brings the taste of Italy to your table? Tuscan Chicken Pasta is a flavorful dinner delight that combines tender chicken, rich sauce, and al …
Looking for a hearty meal that brings the taste of Italy to your table? Tuscan Chicken Pasta is a flavorful dinner delight that combines tender chicken, rich sauce, and al …
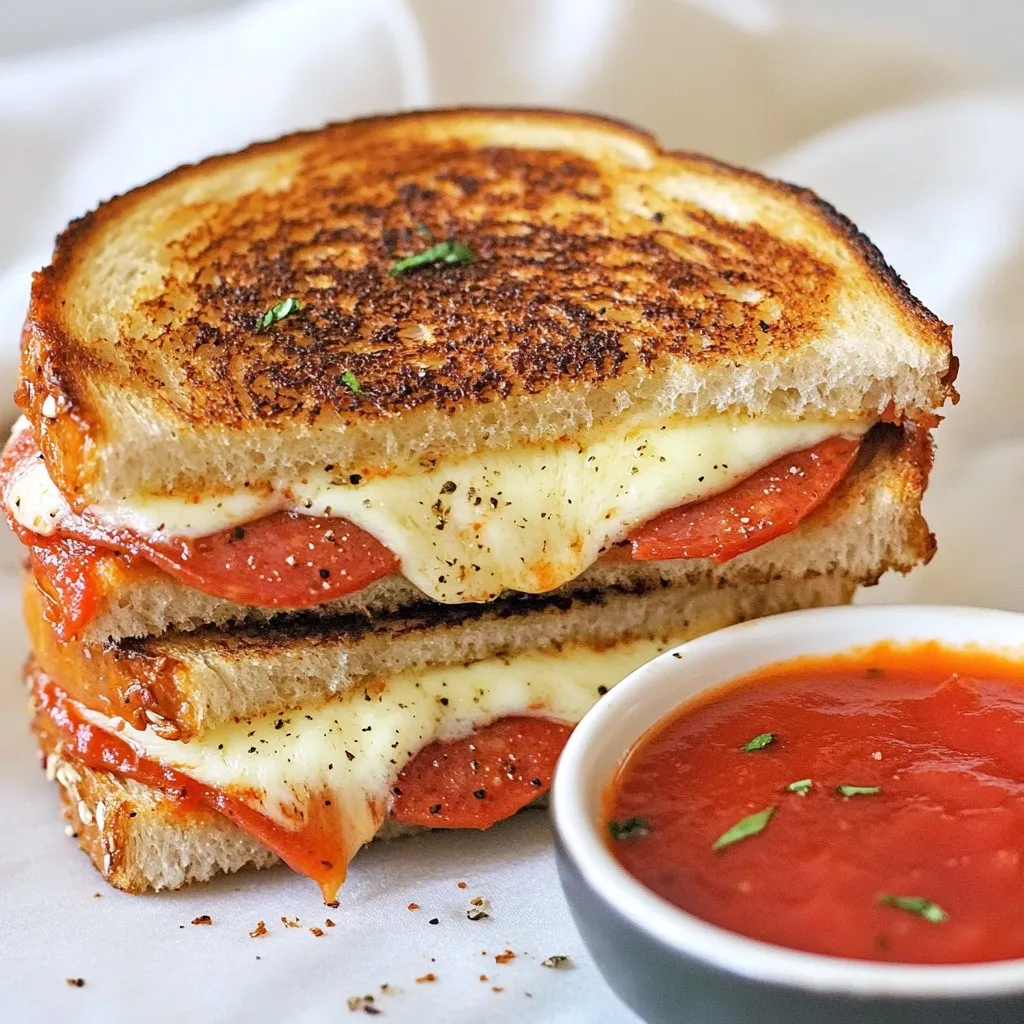
Are you craving a dish that combines the best of both worlds? Pizza Grilled Cheese is your answer! This simple, fun meal is sure to bring joy to your taste …
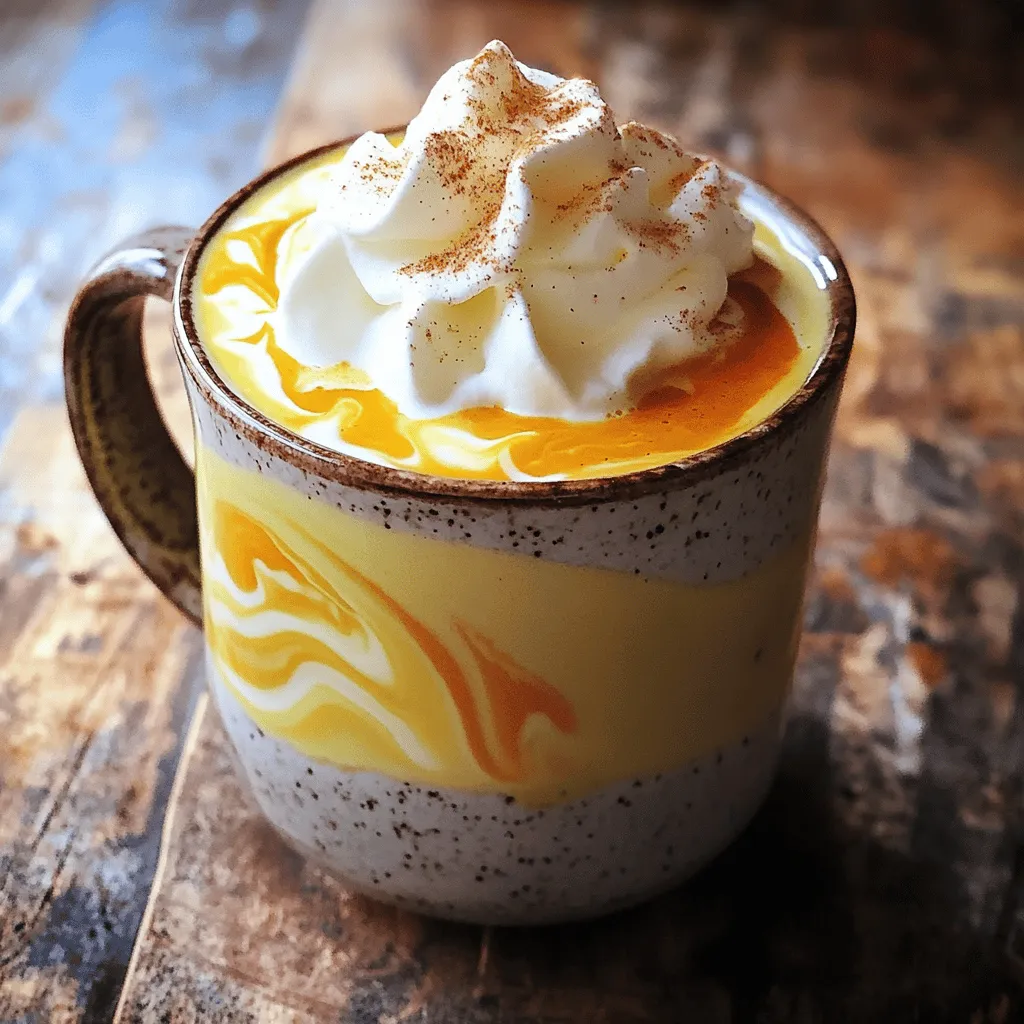
Embrace the cozy vibes of fall with my Pumpkin Spice Chai Latte! This warm drink blends rich pumpkin, spicy chai, and creamy milk for a pure delight. Perfect on chilly …
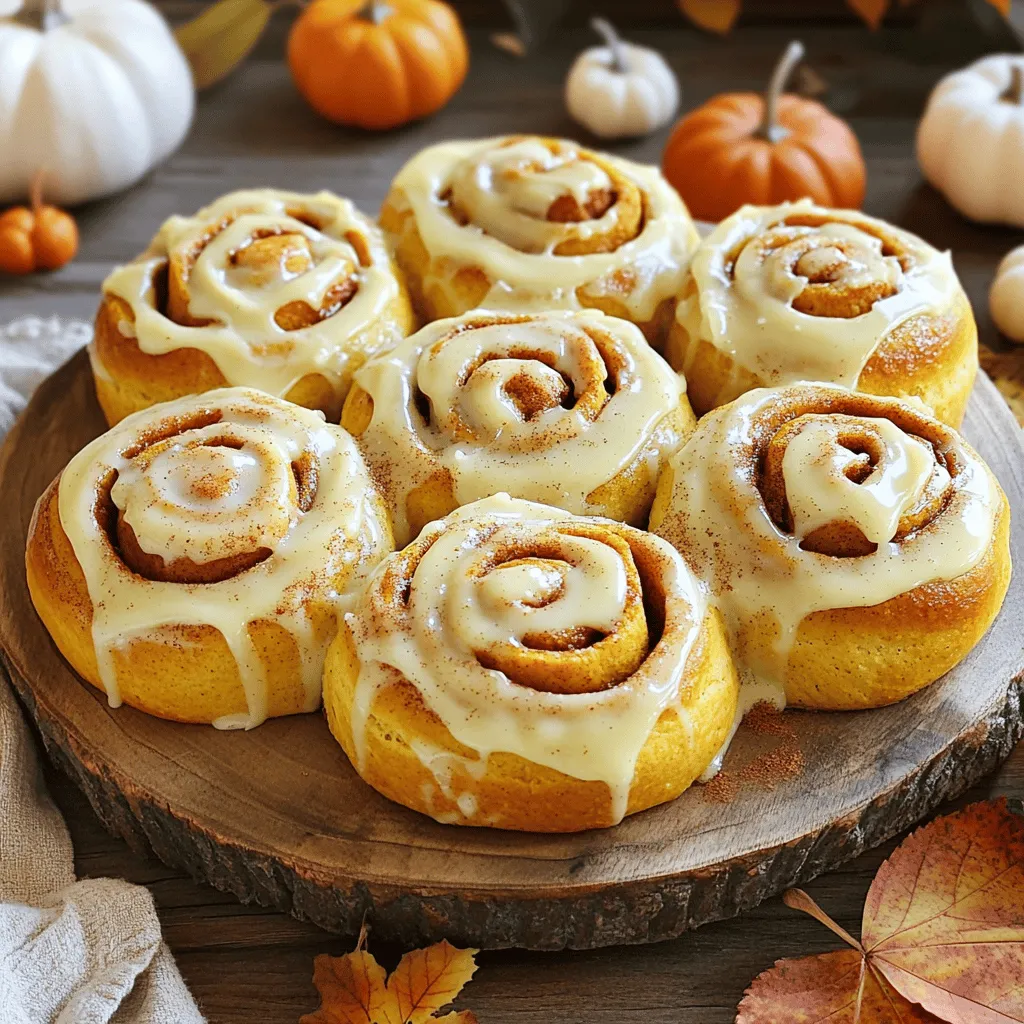
Fall is the perfect time to indulge in warm, soft Pumpkin Cinnamon Rolls. In this easy recipe, I’ll guide you step-by-step through making these sweet treats from scratch. With simple …
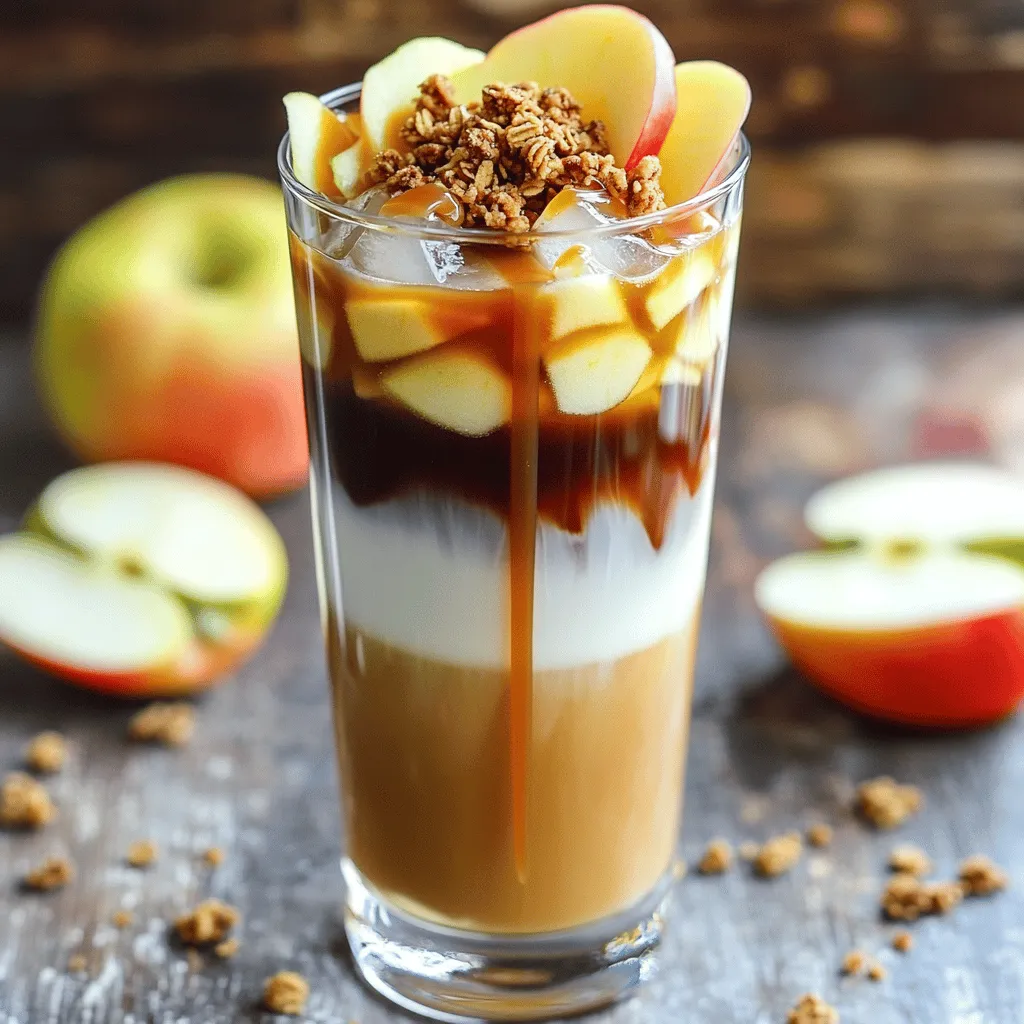
Craving a cozy drink that captures the essence of fall? The Iced Apple Crisp Macchiato is your perfect match! This delightful blend of apple and coffee brings warmth even on …

Get ready to elevate your grilling game with my Grilled Mexican Street Corn recipe! This dish brings bold flavor and vibrant texture, perfect for summer BBQs or cozy dinners. I’ll …
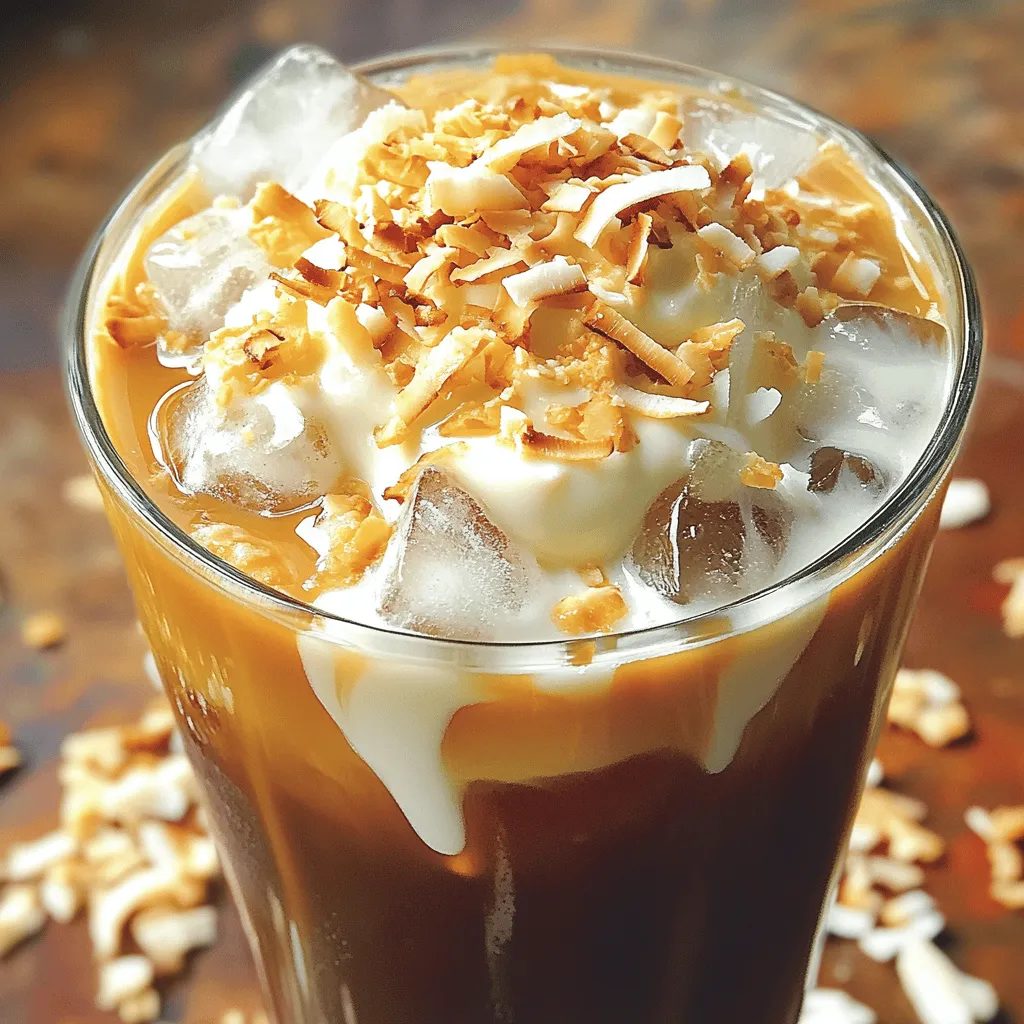
Looking for a cool drink to beat the summer heat? Try Coconut Cream Cold Brew! This refreshing blend combines the rich taste of cold brew coffee with the creamy goodness …
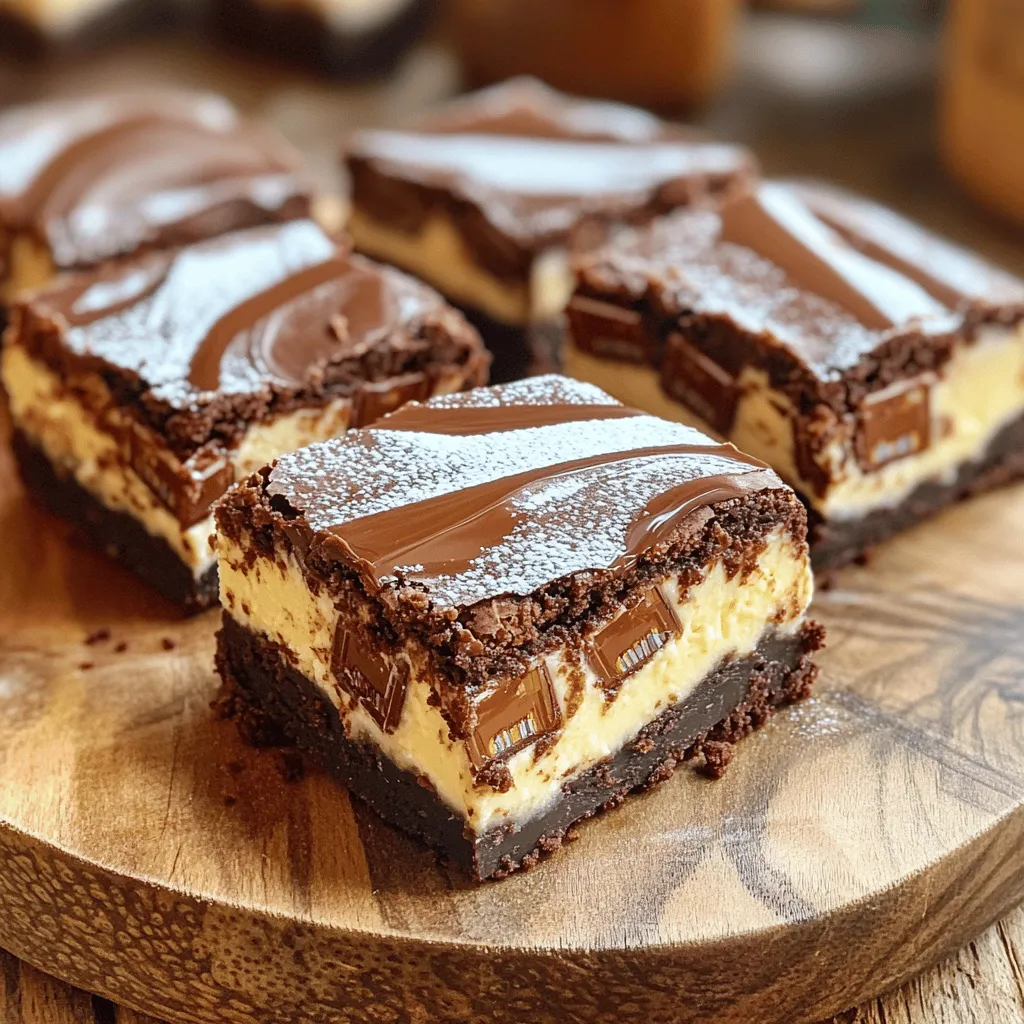
Are you ready for a dessert that will make your taste buds dance? Milky Way Cheesecake Brownies are the perfect blend of creamy cheesecake and rich, fudgy brownies, all topped …
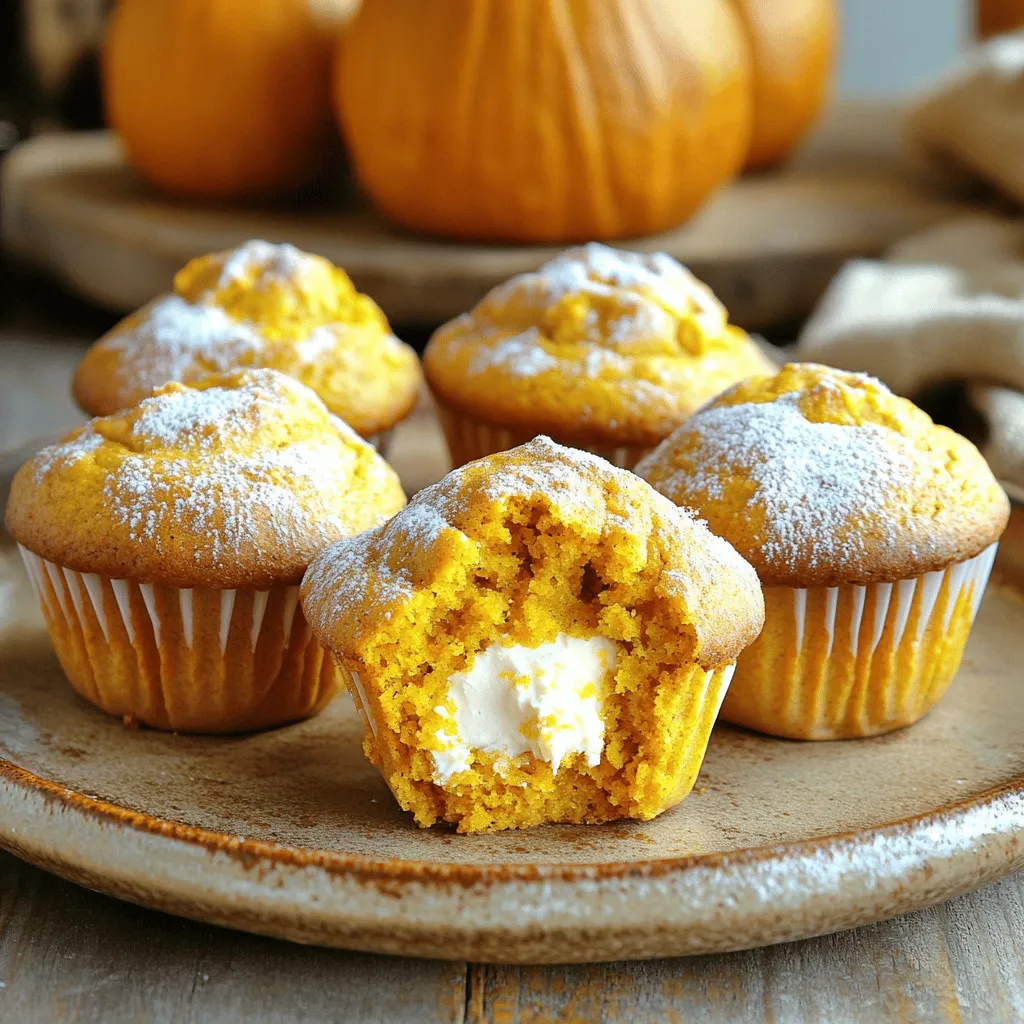
Do you crave the warm, cozy taste of fall? You’re in for a treat with these Pumpkin Cream Cheese Muffins! They are simple to make and offer a rich blend …
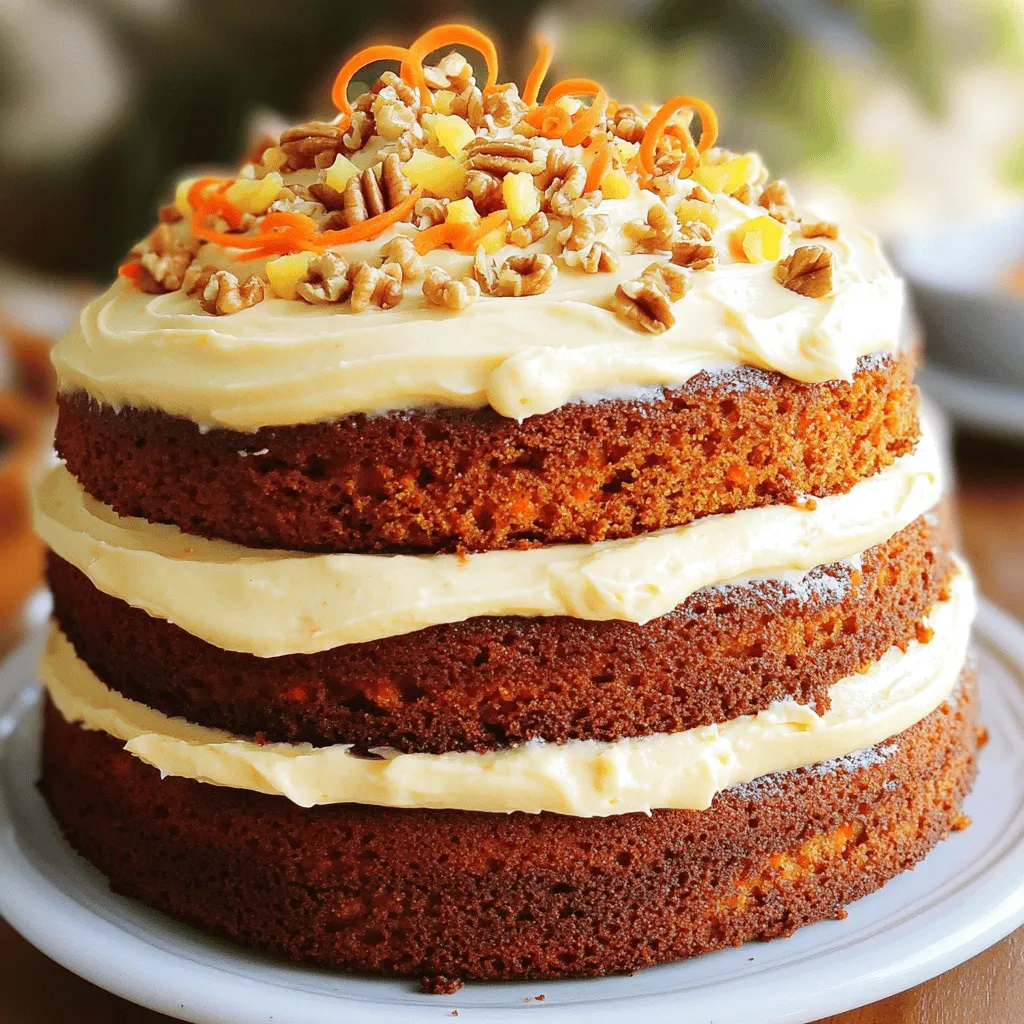
Are you ready to bake a carrot cake that will impress everyone? This Carrot Cake Supreme recipe is both easy and delightful. With a perfect blend of spices and fresh …