Apple Pumpkin Streusel Muffins Delicious and Easy Recipe
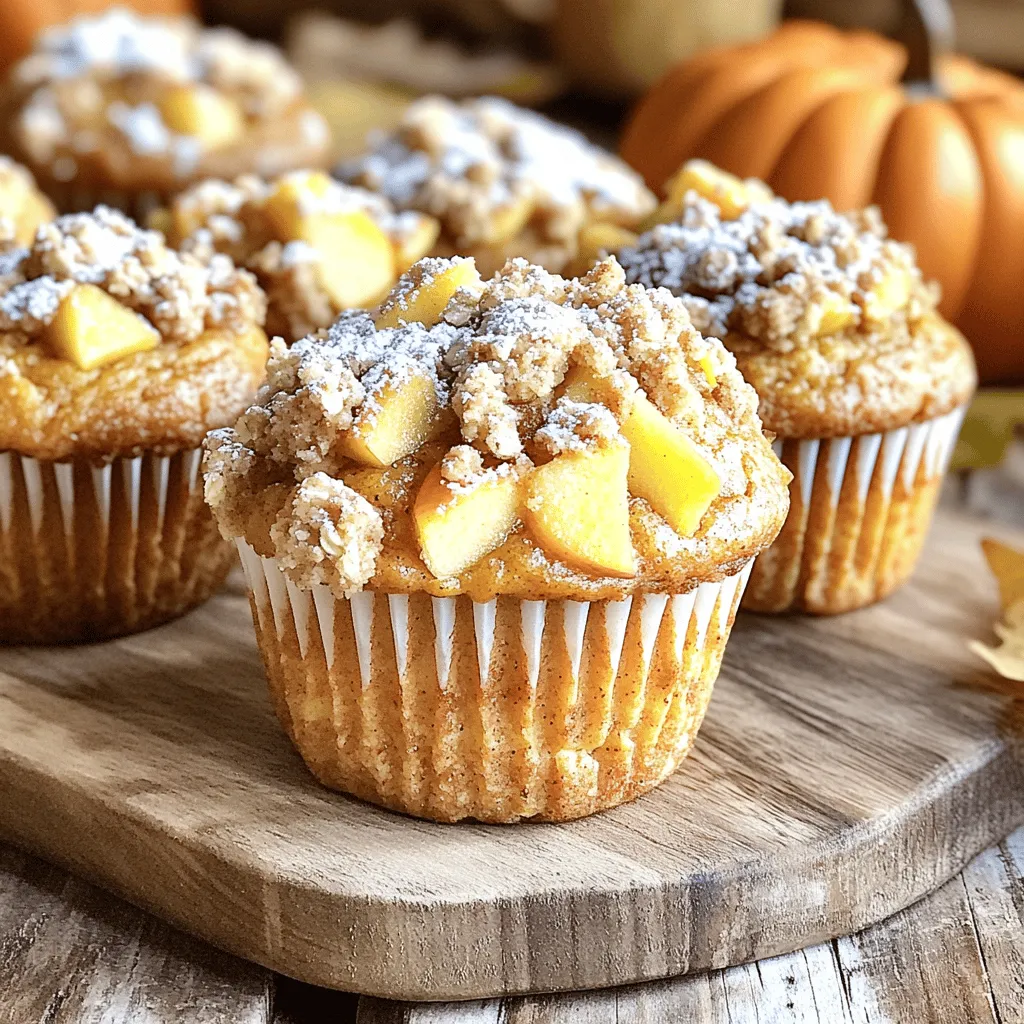
Are you ready to bake something delicious? These Apple Pumpkin Streusel Muffins are not just easy to make; they overflow with fall flavors! With canned pumpkin and apples, you’ll enjoy …