No-Bake Salted Caramel Pumpkin Pie Delight Recipe
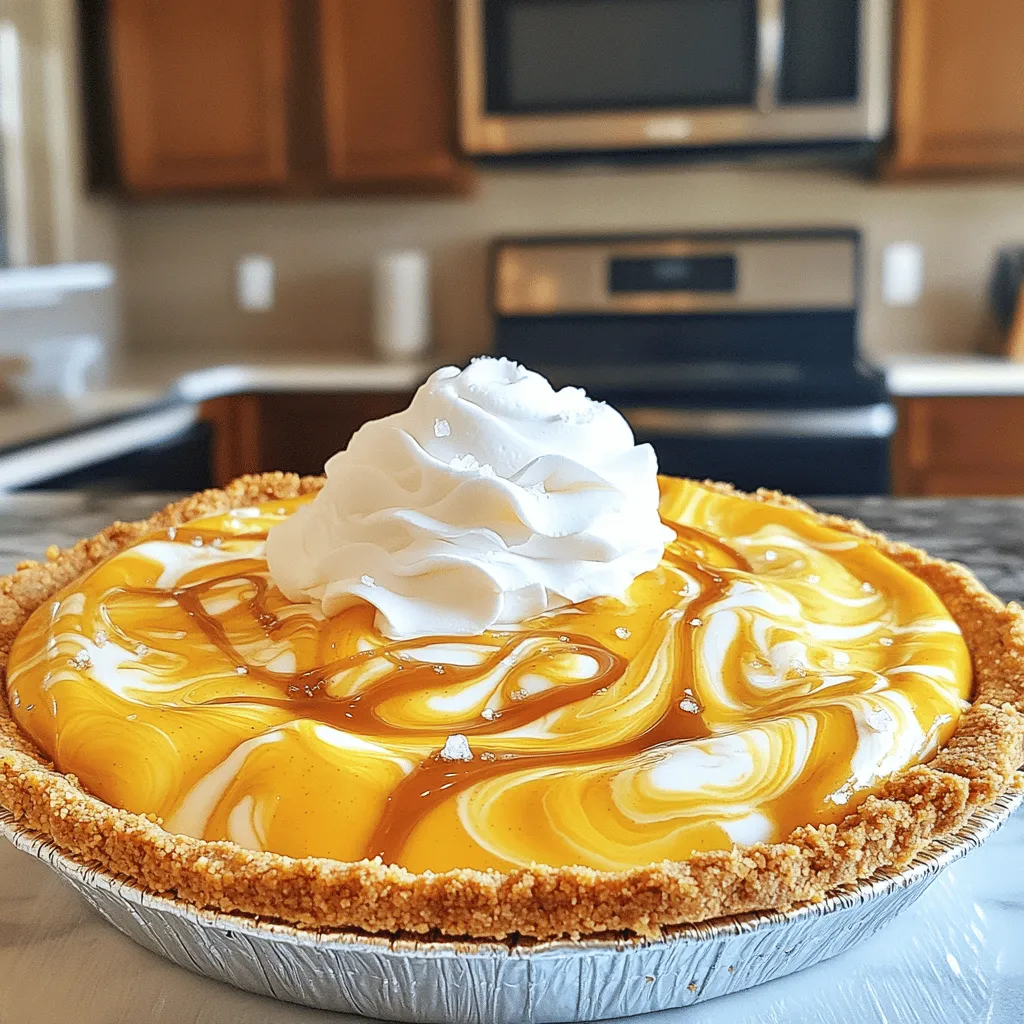
Get ready to impress your guests with my No-Bake Salted Caramel Pumpkin Pie Delight! This sweet treat combines rich pumpkin flavor with a touch of salted caramel. Best of all? …
Get ready to impress your guests with my No-Bake Salted Caramel Pumpkin Pie Delight! This sweet treat combines rich pumpkin flavor with a touch of salted caramel. Best of all? …

Are you craving a hearty dish that’s both tasty and packed with protein? This High-Protein Philly Cheesesteak Casserole Recipe is your answer! It’s easy to make, and you can customize …

Are you ready to dive into a bowl of deliciousness? My Spicy Thai Peanut Noodle Bowl is packed with flavor and super easy to make. With tender rice noodles, fresh …
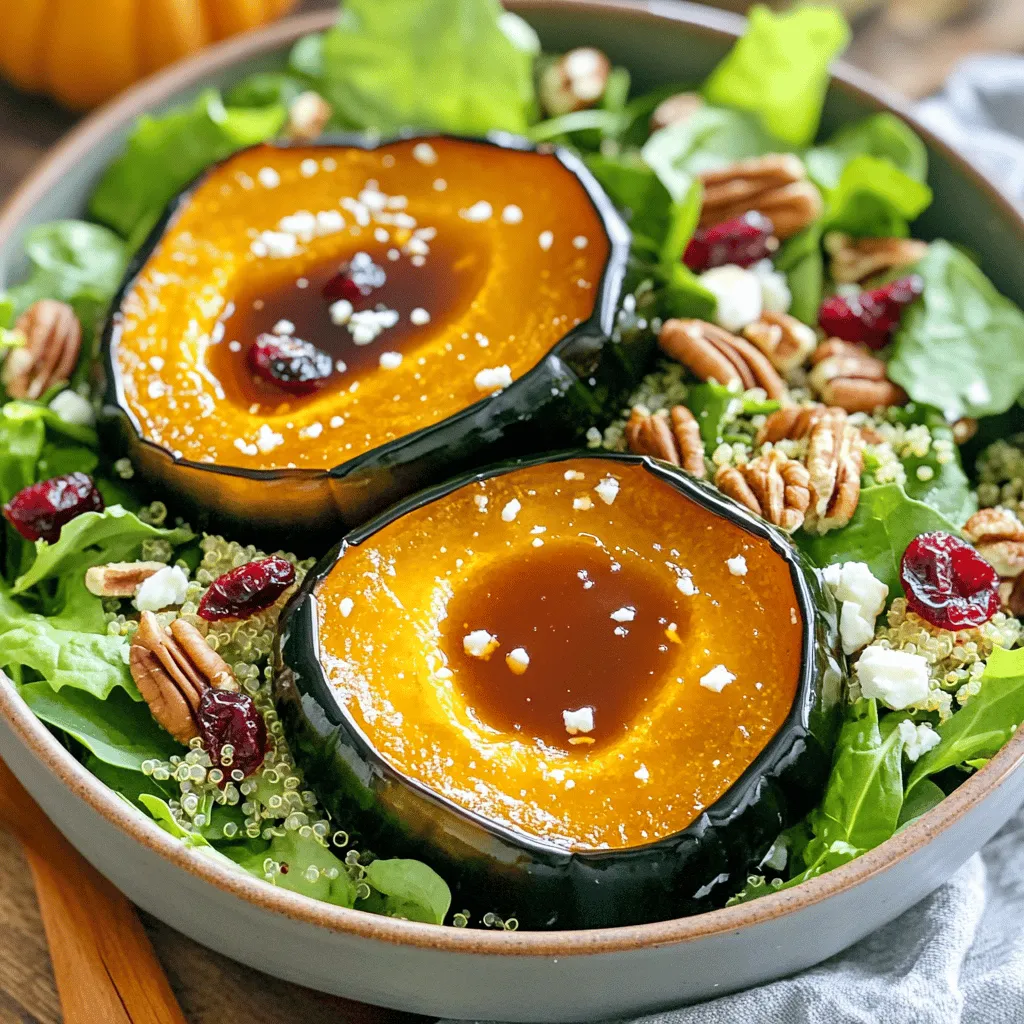
Looking for a fresh and tasty meal? You’ll love my Maple Glazed Acorn Squash Quinoa Salad! It’s colorful, sweet, and packed with nutrition. This salad is perfect for lunch or …
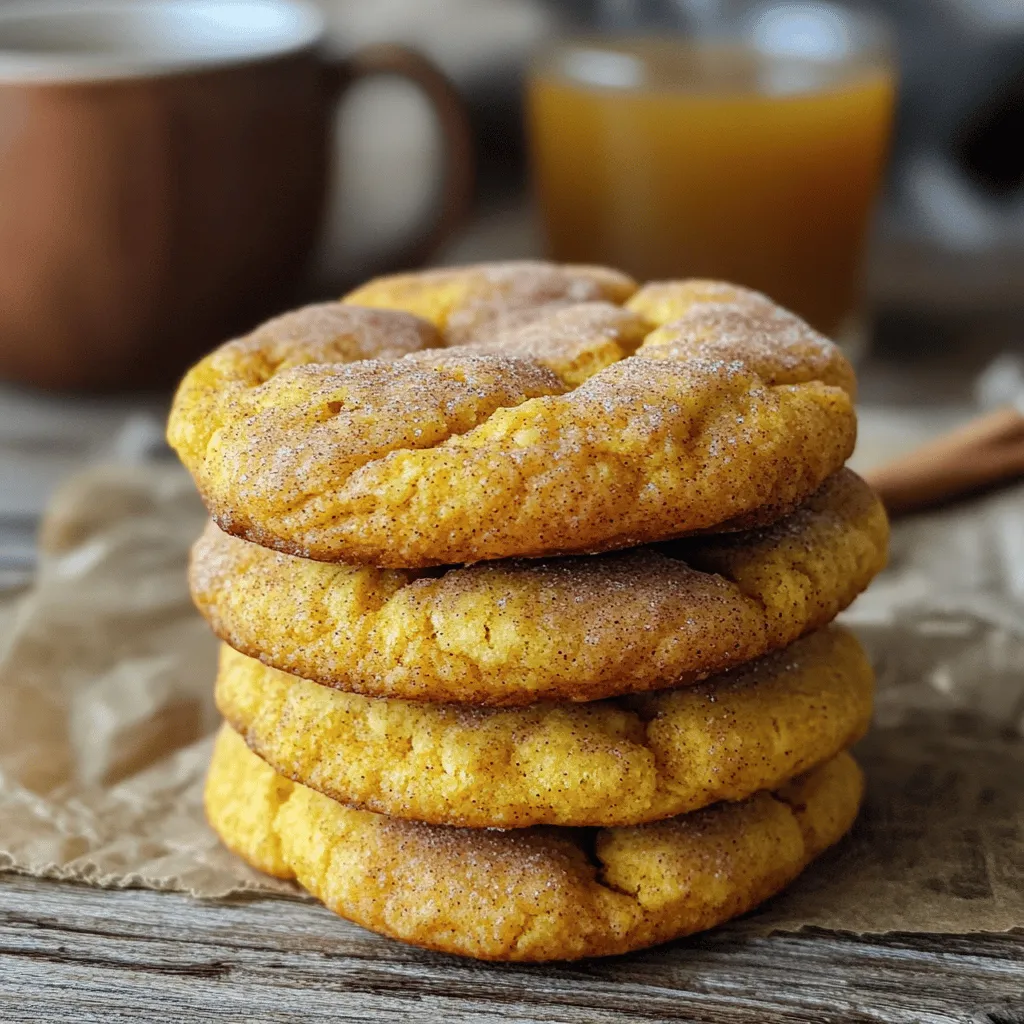
If you love the warm flavors of fall, you’ll adore these Brown Butter Pumpkin Snickerdoodles! This treat blends nutty browned butter with spiced pumpkin, resulting in cookies that are crisp …
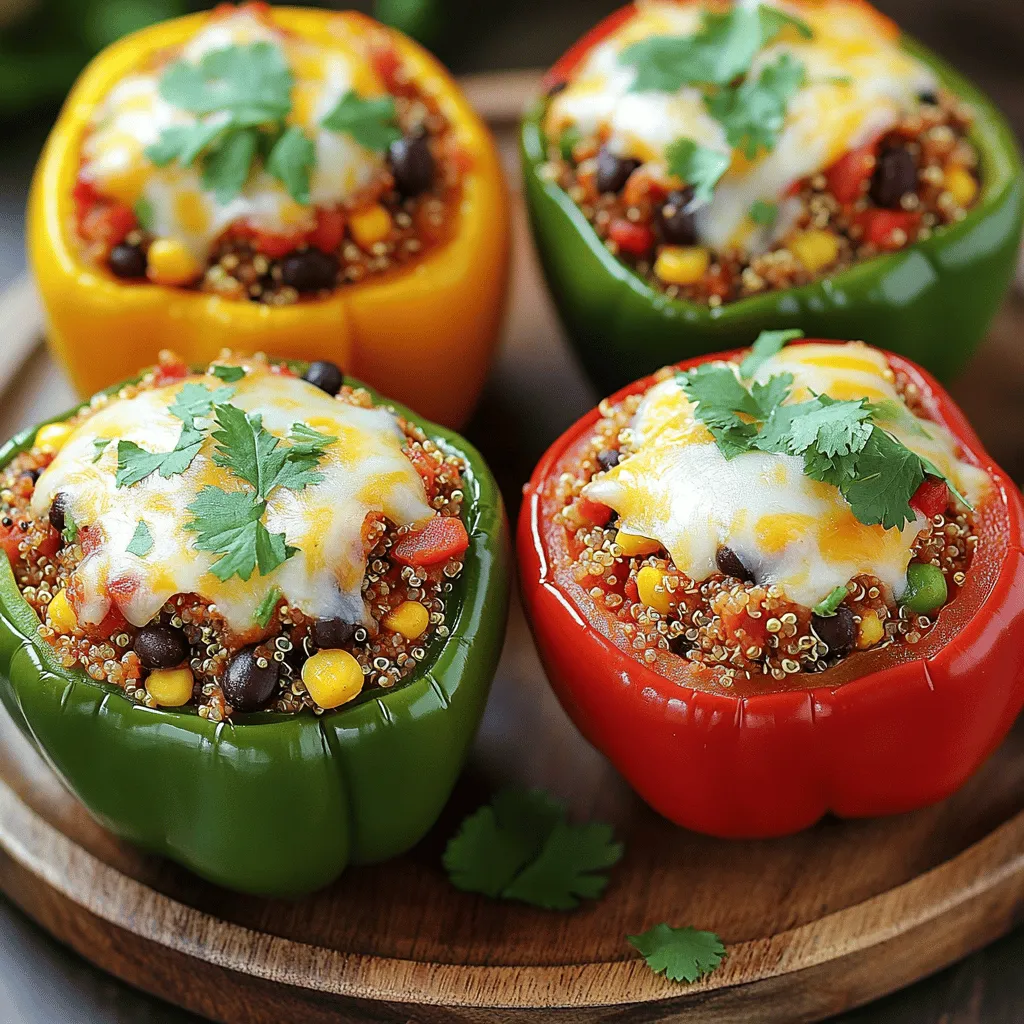
Looking for a simple, flavorful meal that impresses? You’ve found it! These Slow Cooker Stuffed Bell Peppers are easy to make and packed with taste. With fresh ingredients like quinoa, …

Craving a warm, delicious snack? Look no further! Baked apple fritters are the perfect treat, and they’re easy to make at home. With crispy outsides and soft, sweet apples inside, …

Looking for a meal that combines bold flavors with easy prep? You’ve found it! My One Pot Sausage Black Beans & Rice is a delicious dish packed with protein and …
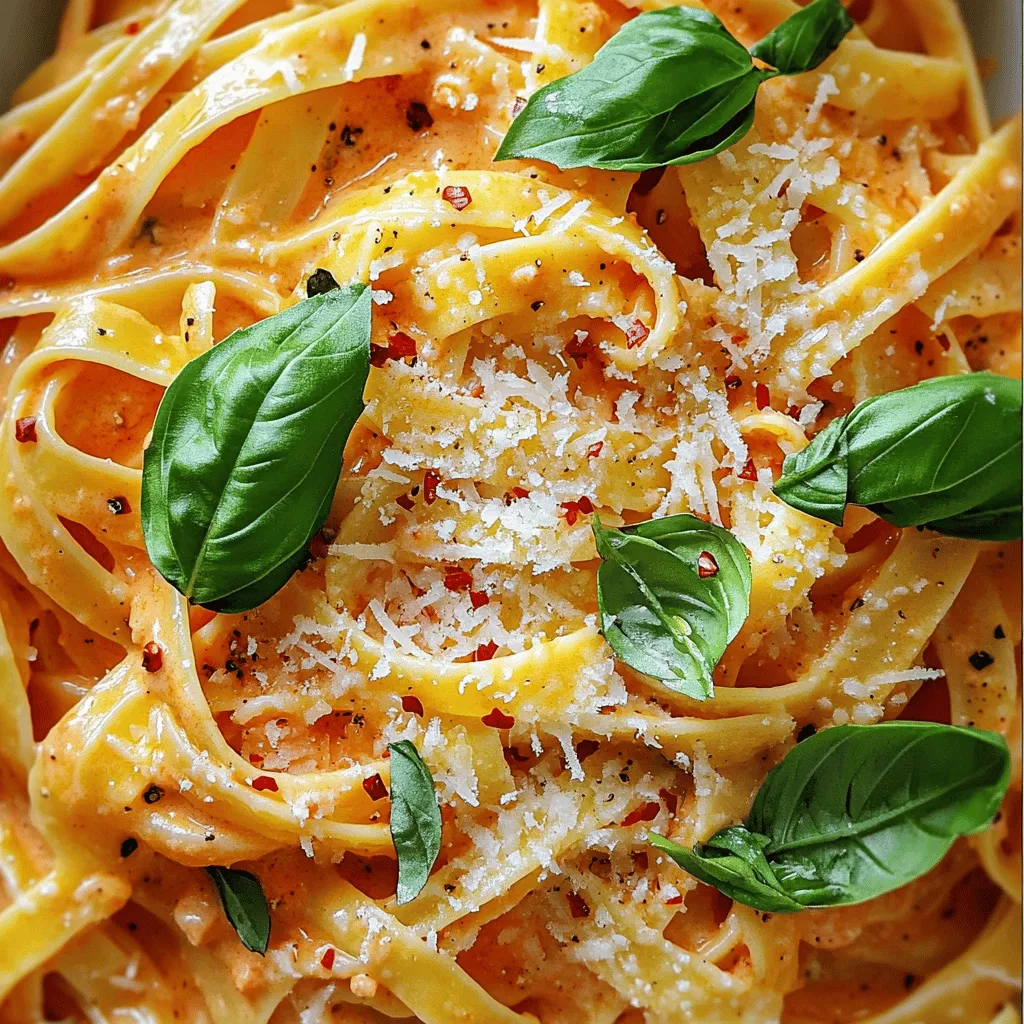
Looking for a dish that feels like a warm hug? My Creamy Garlic Tomato Pasta is your answer! This recipe combines rich flavors with creamy sauce for a comforting meal. …
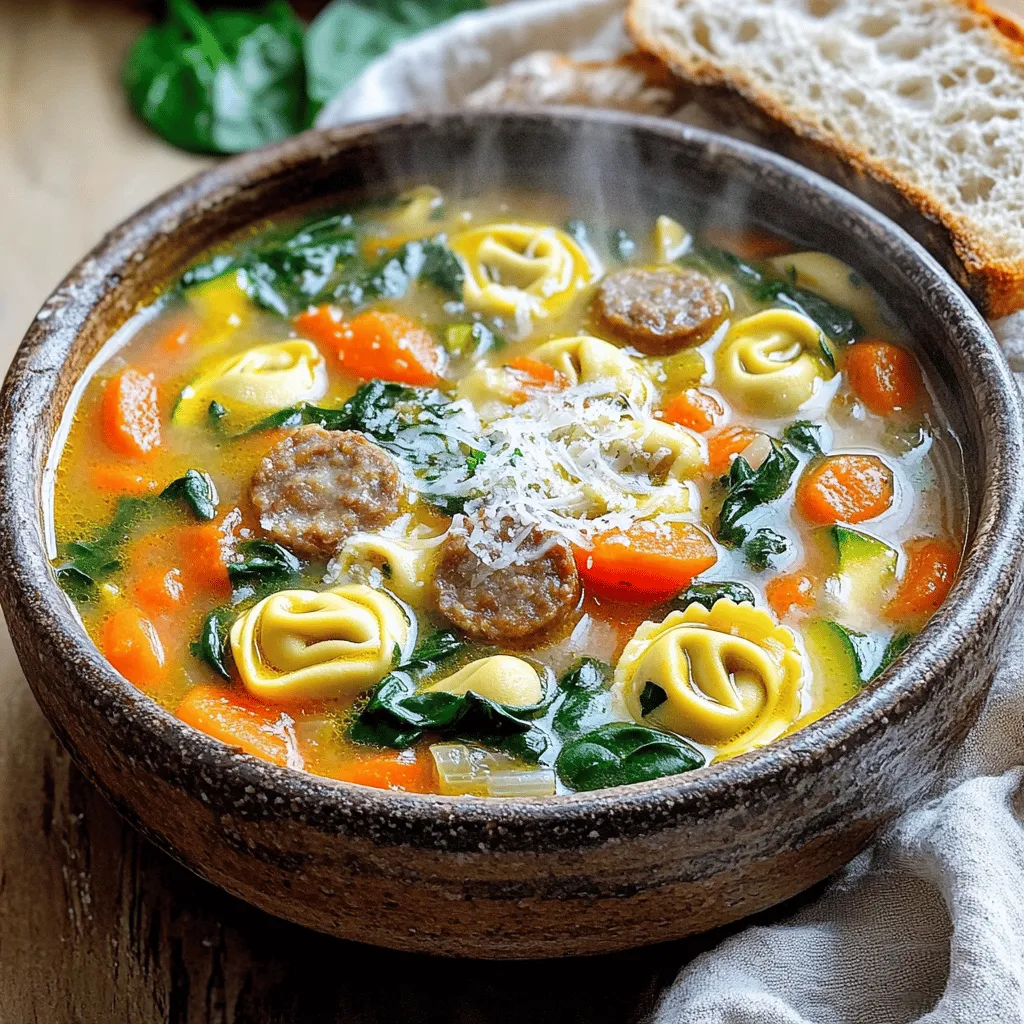
Looking for a cozy meal that warms both body and soul? This Sausage Spinach Tortellini Soup is just the answer! It’s packed with flavor and simple to make, using fresh …