Lemon Garlic Butter Shrimp Skillet Quick and Savory Meal
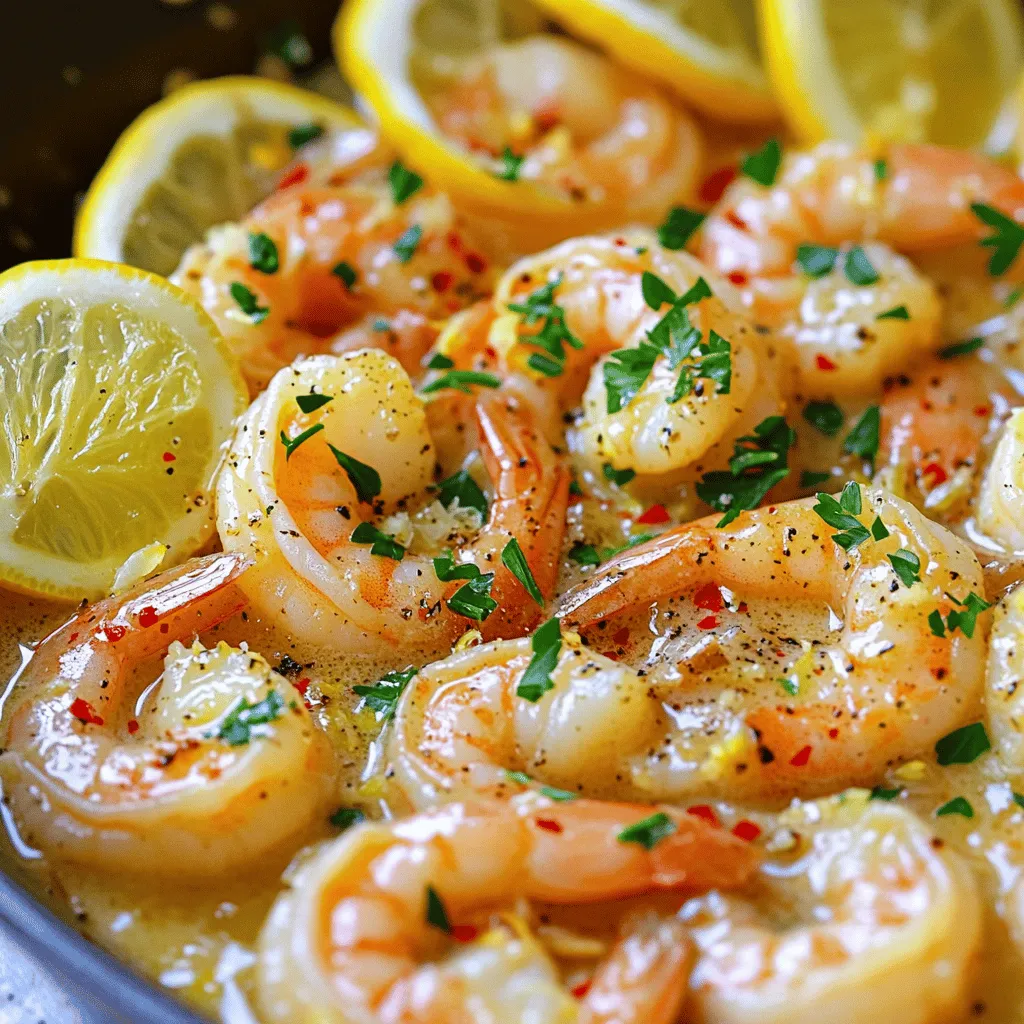
Looking for a quick and tasty meal? You’ve found it! This Lemon Garlic Butter Shrimp Skillet combines fresh ingredients with bold flavors in just minutes. I’ll walk you through each …