Texas Style Beef Chili Flavorful and Satisfying Dish

Get ready to dive into the rich, hearty world of Texas Style Beef Chili! This mouthwatering dish bursts with flavor and will warm your soul. Whether you’re a chili newbie …
Get ready to dive into the rich, hearty world of Texas Style Beef Chili! This mouthwatering dish bursts with flavor and will warm your soul. Whether you’re a chili newbie …
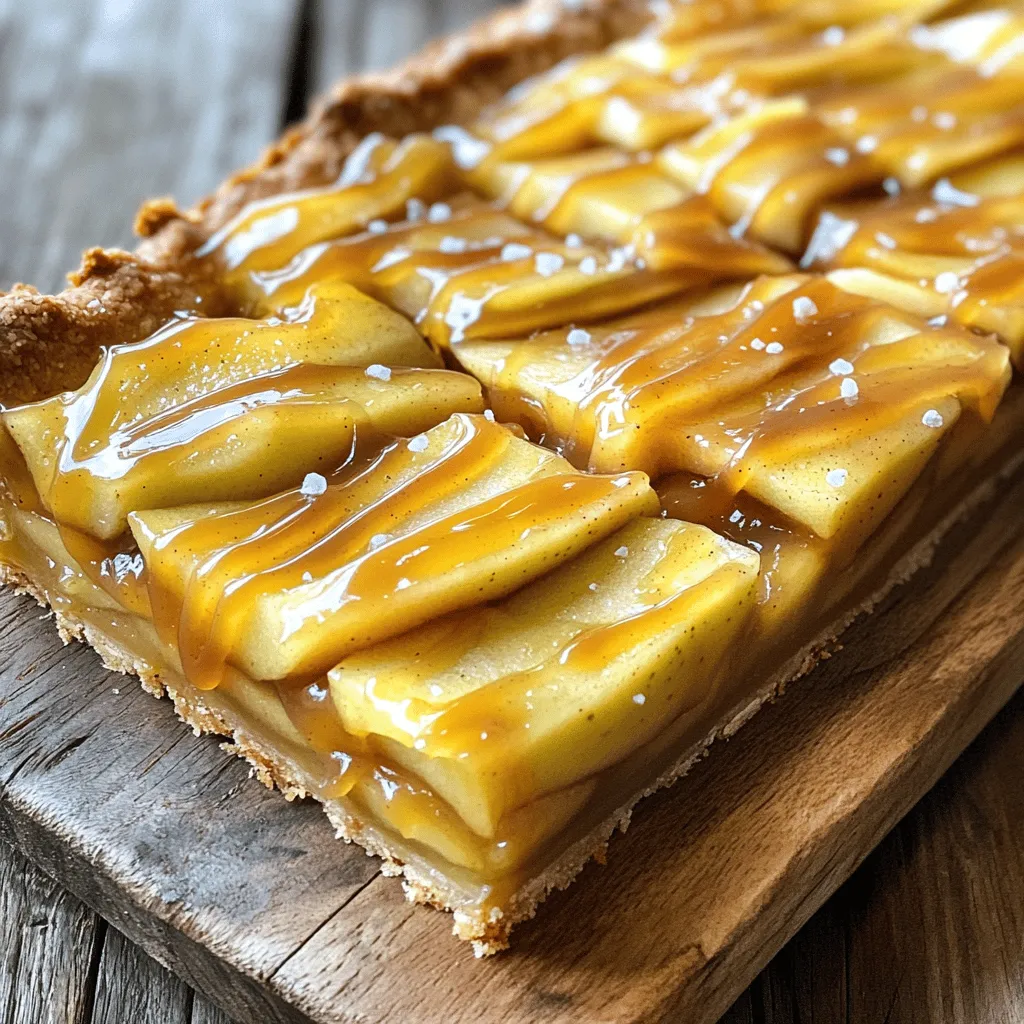
Looking for a dessert that blends sweet and salty in every bite? Salted Caramel Apple Pie Bars hit the mark perfectly. With a buttery crust, juicy apples, and rich homemade …
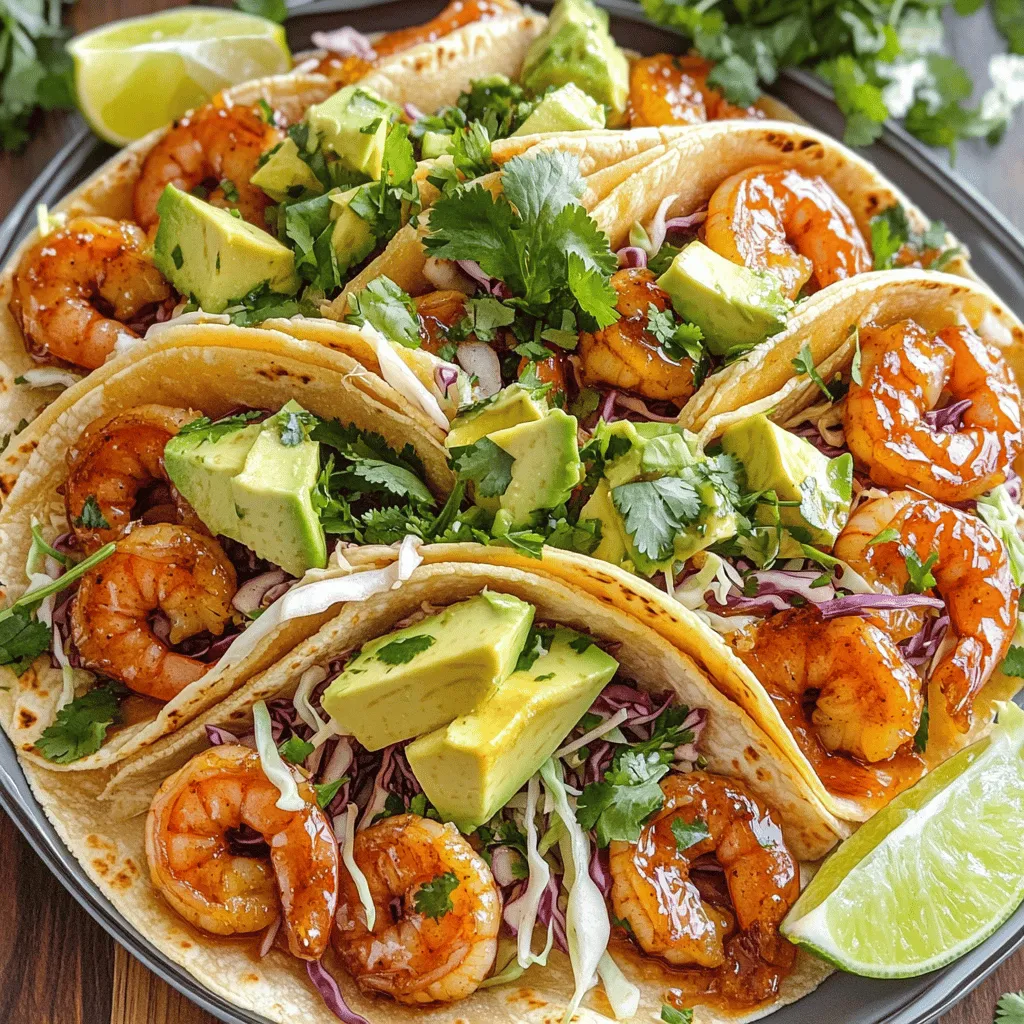
Craving a burst of flavor? Let’s spice things up with my Spicy Honey Garlic Shrimp Tacos! These tasty bites combine sweet, savory, and a kick of heat that will delight …
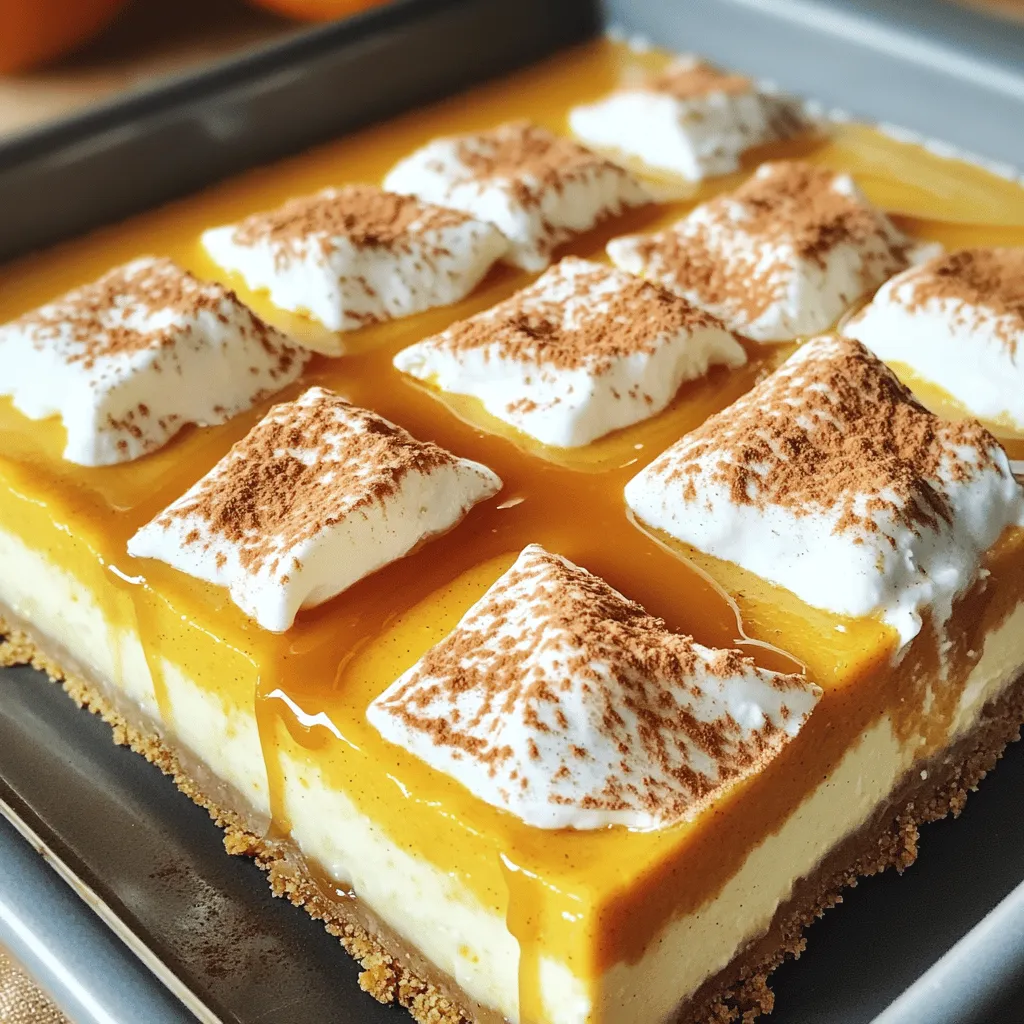
If you’re looking for a sweet treat that captures all the fall vibes, these No-Bake Pumpkin Cheesecake Bars are for you! Simple and delicious, they require no baking and are …

Are you ready to elevate your dinner game? Creamy Tuscan Chicken Gnocchi combines tender chicken, pillowy gnocchi, and fresh vegetables, all brought together in a rich, creamy sauce. It’s the …

Are you ready to indulge in a warm, sweet treat that’s super easy to make? Let me introduce you to Cinnamon Roll Apple Cobbler! This delightful twist on classic desserts …

Are you ready to bake some jumbo vegan bakery muffins that taste amazing? This easy recipe will guide you step by step to create fluffy, flavorful muffins. With simple ingredients …

Gordon Ramsay’s Beef Stroganoff is more than just a meal—it’s a culinary adventure you can embark on right in your kitchen! This recipe is simple yet packed with flavor, perfect …
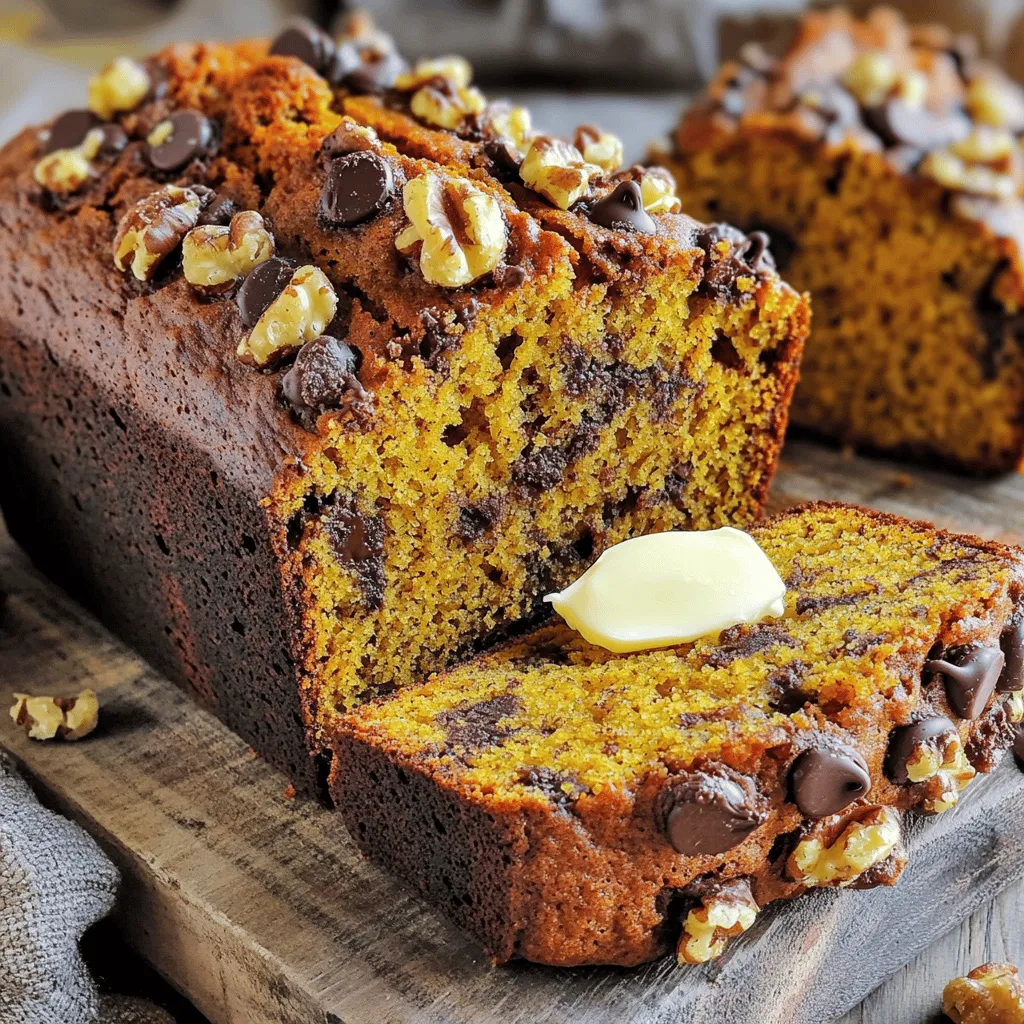
Are you ready to bake something amazing? My Pumpkin Banana Bread is not only powerful in flavor but also super tasty! This recipe combines the rich tastes of pumpkin and …

Are you ready to bake something amazing? In this simple recipe for chocolate chip banana bread muffins, I’ll show you how to create a tasty treat that your family will …