Super Moist Chocolate Chip Banana Bread Delight Recipe
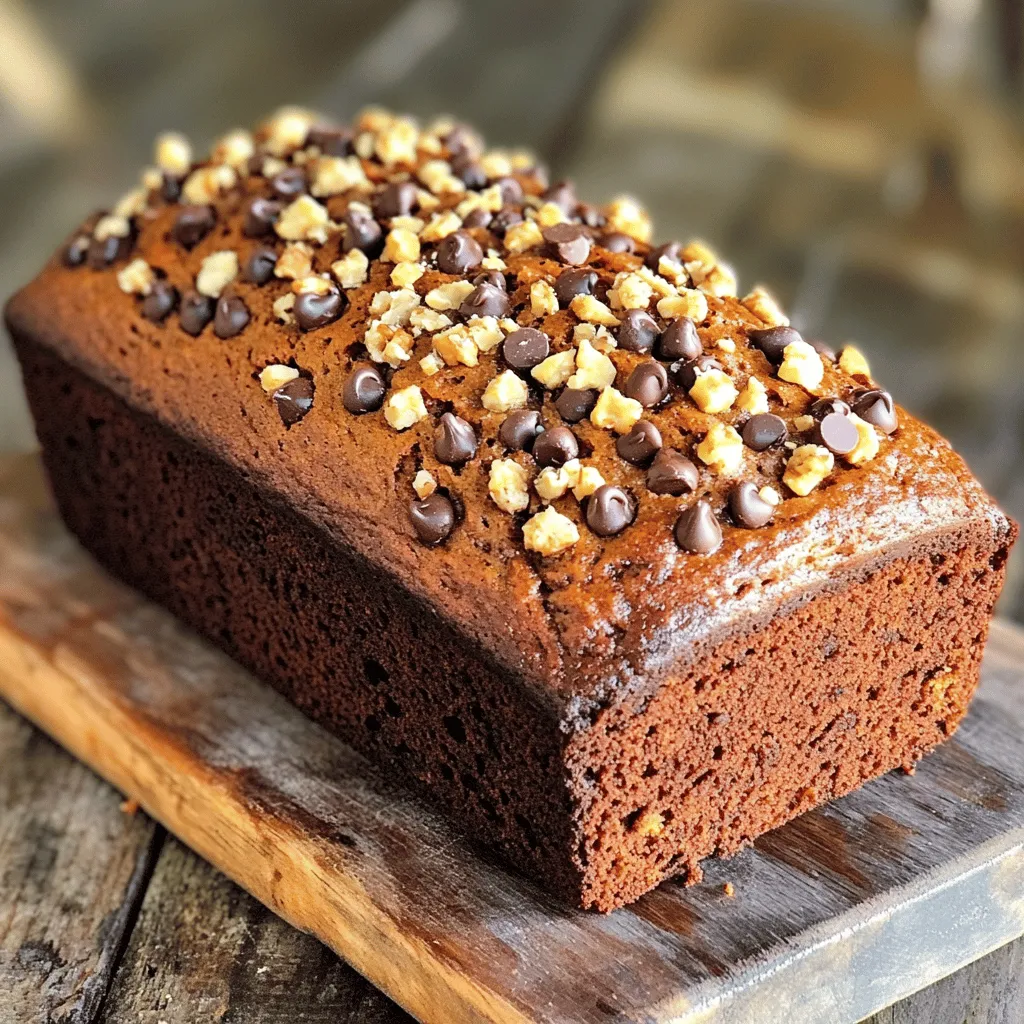
Are you ready to bake the ultimate Super Moist Chocolate Chip Banana Bread? With this recipe, you’ll enjoy a soft and rich loaf that’s perfect for breakfast or a sweet …
Are you ready to bake the ultimate Super Moist Chocolate Chip Banana Bread? With this recipe, you’ll enjoy a soft and rich loaf that’s perfect for breakfast or a sweet …
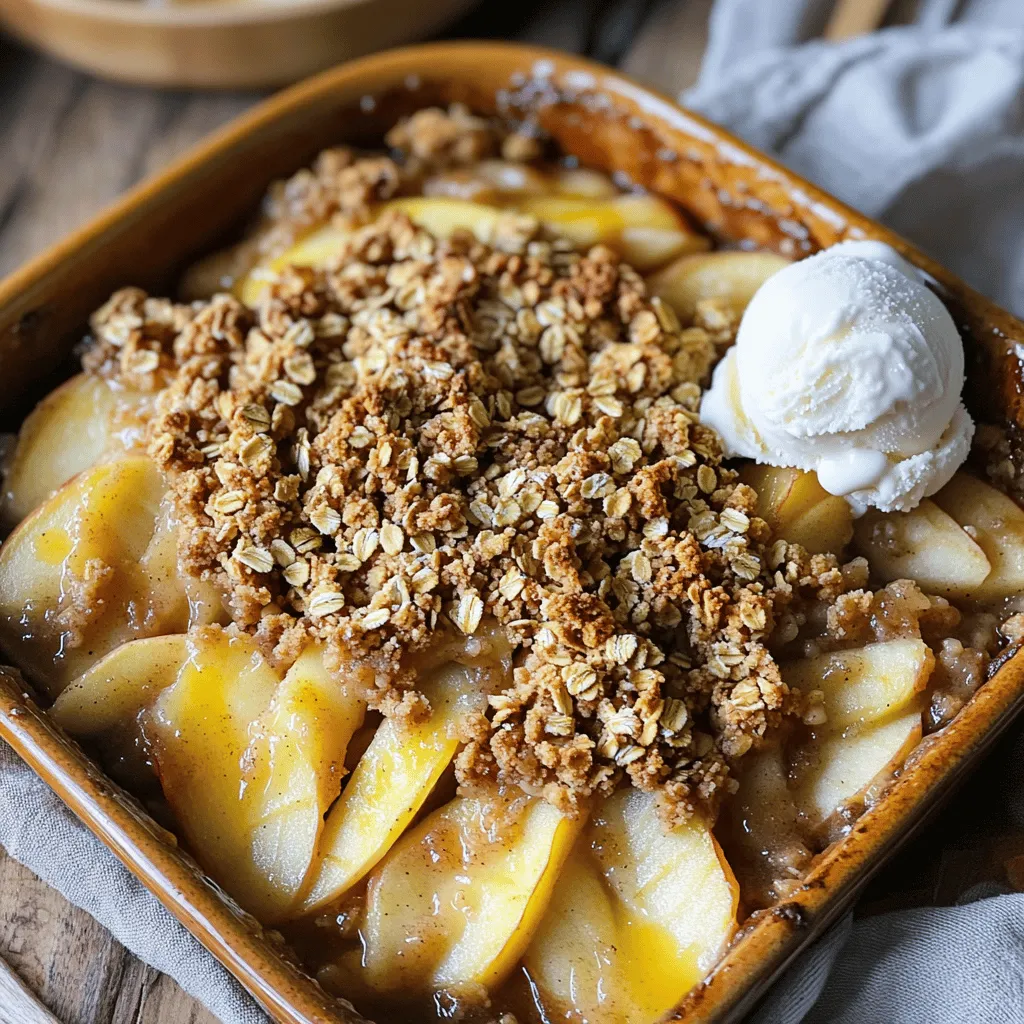
Are you ready for a sweet treat that’s simple to make? My Oatmeal Streusel Apple Crisp blends juicy apples with a crunchy topping, creating a delightful dessert perfect for any …
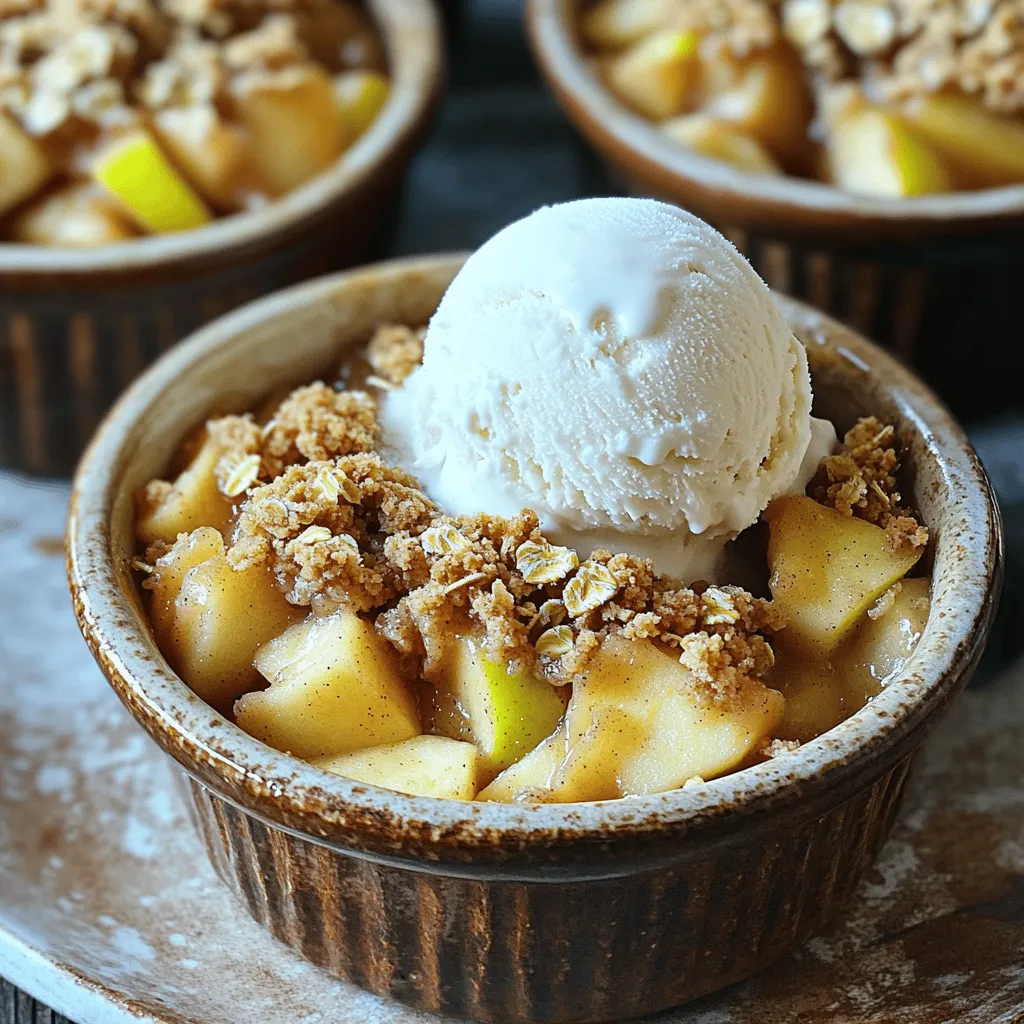
Are you ready to indulge in a sweet treat without the fuss? This Apple Crumble for Two is your perfect dessert companion. It’s tasty, simple, and made just for you …

Craving a tasty dish that won’t upset your tummy? This Gluten Free Orange Chicken recipe is just what you need! It’s simple, delicious, and perfect for any meal. I’ll guide …
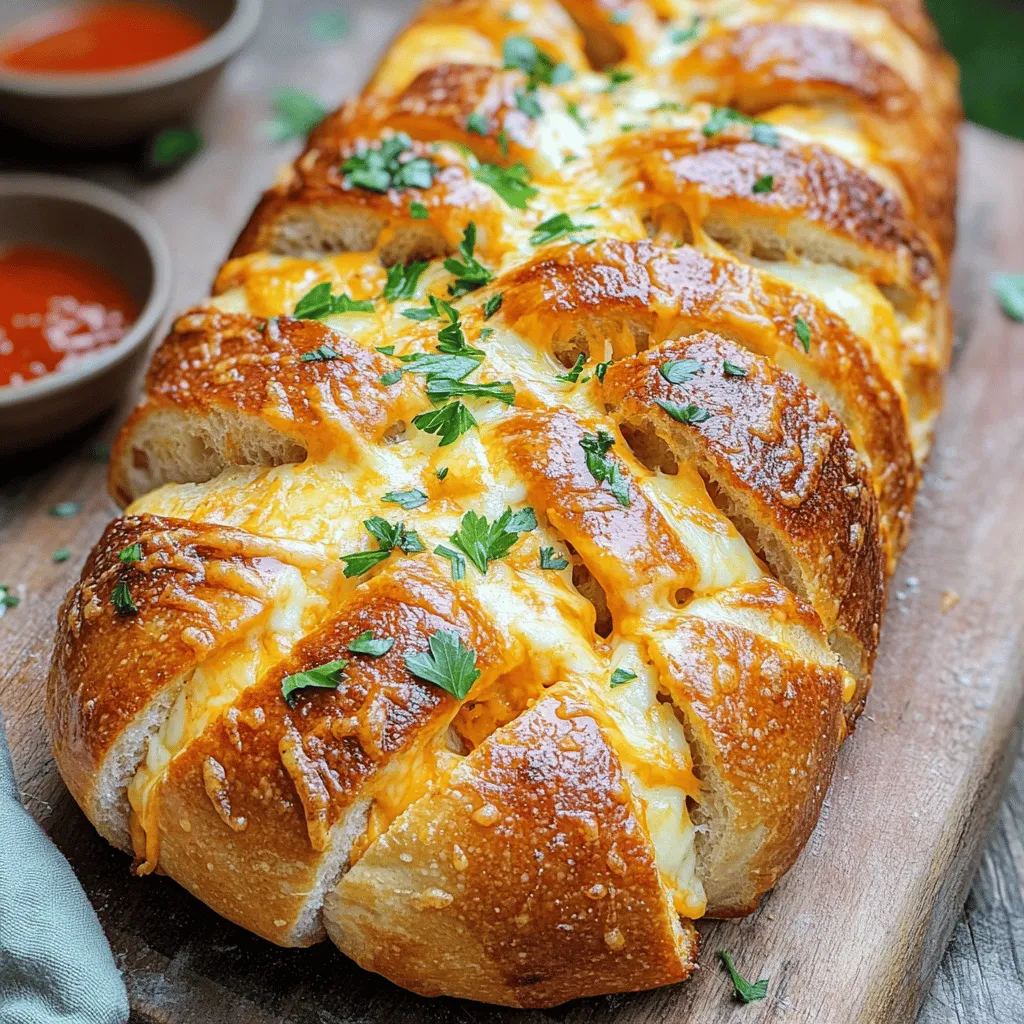
Imagine pulling apart a warm loaf of garlic bread, oozing with melted cheese. This cheesy pull-apart garlic bread recipe is your new go-to for comfort food. Whether you serve it …
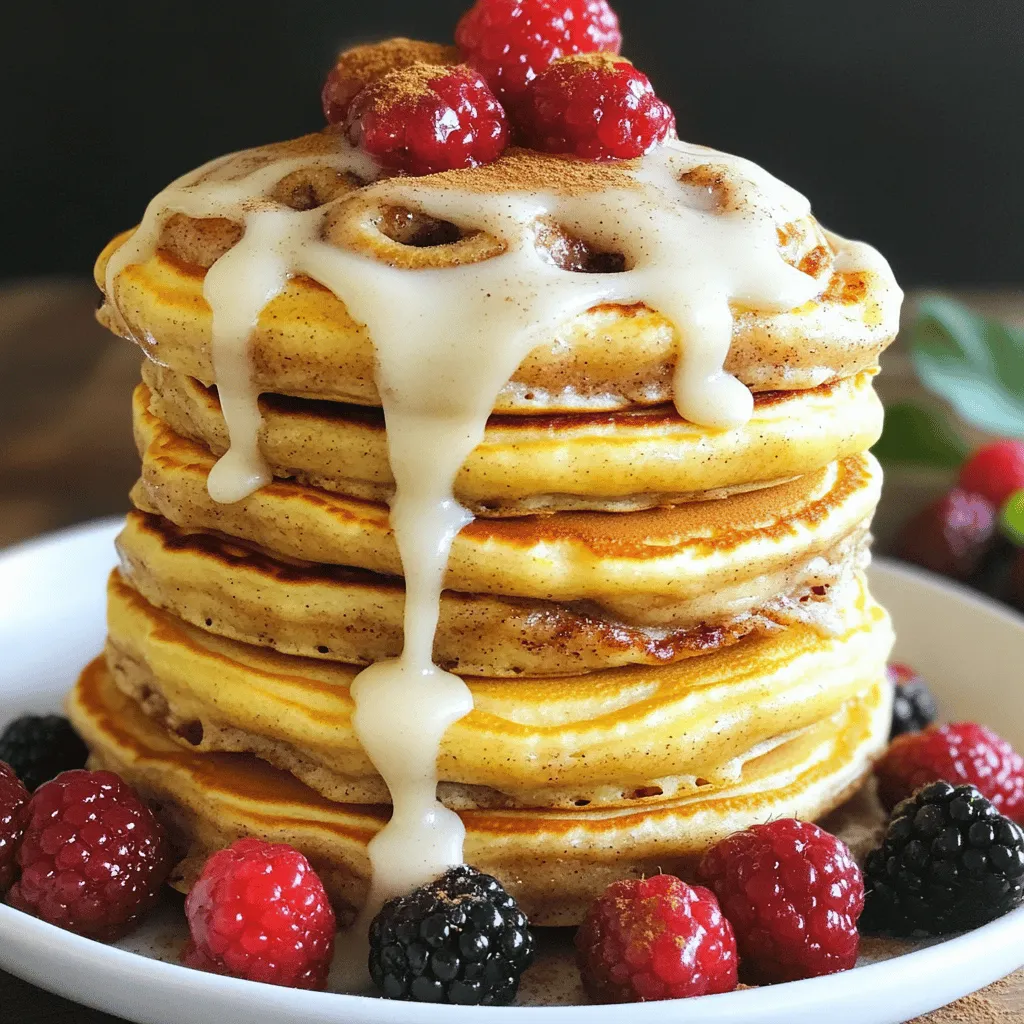
Wake up to a breakfast that’s a game changer! Fluffy Cinnamon Roll Pancakes are the perfect way to start your day. They combine all the warm, sweet flavors of a …
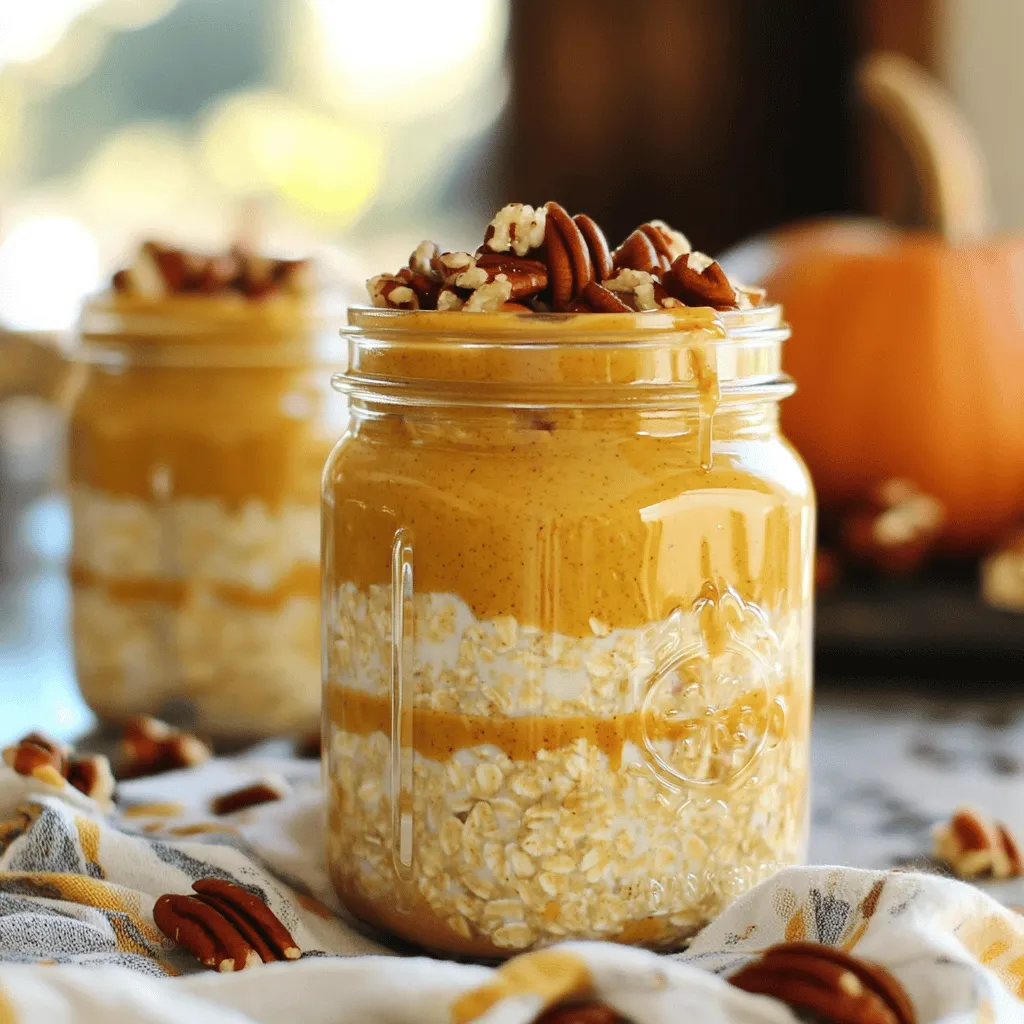
Are you ready to enjoy a tasty and healthy breakfast? Mason Jar Pumpkin Overnight Oats are the perfect way to kick-start your day! They are easy to make, packed with …
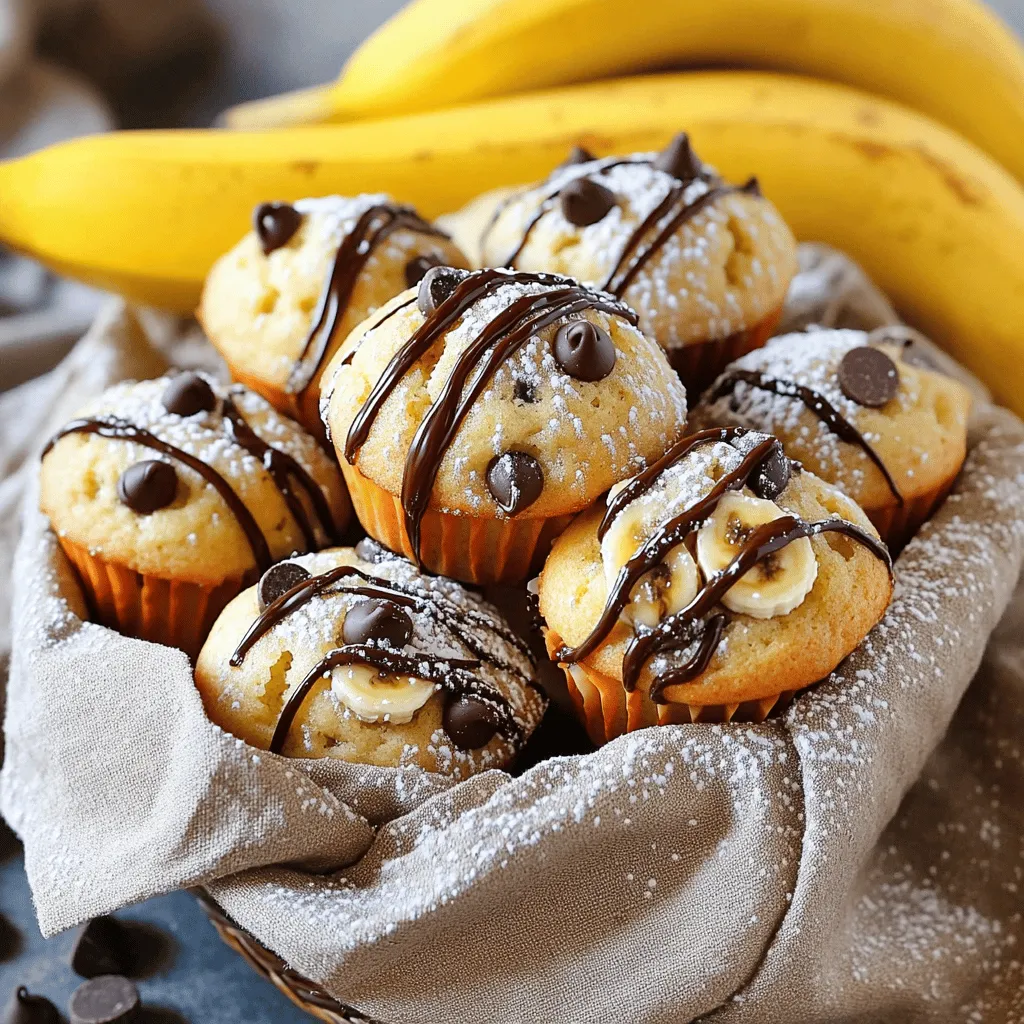
Are you craving a quick, delicious treat? Look no further than my One-Bowl Banana Chocolate Chip Muffins! This easy recipe takes just minutes to whip up, and you only need …
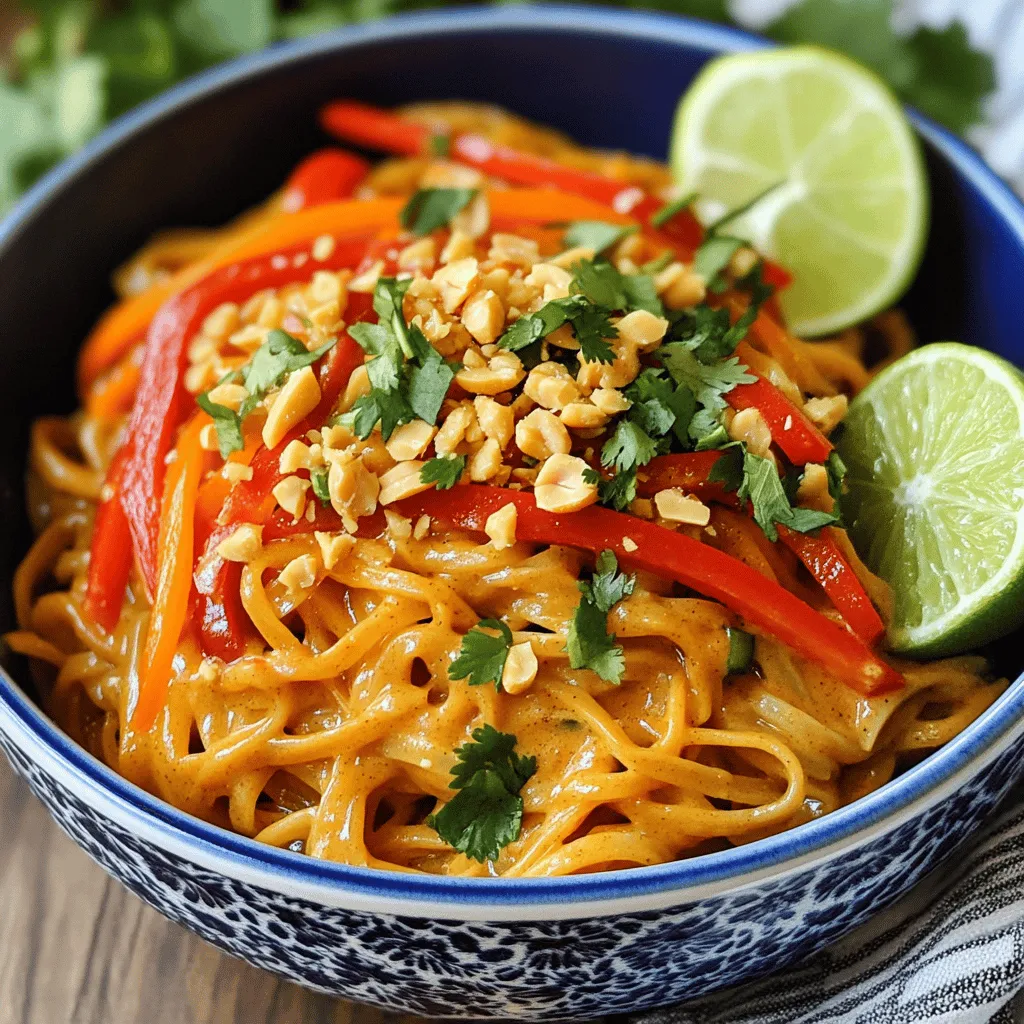
Are you ready for a delicious trip to Thailand without leaving your kitchen? This Spicy Thai Peanut Noodles recipe is quick and full of flavor, making it perfect for busy …
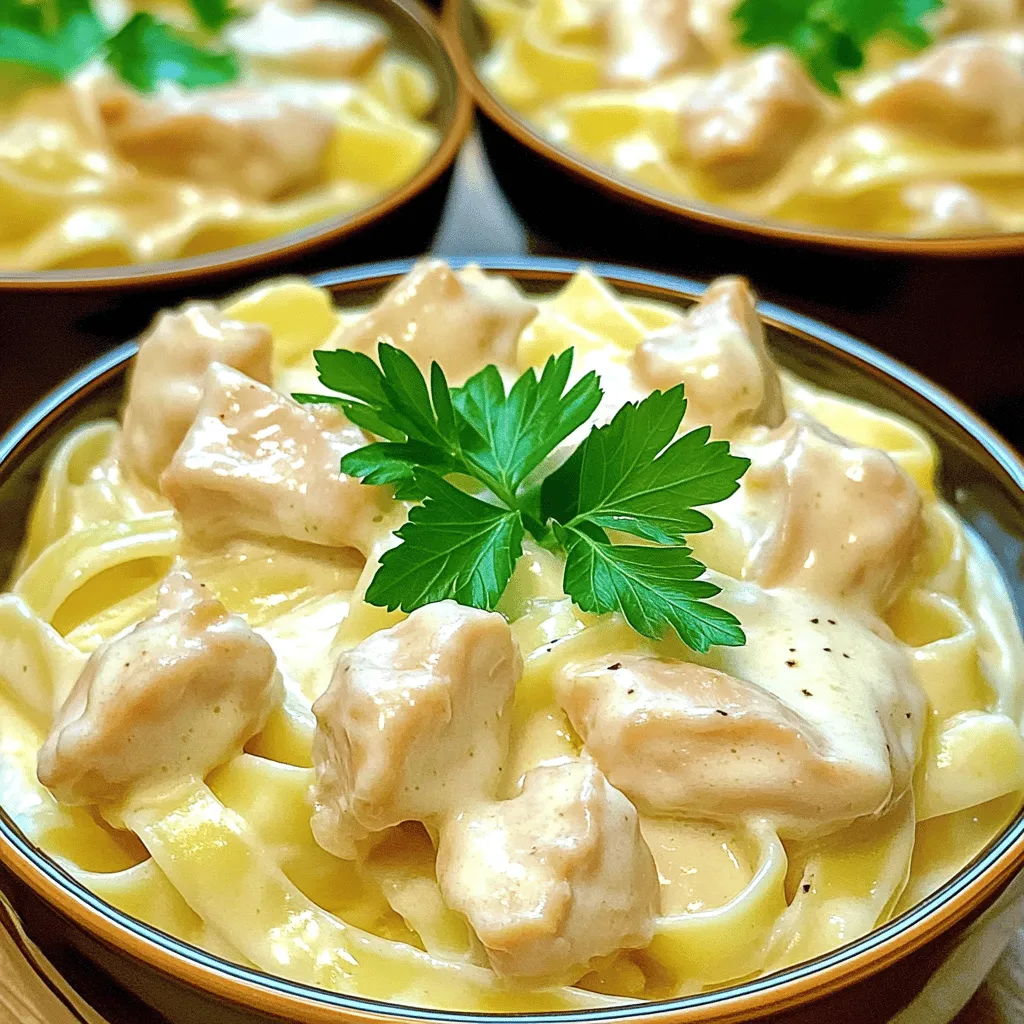
Craving a creamy, comforting meal? Look no further than my Instant Pot Chicken Alfredo! This dish combines tender chicken, rich cream, and cheesy goodness, all made in minutes. Perfect for …