Cajun Sausage Alfredo Pasta Easy and Flavorful Meal
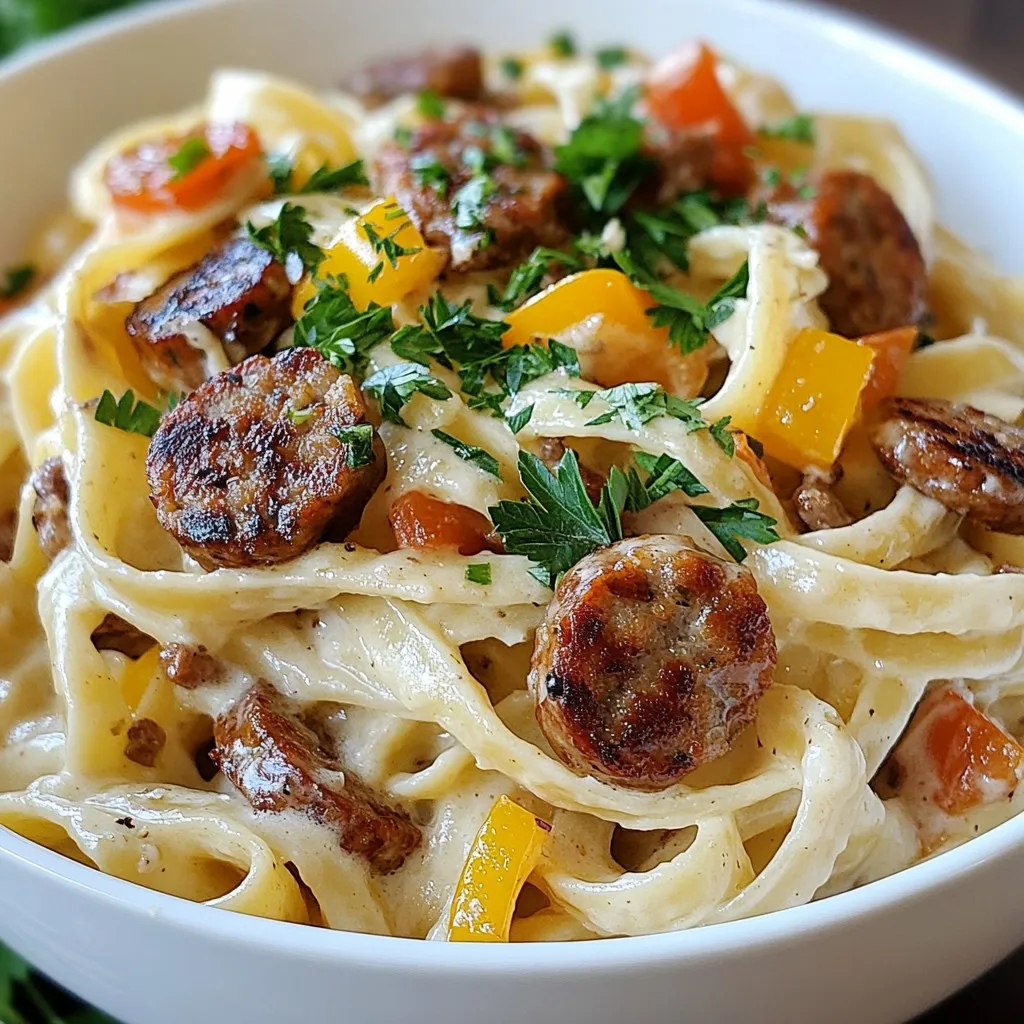
Craving a dish that’s both creamy and spicy? Look no further! My Cajun Sausage Alfredo Pasta is your new go-to meal. It’s easy to make and packed with flavor. Whether …
Craving a dish that’s both creamy and spicy? Look no further! My Cajun Sausage Alfredo Pasta is your new go-to meal. It’s easy to make and packed with flavor. Whether …

If you’re searching for a hearty, delicious meal that’s both simple and vegan, look no further! My Vegan Sweet Potato Curry is packed with flavor and nutrition. It combines sweet …
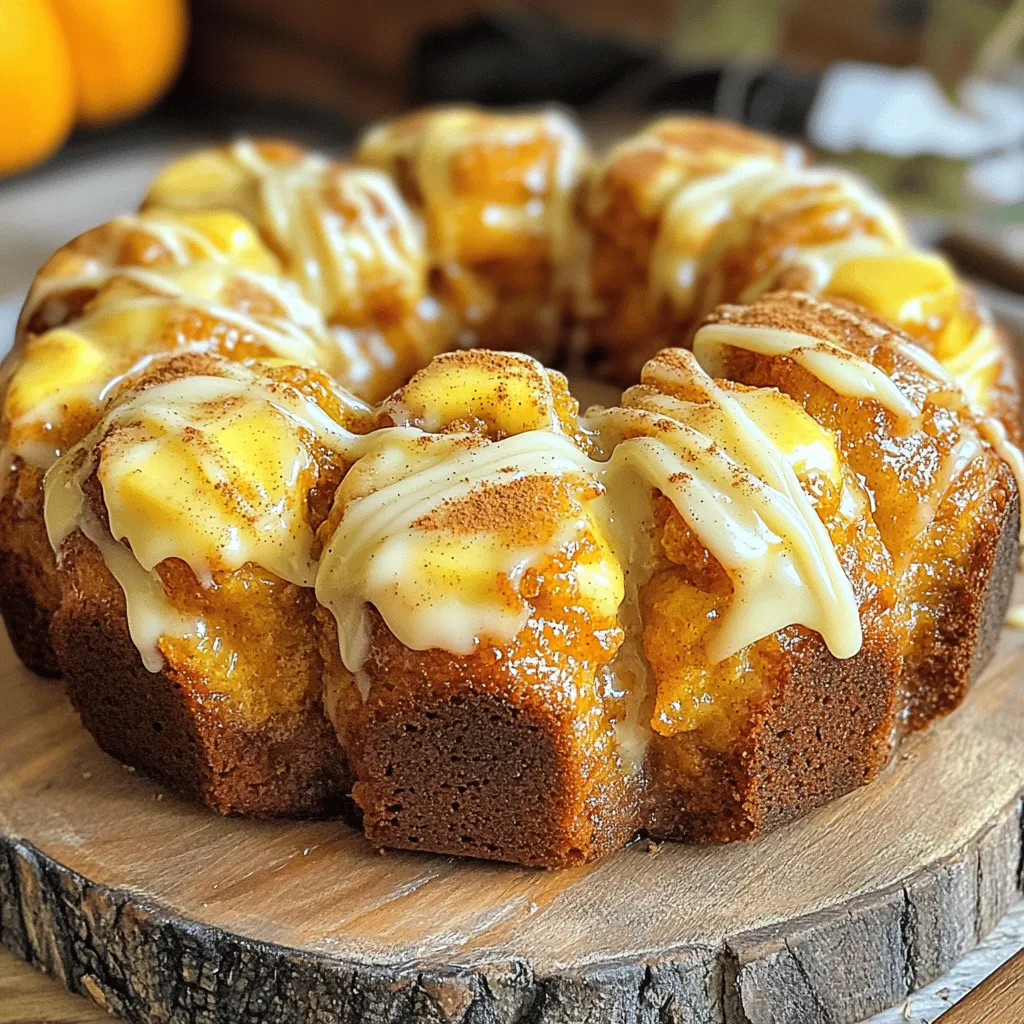
Fall is here, and nothing warms the heart quite like Pumpkin Spice Monkey Bread! This sweet treat combines warm, flaky biscuit dough with rich pumpkin and warm spices. Perfect for …

If you crave a sweet treat that’s simple to make yet oh-so-delicious, you’ve found it! Maple Pecan Pie Bars blend rich maple flavor with crunchy pecans, creating a dessert that’s …

Are you ready for a delicious treat that combines comfort and sweetness? These Apple Butter Thumbprint Cookies are easy to make and bursting with flavor! In this blog post, I’ll …

If you crave a warm, tasty dish that’s both delicious and hearty, you’ve found it! This Loaded Veggie Enchilada Soup packs in vibrant vegetables, protein-rich beans, and spicy seasoning to …

Are you ready to indulge in a dessert that’s as easy as it is delicious? This No-Bake Pumpkin Cheesecake is a creamy delight that brings fall flavors to your table …

Craving a sweet treat that’s easy to make? Look no further! This recipe for Cinnamon Sugar Pretzel Bites brings the warm, comforting flavors of cinnamon and sugar together with soft, …

Welcome to the ultimate comfort dish: Loaded Baked Potato Soup! If you crave warmth and rich flavors, this soup is for you. With creamy potatoes, savory toppings, and easy steps, …
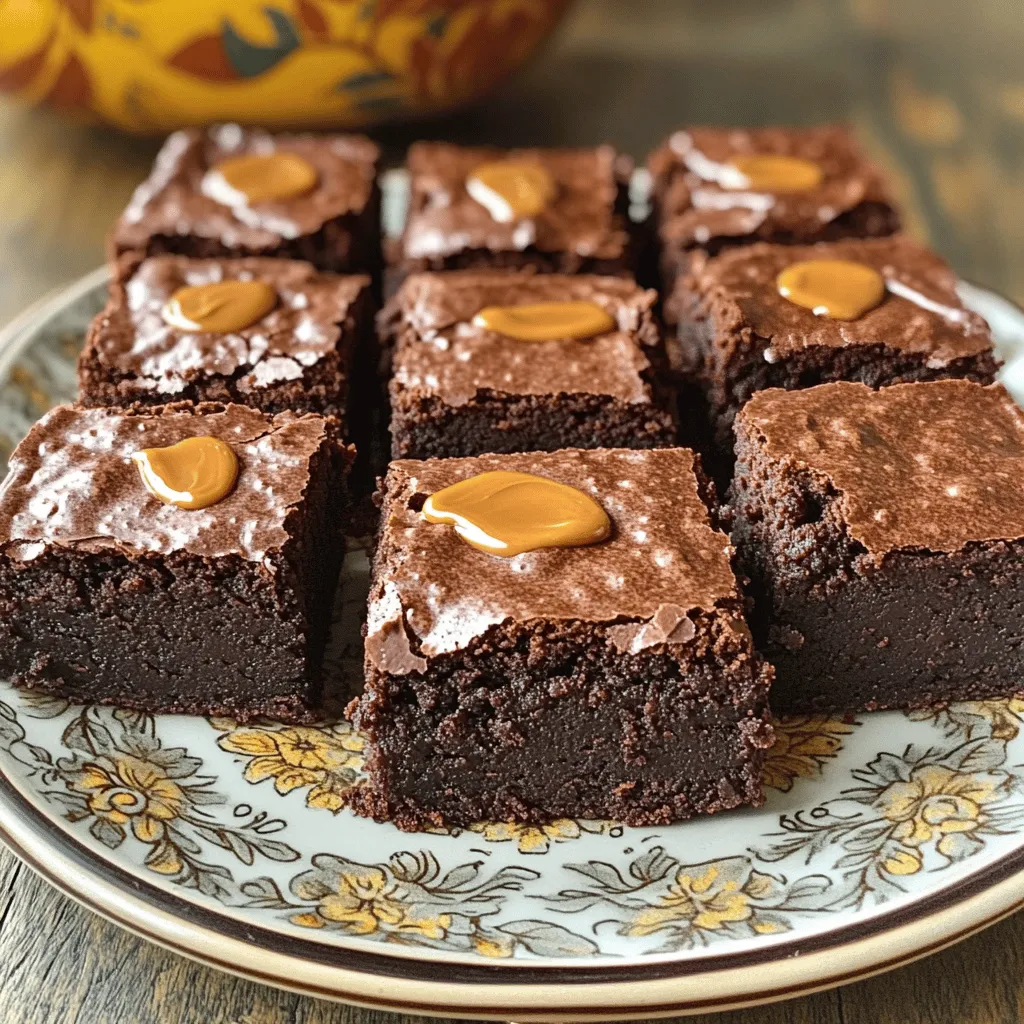
If you’re craving a rich, decadent treat that won’t weigh you down, you’re in the right place! Vegan sweet potato brownies blend comfort and nutrition in every bite. These brownies …