Salsa Verde Pulled Chicken Tacos Easy and Fl flavorful
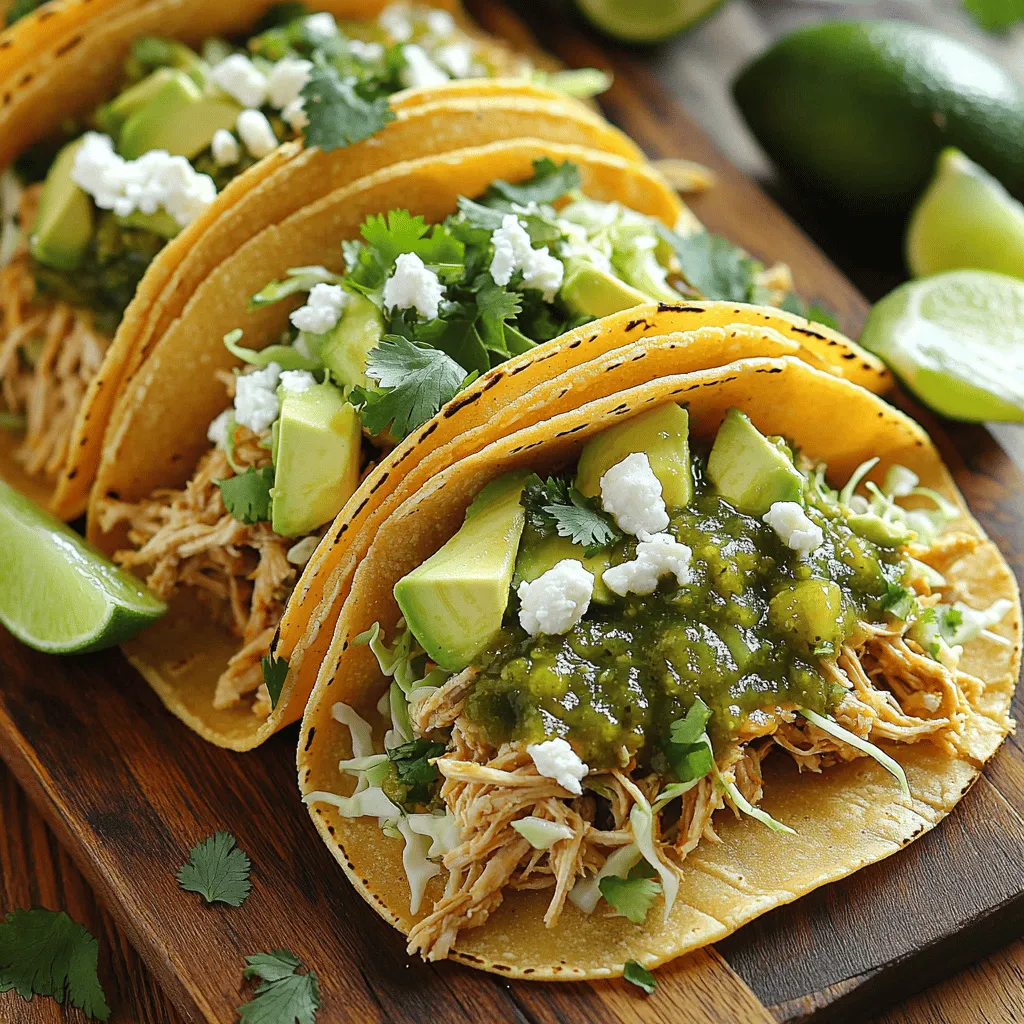
Get ready for a flavor explosion! Salsa Verde Pulled Chicken Tacos are easy to make and simply delicious. Whether you choose store-bought salsa or whip up a homemade batch, these …
Get ready for a flavor explosion! Salsa Verde Pulled Chicken Tacos are easy to make and simply delicious. Whether you choose store-bought salsa or whip up a homemade batch, these …

Looking for a fun twist on breakfast? Meet the Cinnamon Roll Pancake Bake! This simple yet tasty recipe combines fluffy pancakes with a sweet cinnamon swirl, all topped with rich …
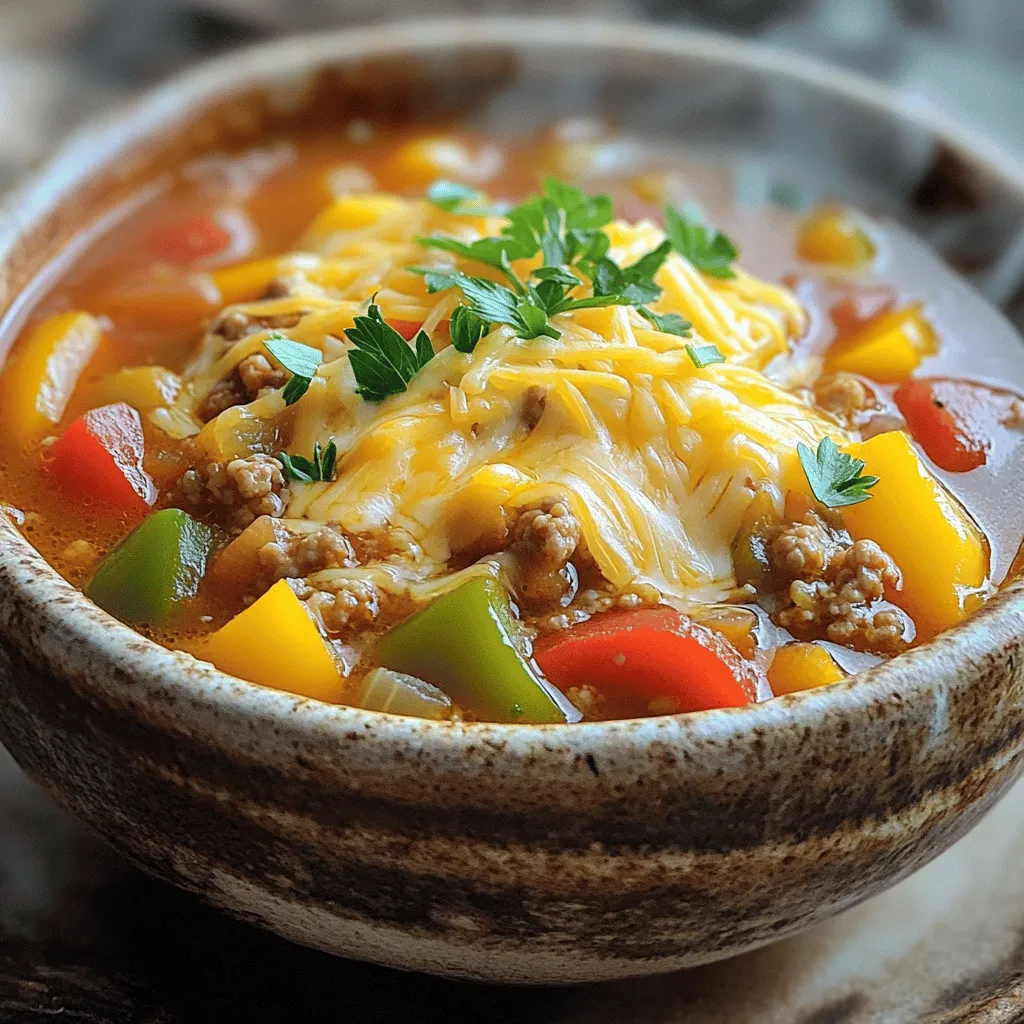
If you crave a warm, hearty meal, let me introduce you to Slow Cooker Stuffed Pepper Soup. This dish combines all the sweet flavors of stuffed peppers in one cozy …
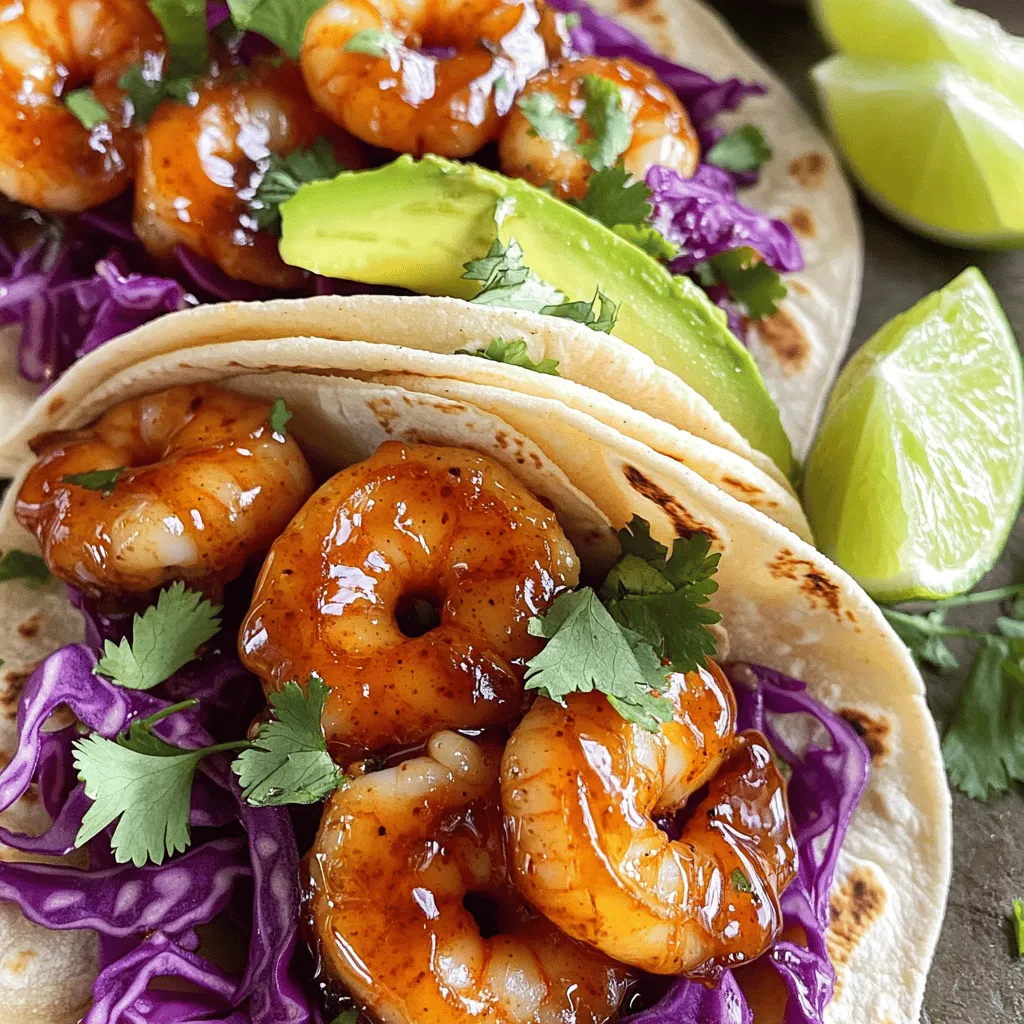
Are you ready to spice up your taco night? Honey Sriracha Shrimp Tacos combine sweet and spicy flavors for a delicious meal. In this blog, I’ll share how to make …

Are you ready to impress your friends with a sweet treat? This No-Bake Biscoff Cheesecake Squares recipe is simple and quick. With just a few ingredients like creamy cheese and …
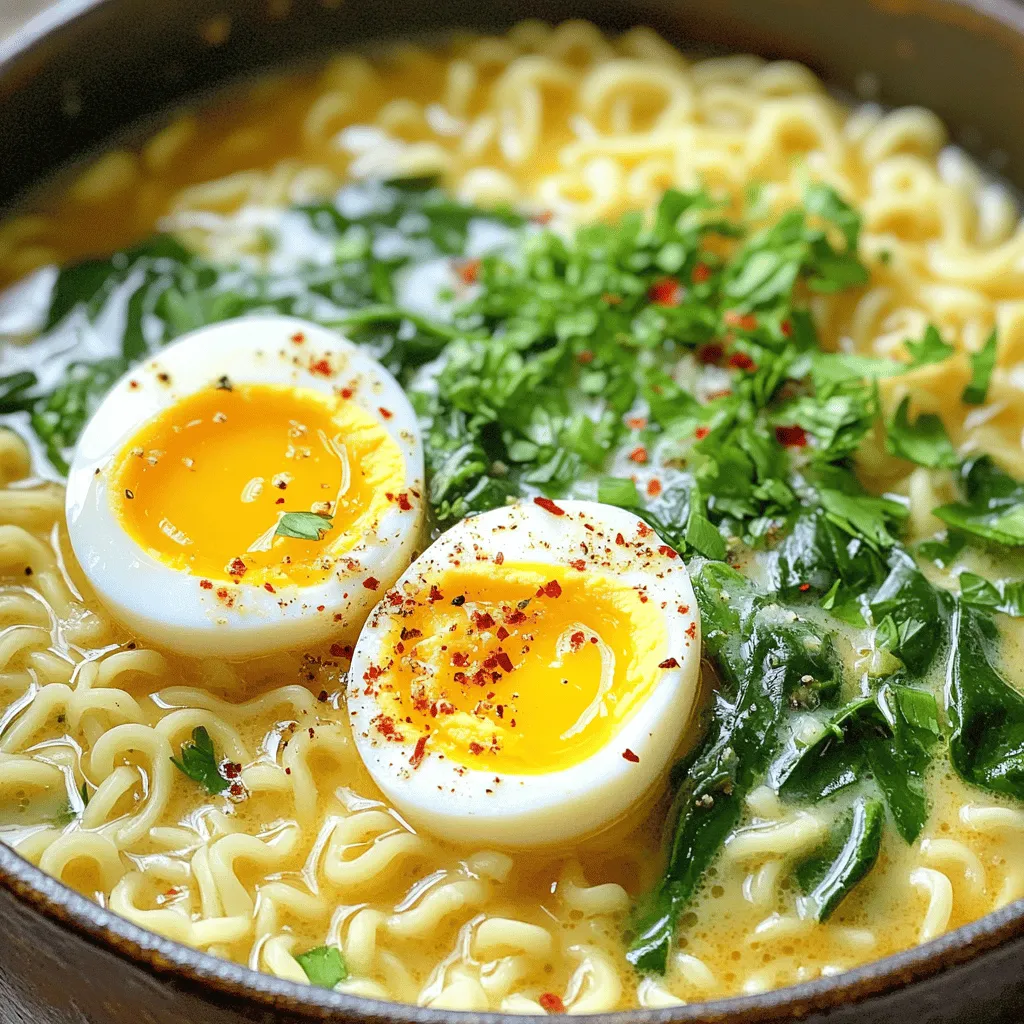
Craving a quick, tasty meal? Let me introduce you to One-Pot Garlic Parmesan Ramen! This creamy dish combines rich flavors and simple ingredients. You’ll need just a few items, like …
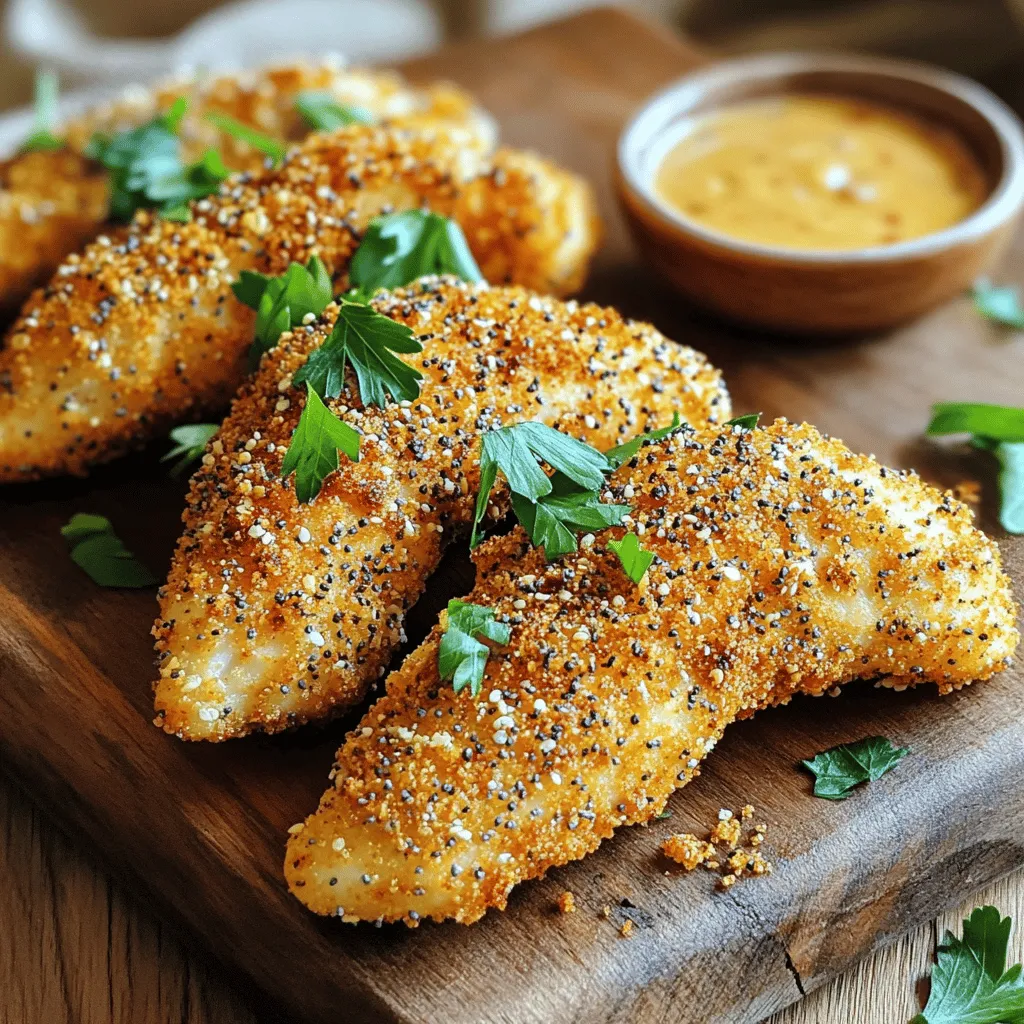
Looking for a quick and tasty dinner? You’re in the right place! In this blog, I’ll show you how to make Everything Bagel Air Fryer Chicken Tenders that are juicy …
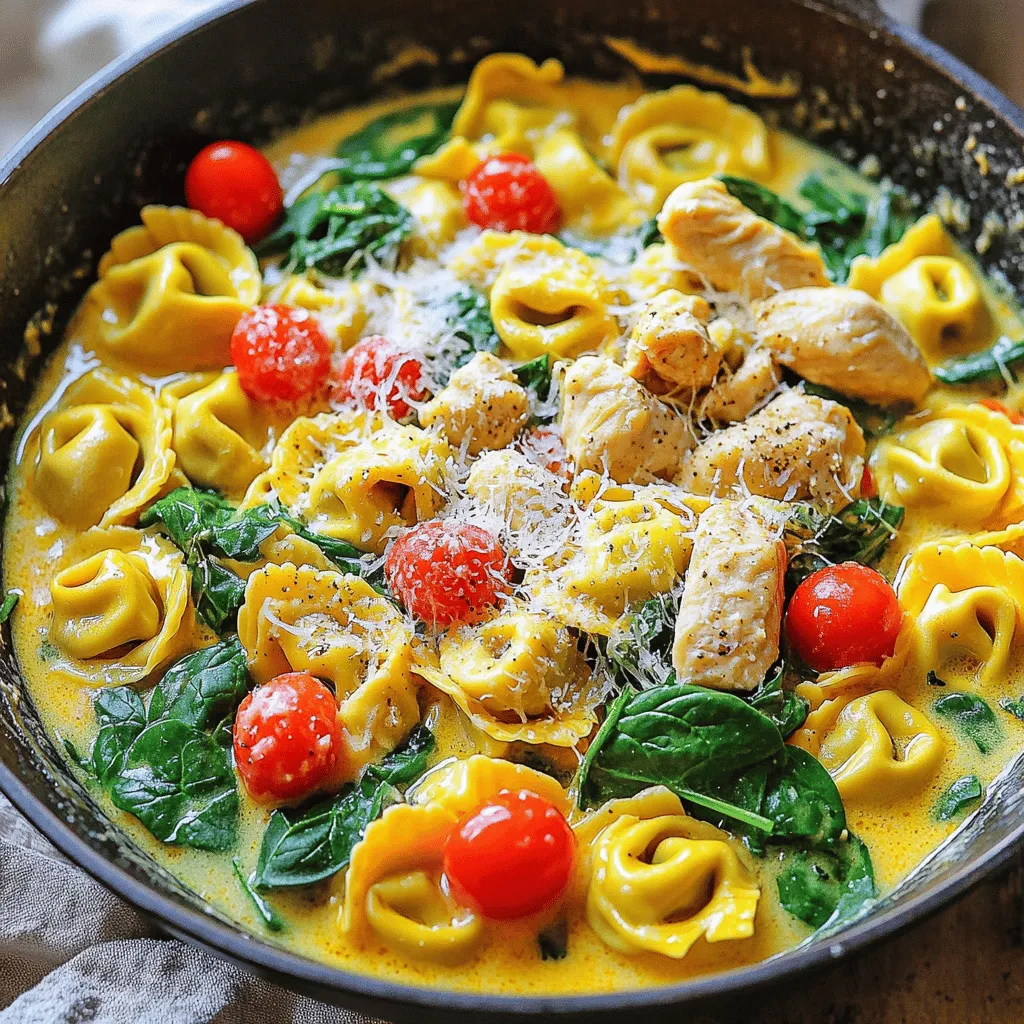
Ready for a quick and tasty meal? My Tuscan Chicken Tortellini Skillet is your answer! This dish combines tender chicken, creamy sauce, and cheesy tortellini in one pan. It’s perfect …

Are you ready to indulge in a warm, gooey treat? My Maple Pecan Sticky Buns recipe combines sweet maple syrup and crunchy pecans for a delightful dessert you can’t resist. …
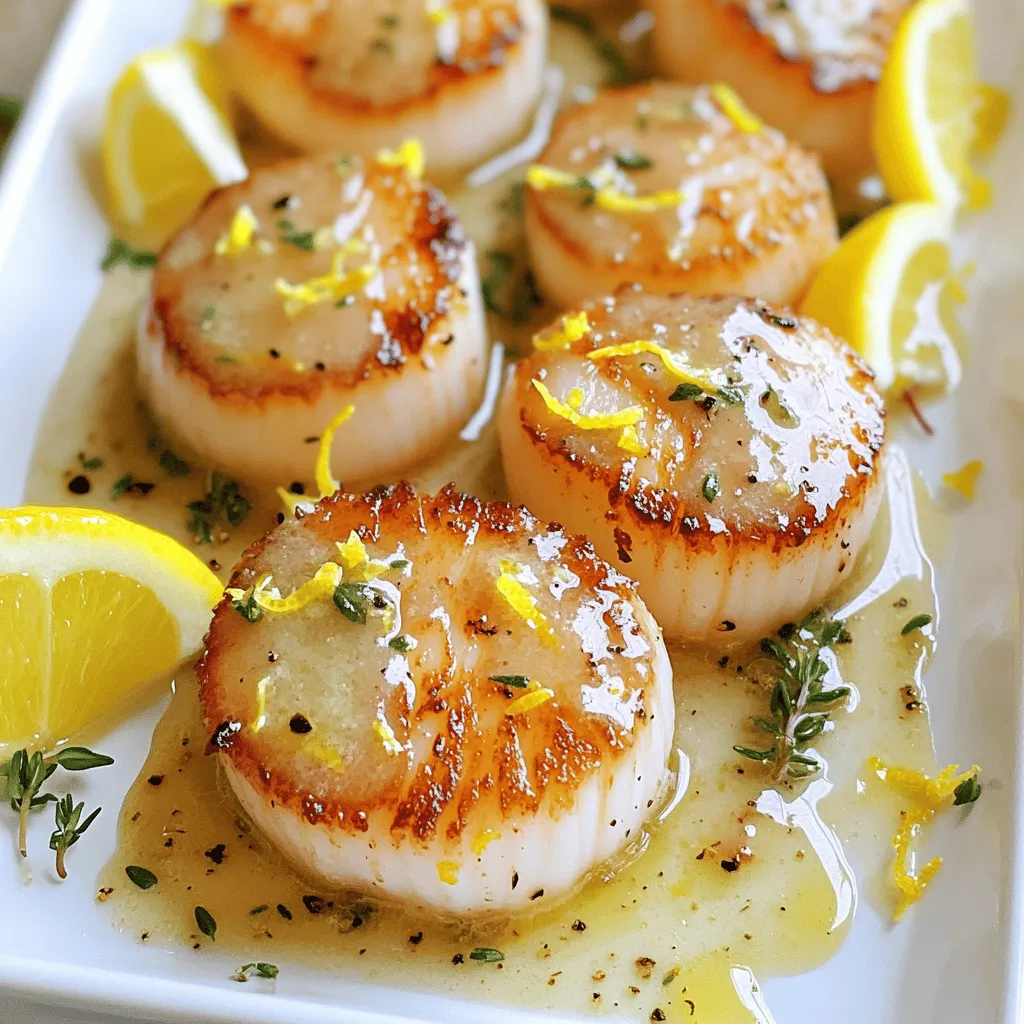
If you’re looking for a delicious seafood dish that’s easy to make, you’ve found it! Lemon Garlic Butter Scallops are flavorful and can be ready in minutes. I’ll guide you …