Tomato Basil Rice Skillet Flavorful and Easy Meal
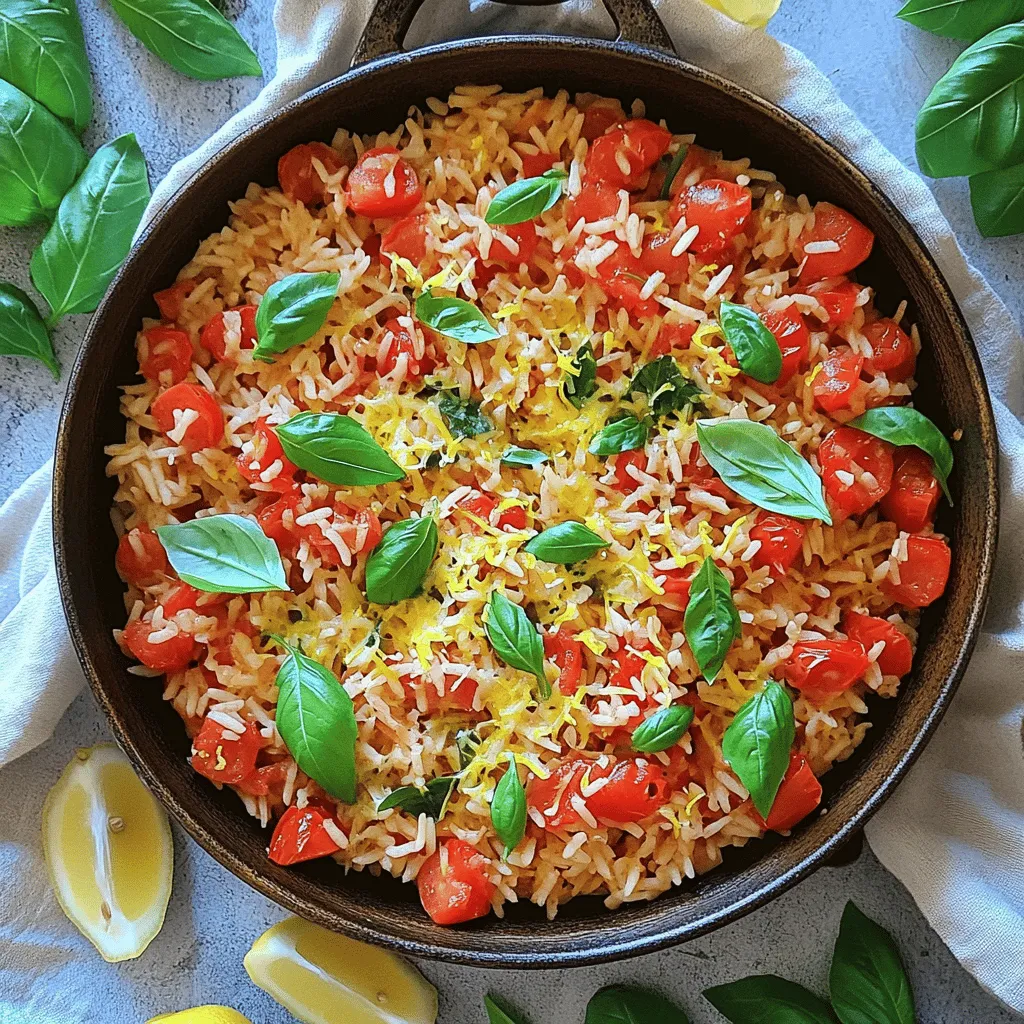
Looking for an easy, delicious meal that bursts with flavor? Try my Tomato Basil Rice Skillet! This recipe is packed with vibrant ingredients and simple steps, making it perfect for …
Looking for an easy, delicious meal that bursts with flavor? Try my Tomato Basil Rice Skillet! This recipe is packed with vibrant ingredients and simple steps, making it perfect for …
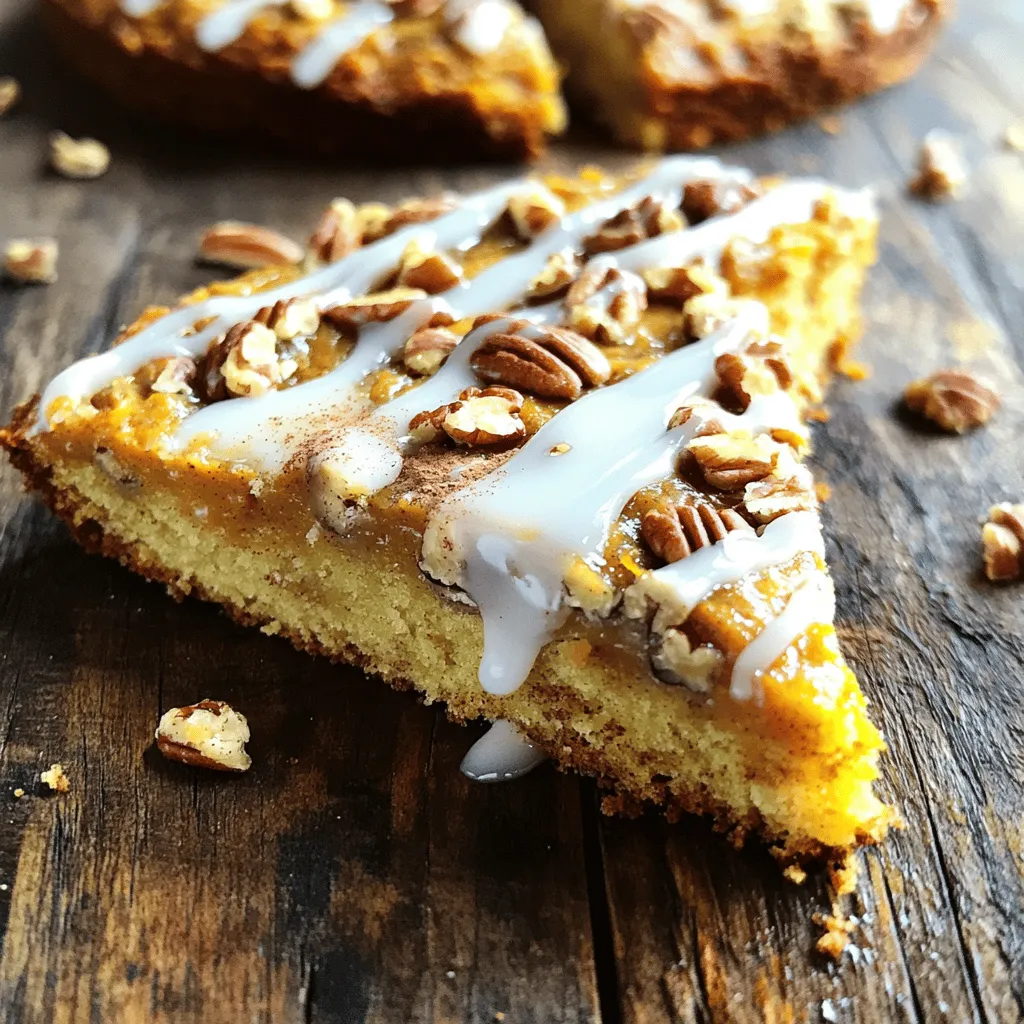
Get ready to enjoy a warm slice of Pumpkin Pecan Coffee Cake! This simple recipe combines rich pumpkin flavor with crunchy pecans for a treat perfect for any occasion. I’ll …

Craving a warm, hearty meal that’s also easy to make? Look no further! This Slow Cooker Chicken Gnocchi Soup combines tender chicken, fresh veggies, and pillowy gnocchi for a comforting …

Looking for a quick and tasty meal? This Savory Sheet Pan Herb Salmon and Veggies recipe is your answer! With just one pan, you’ll roast juicy salmon with colorful veggies …

Are you ready to make a delicious snack that will impress your friends? Air Fryer Honey Garlic Cauliflower Bites are crunchy, sweet, and packed with flavor. You’ll love how simple …

Get ready to satisfy your sweet tooth with my No Bake S’mores Peanut Butter Bars! These tasty treats combine classic s’mores flavors with creamy peanut butter, all without turning on …
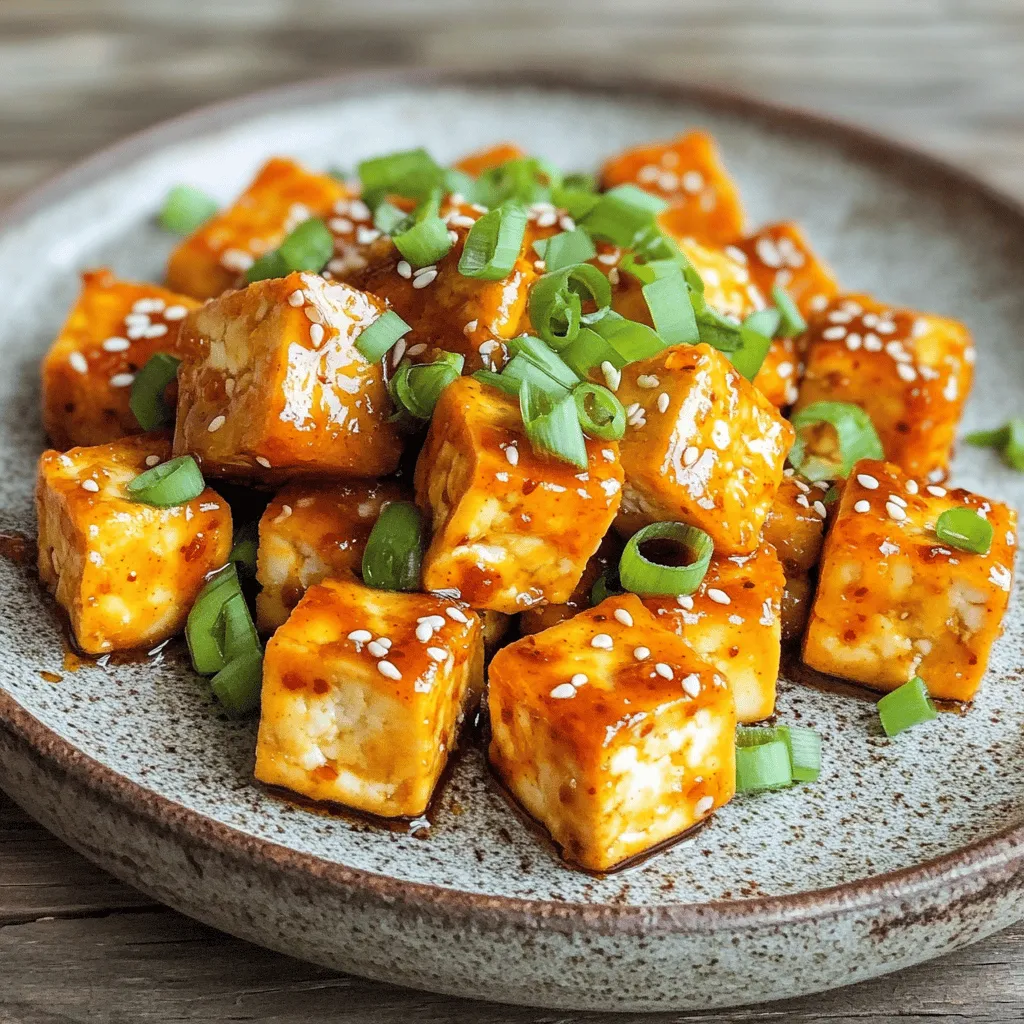
Love crispy tofu with a kick? You’re in the right place! In this blog post, I’ll guide you through making Air Fryer Sweet Chili Garlic Tofu—a dish that’s not just …

If you love sweet treats, you are in for a delight! Chocolate Coconut Macaroon Bites are easy to make and oh-so-delicious. In this recipe, I will guide you step-by-step, from …

If you’re craving a comforting meal that bursts with flavor, you need to try my Creamy Cajun Sausage Rice Skillet. This one-pan dish combines smoky sausage, creamy rice, and vibrant …
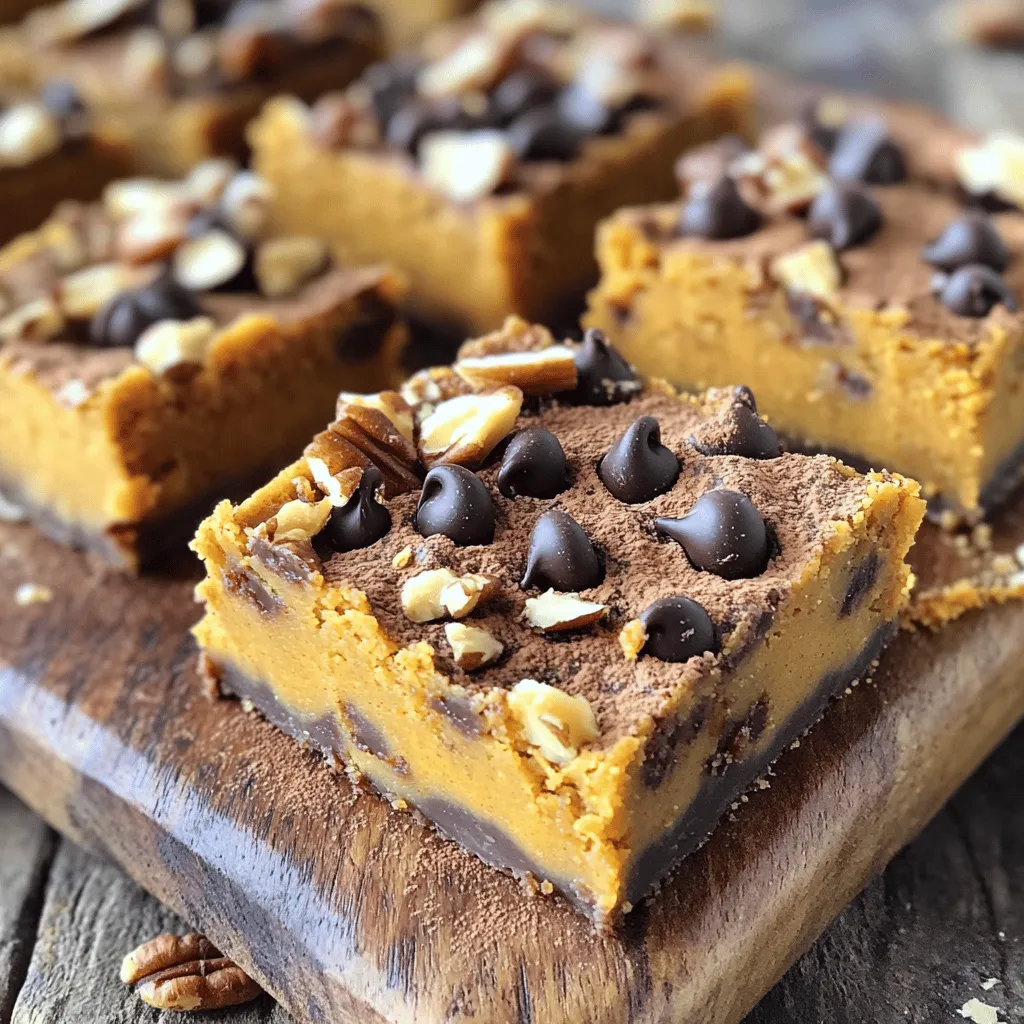
Are you ready to indulge in a warm, sweet treat that screams fall? Brown Butter Pumpkin Blondies are the perfect dessert to enjoy on a chilly day. With rich, nutty …