Pumpkin Honey Bun Cake Delightfully Simple Recipe
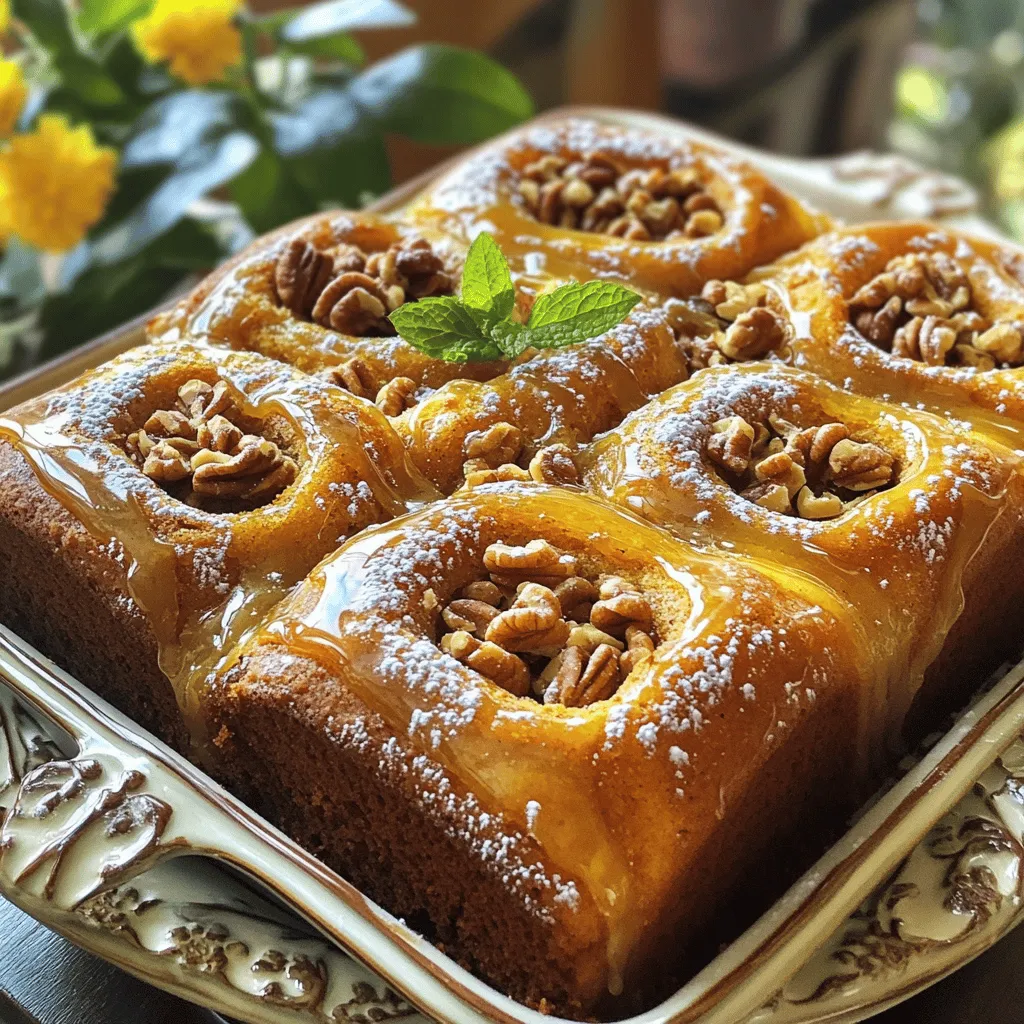
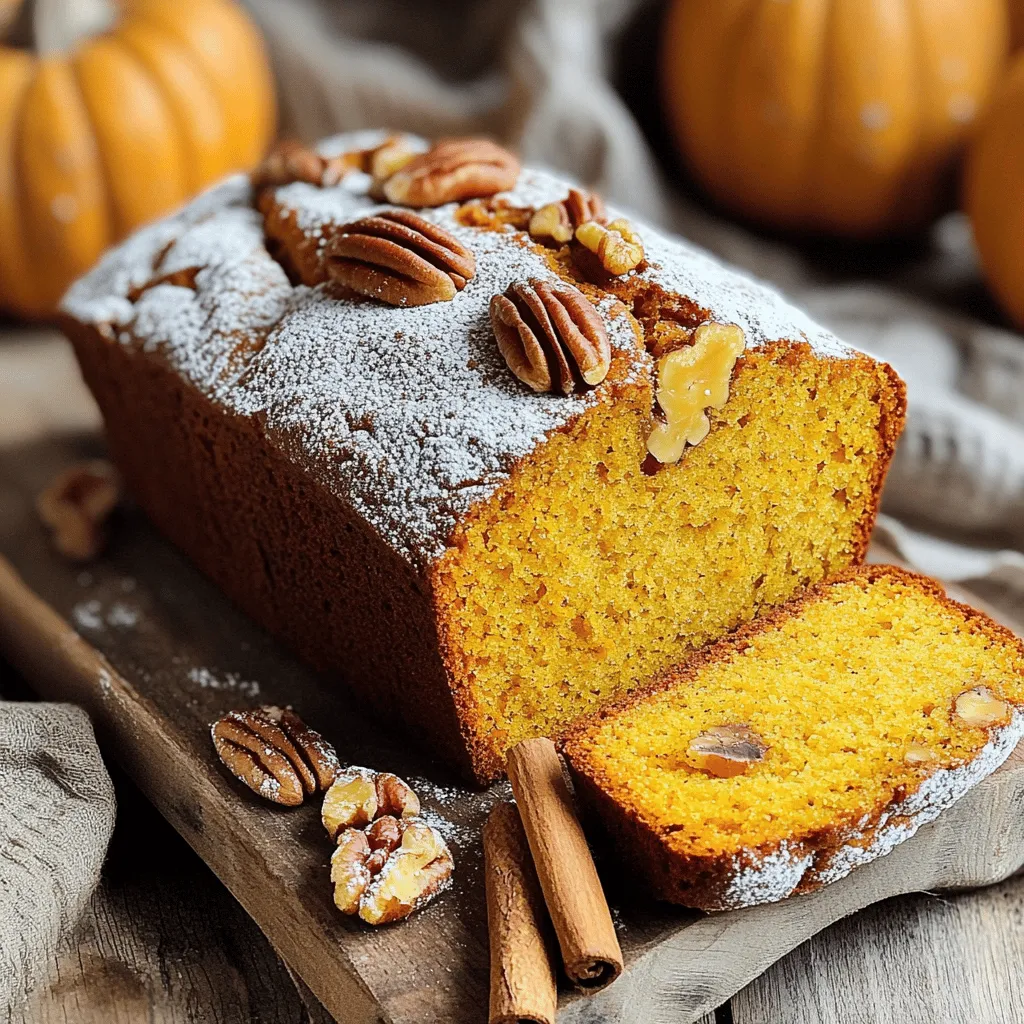
Have you ever craved a dessert that feels like a warm hug? The Pumpkin Honey Bun Cake combines the rich flavors of fall with a simple recipe you’ll love. In …
Have you ever craved a dessert that feels like a warm hug? The Pumpkin Honey Bun Cake combines the rich flavors of fall with a simple recipe you’ll love. In …
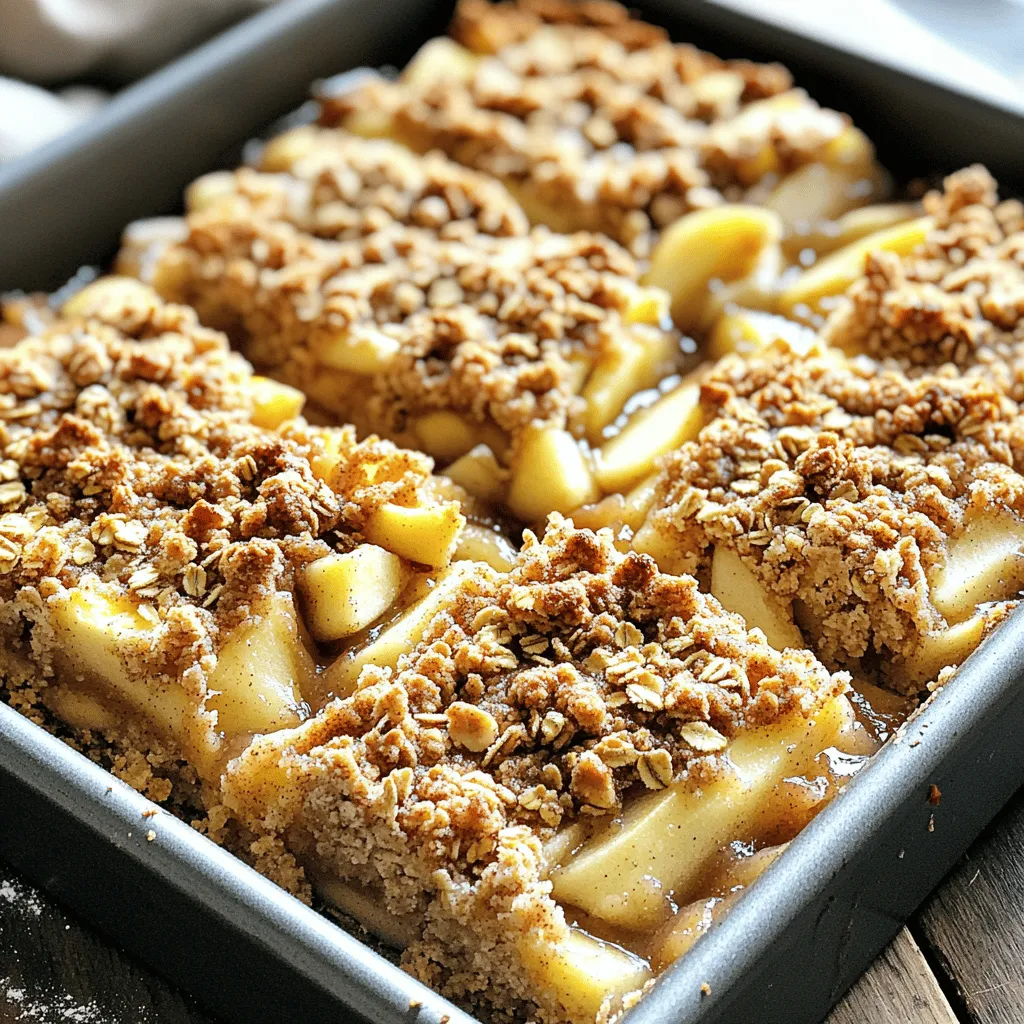
If you love the warm, sweet aroma of apple desserts, you’re in for a treat! My easy recipe for Apple Crisp Bars brings together rolled oats, fresh apples, and a …
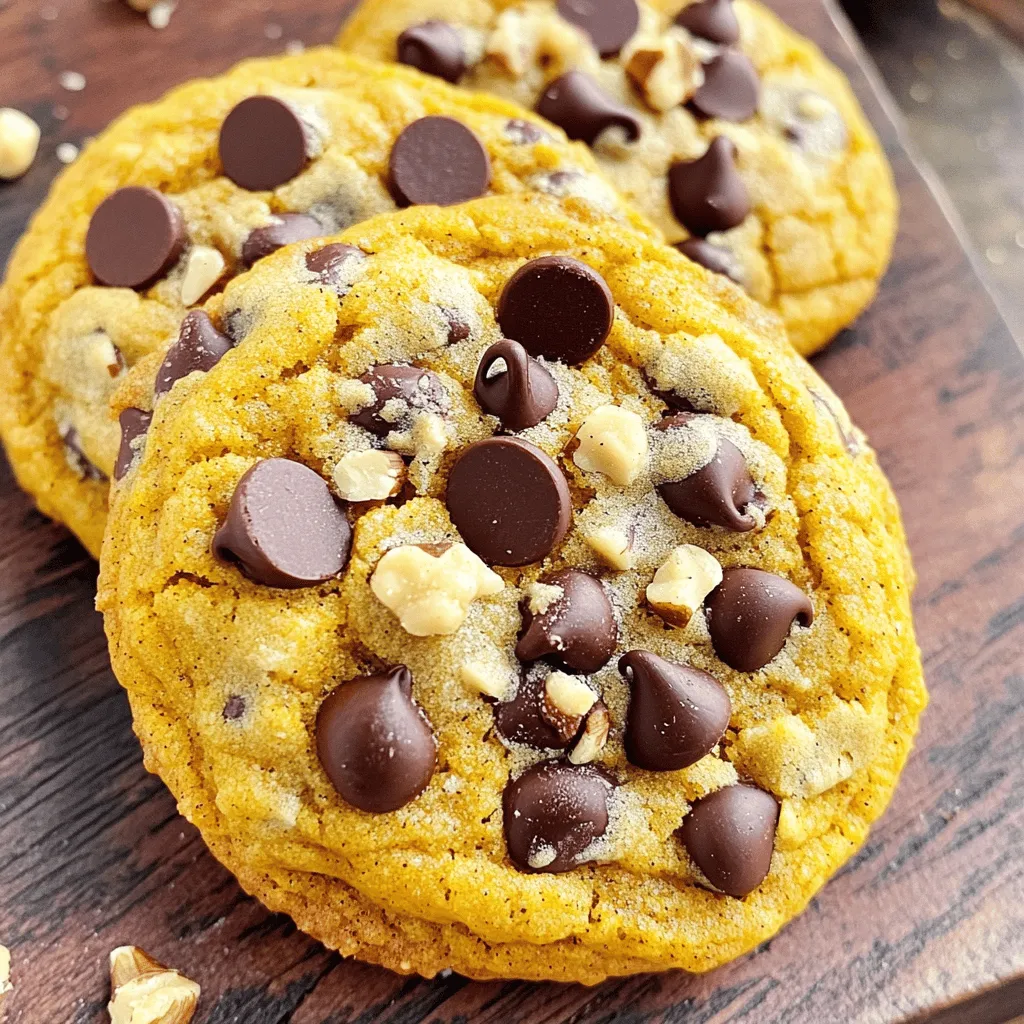
Are you craving a sweet treat that screams fall? Look no further! My Chewy Pumpkin Chocolate Chip Cookies offer the perfect mix of warm spices and rich chocolate. With their …

Craving something warm and filling? My Easy Homestyle Beef Stew is your answer! This comforting dish combines tender beef, fresh veggies, and savory broth to create a meal that feels …
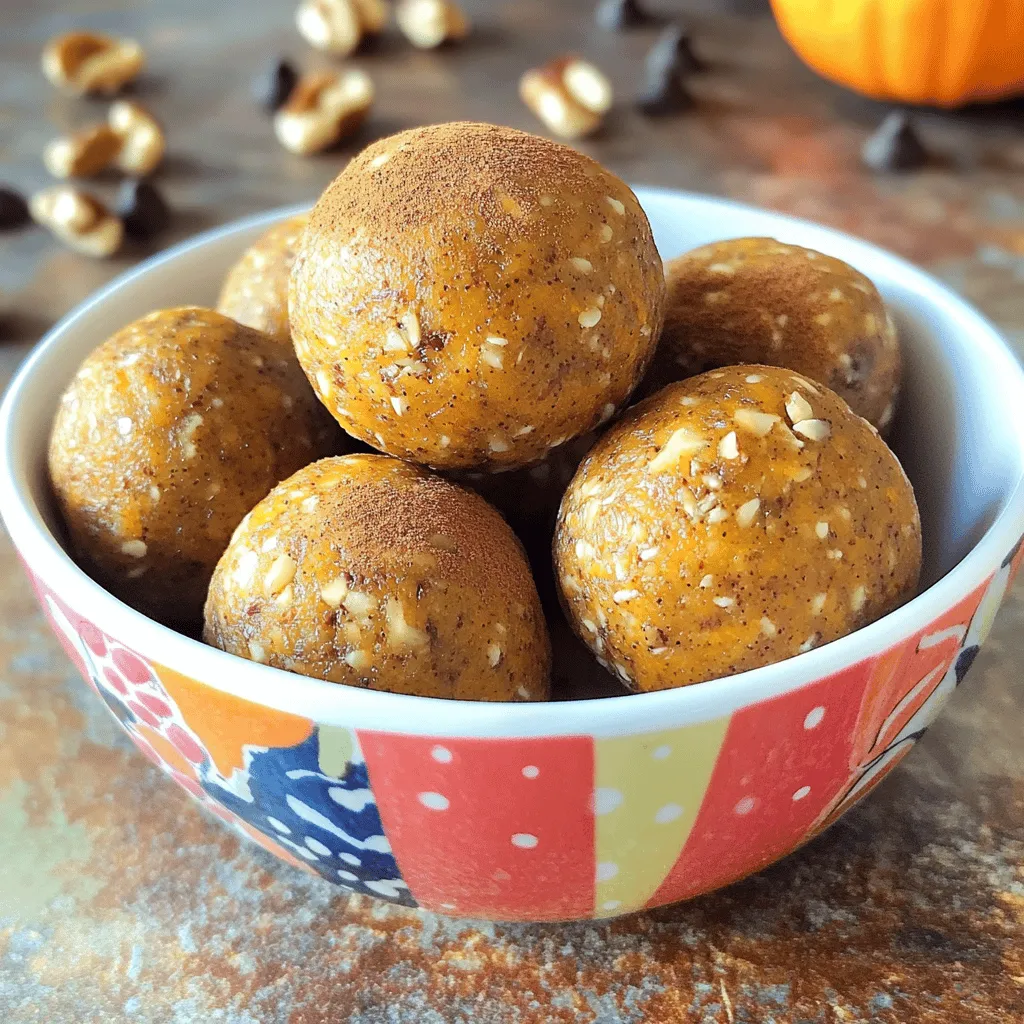
Looking for a fun, tasty snack? Try my Cinnamon Pumpkin Energy Balls! They’re packed with flavor and good for you. These little bites are easy to make and perfect for …

Looking for a quick, tasty, and healthy snack? Pumpkin Cranberry Energy Bites are the answer! These little balls pack a lot of flavor and nutrition to fuel your day. Made …
Craving a warm slice of pumpkin bread? This one-bowl recipe is perfect for you! It combines rich pumpkin puree and warm spices with minimal fuss. You’ll save time and clean …

Are you ready to create delicious Chicken Onigiri at home? This quick and easy recipe guide will walk you through each simple step. You will learn about the best ingredients, …
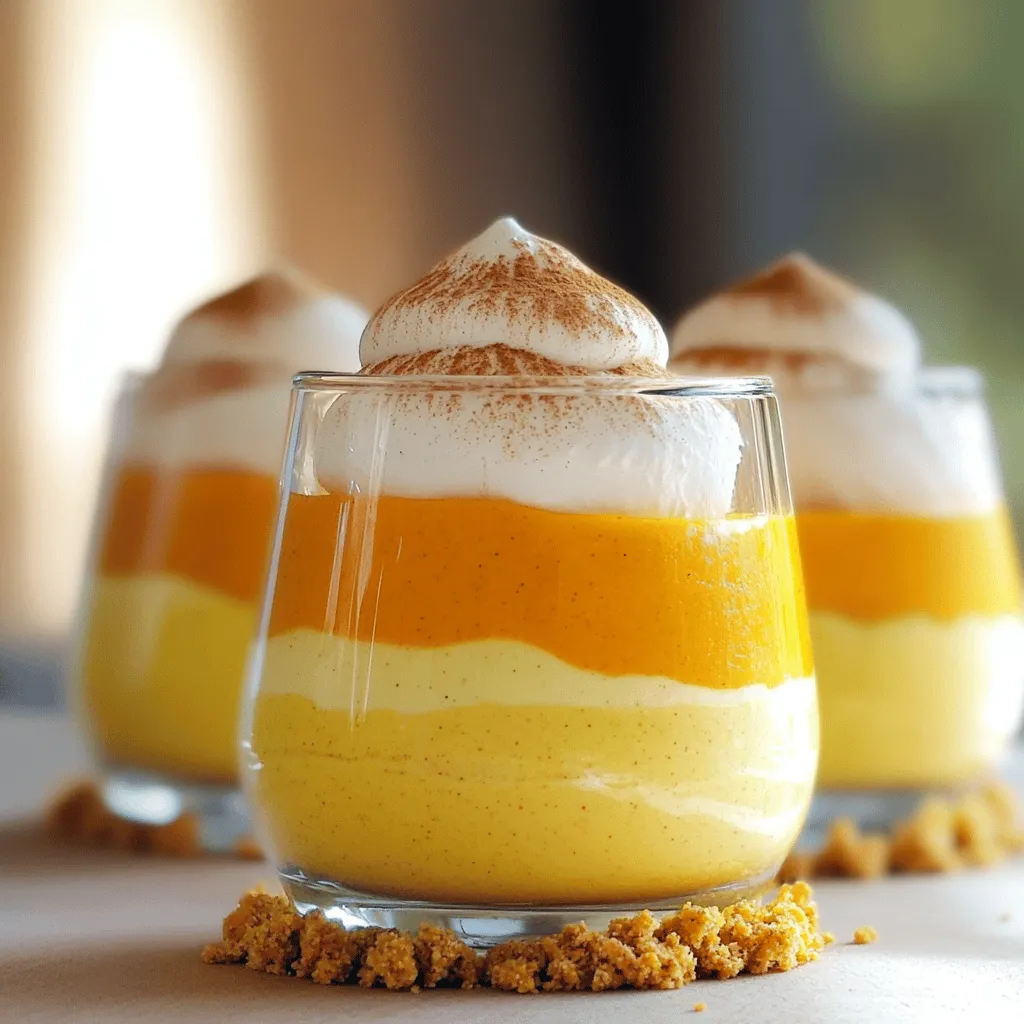
Are you ready to indulge in fall’s favorite dessert? Pumpkin Cheesecake Mousse Parfaits are here to delight your taste buds! This easy, creamy treat blends rich pumpkin with luscious cream …
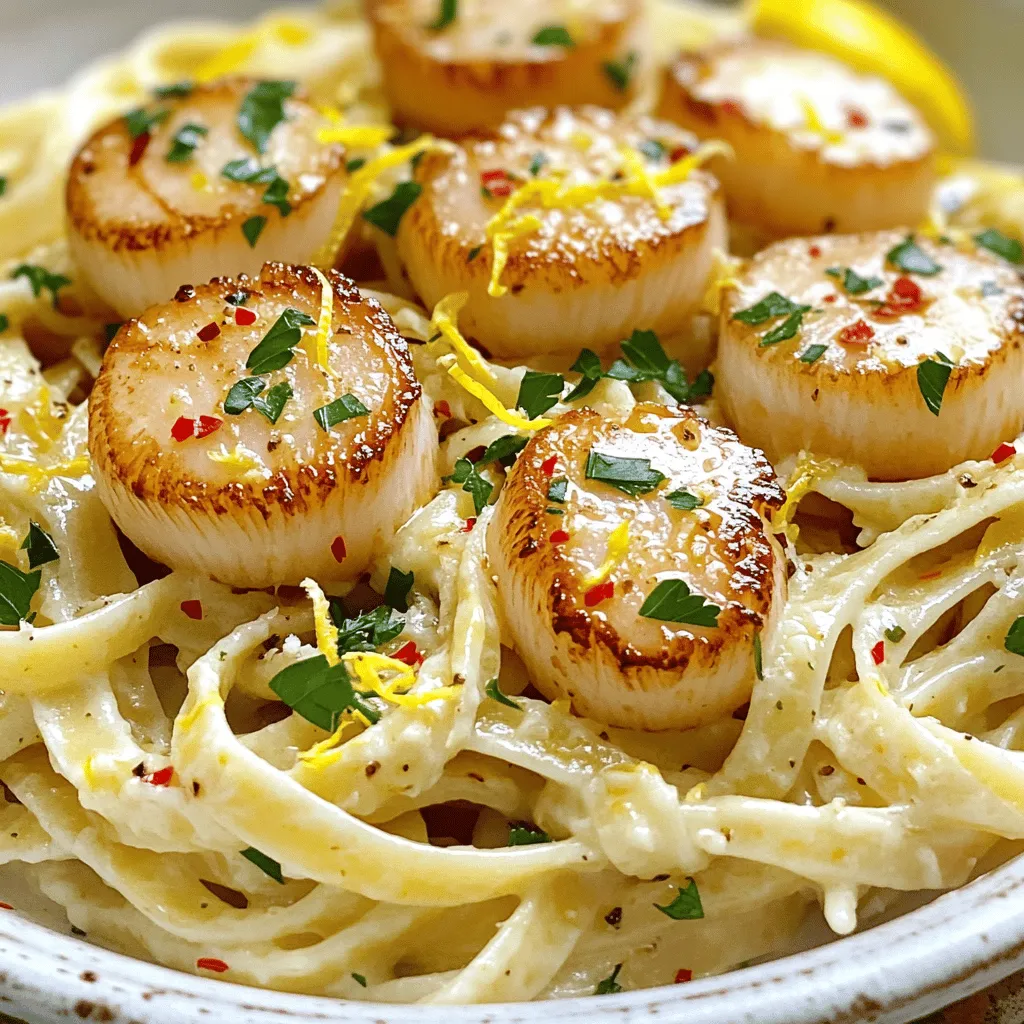
Craving a quick, delicious meal? Garlic Butter Scallop Pasta is a tasty choice! In this post, I’ll share how to make this dish easily. You’ll learn about key ingredients, step-by-step …