Crispy Garlic Parmesan Wings Flavorful Easy Recipe

Are you craving a delicious snack that’s easy to make? Look no further! My Crispy Garlic Parmesan Wings deliver bold flavor with a simple recipe. With just a handful of …
Are you craving a delicious snack that’s easy to make? Look no further! My Crispy Garlic Parmesan Wings deliver bold flavor with a simple recipe. With just a handful of …
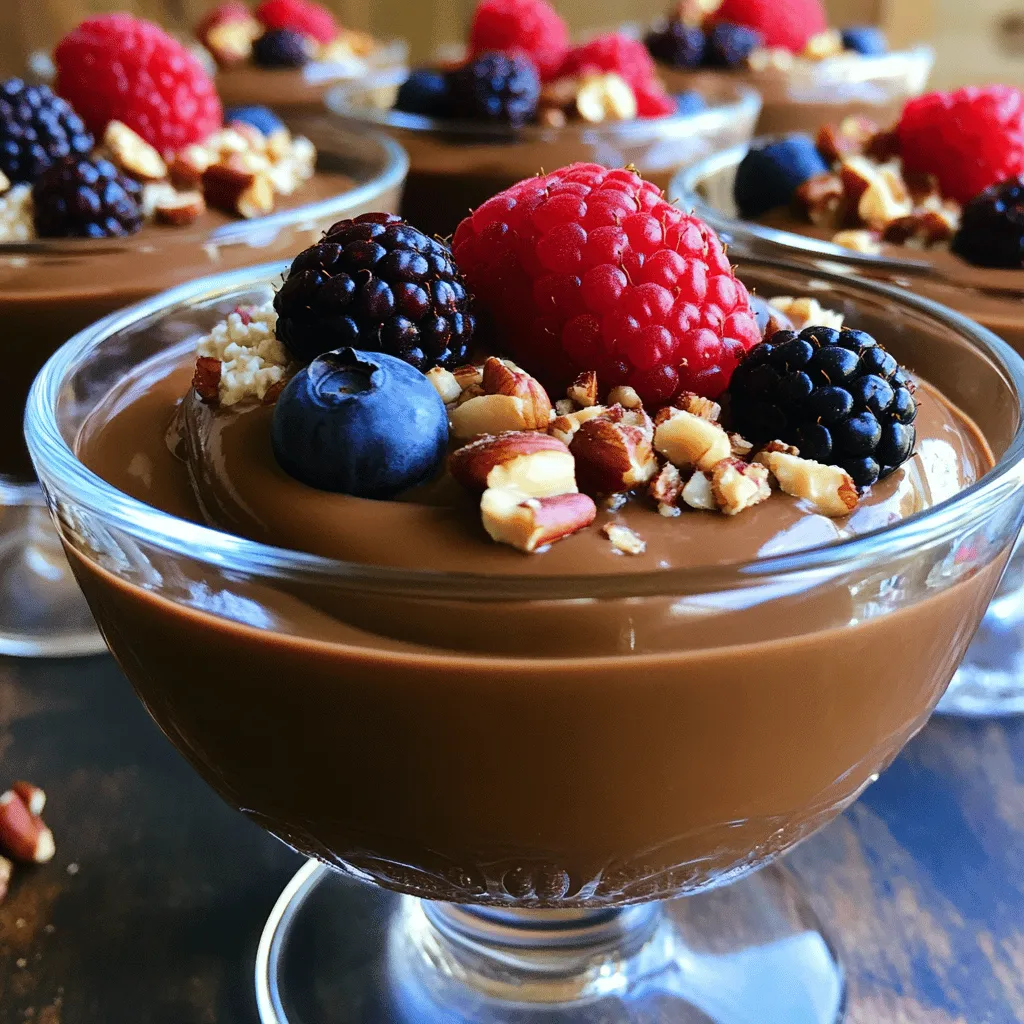
Are you ready to indulge in a guilt-free treat? This Chocolate Cottage Cheese Pudding is a creamy delight perfect for any dessert lover. With simple ingredients and easy steps, you …

Ready for a flavor-packed meal? This Lemon Dijon Salmon with Asparagus is a treat for your taste buds! With fresh salmon, crisp asparagus, and a zesty Dijon honey glaze, you …

Are you ready to make dinner time special? My Slow Cooker Sweet Chili Meatballs are bursting with flavor and easy to prepare! You can enjoy tender meatballs covered in a …
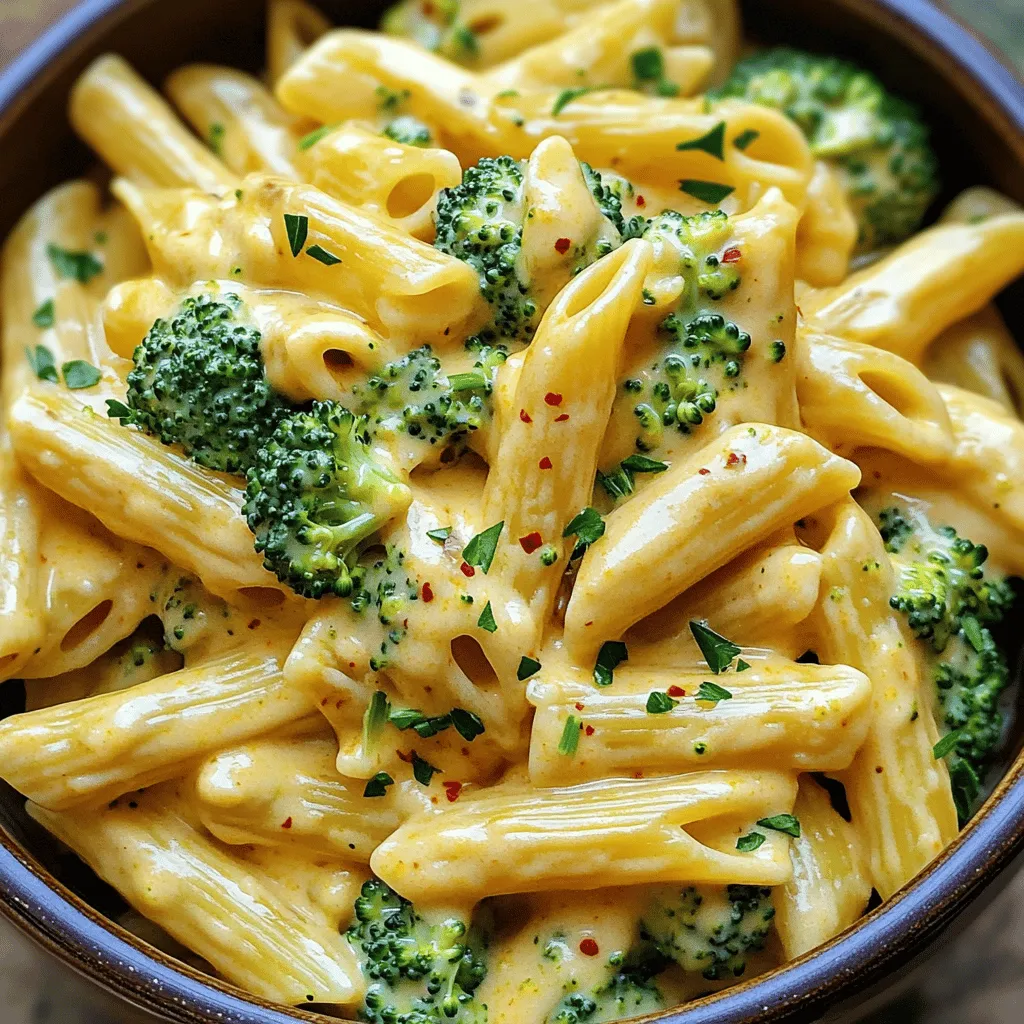
Looking for a quick and tasty meal? You’ll love this creamy broccoli cheddar pasta! It’s packed with flavor and comes together in no time. Whether you’re feeding a family or …
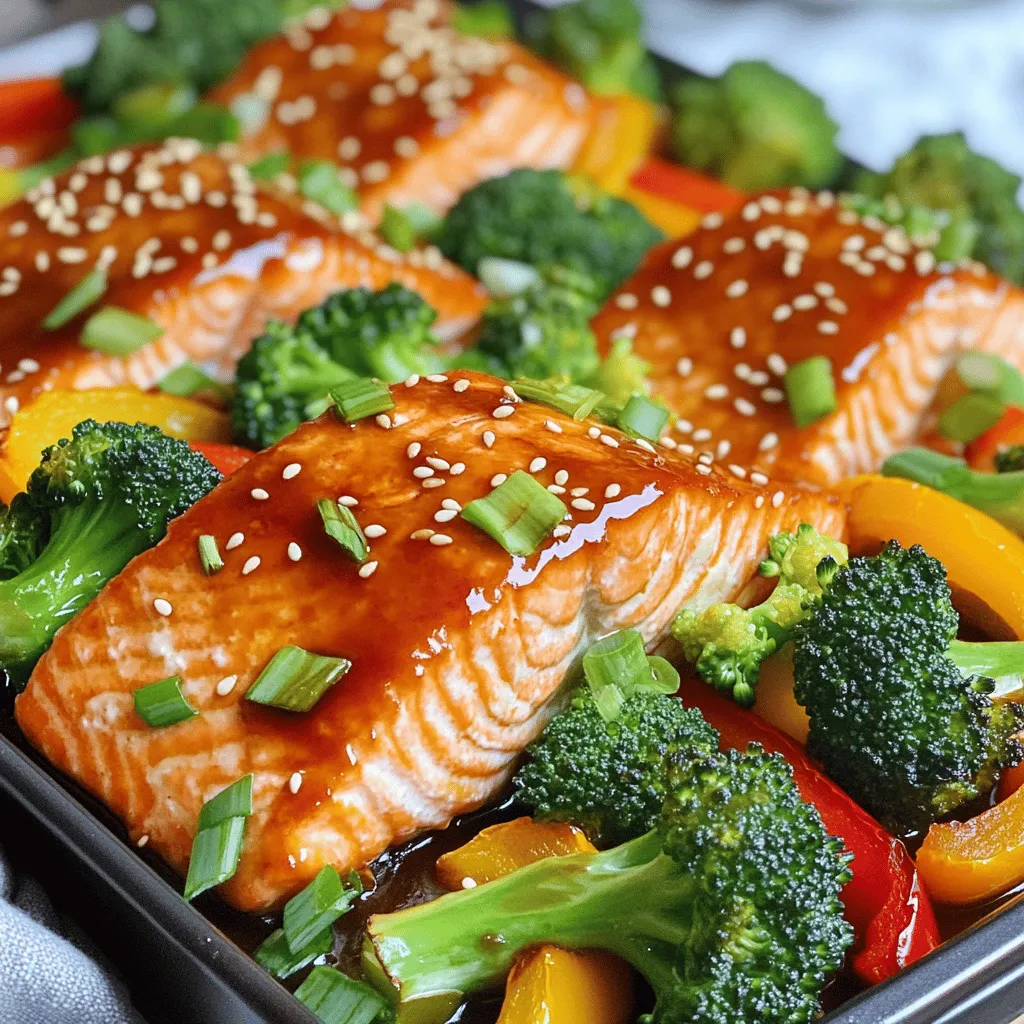
Looking for a quick and tasty dinner idea? This Teriyaki Salmon & Broccoli Sheet Pan dish is perfect for you! With just a few easy steps, you can make a …

Are you ready to savor a delicious meal that’s both easy to make and packed with flavor? My Slow Cooker Salsa Verde Chicken Taquitos Delight recipe combines tender chicken, zesty …
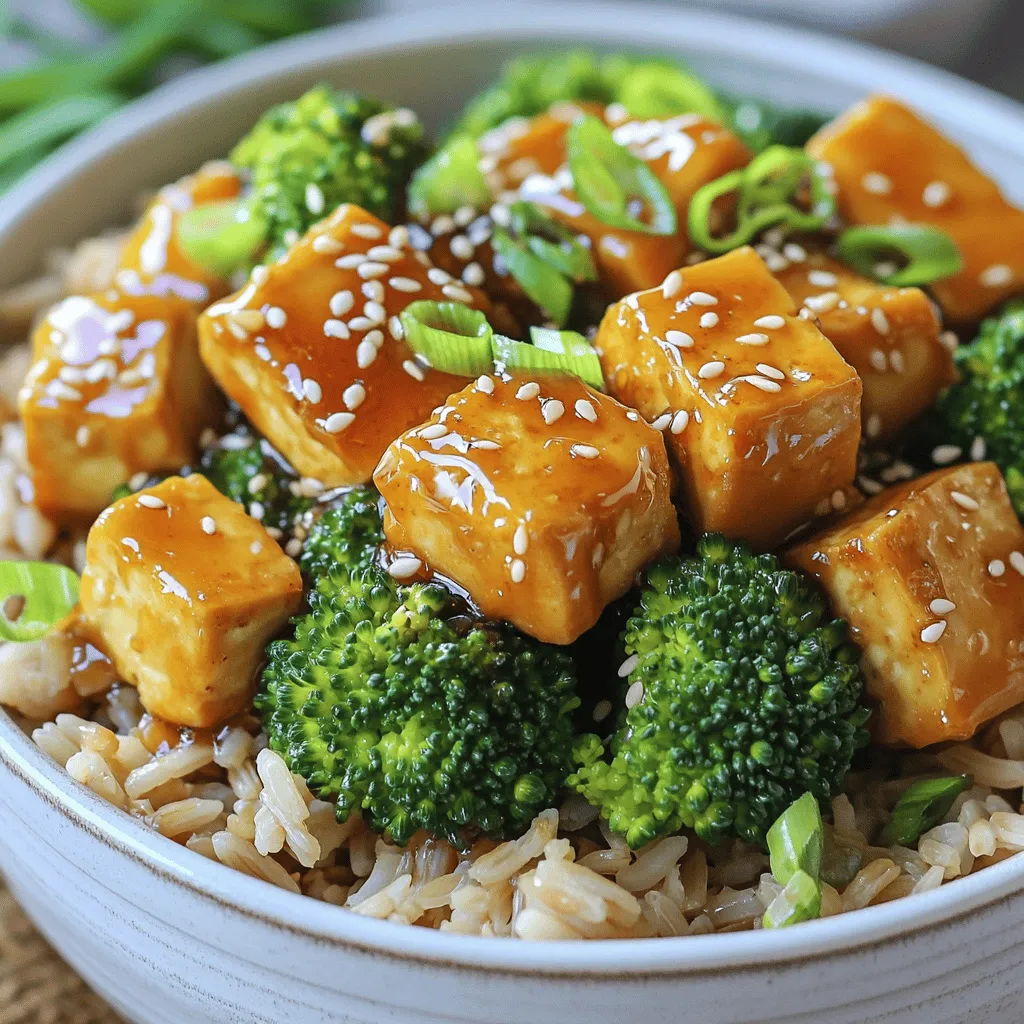
If you crave a tasty meal that’s both healthy and satisfying, you’re in the right place! Sticky Honey Garlic Tofu Bowls are packed with flavor and nutrients. This easy recipe …

Craving a sweet treat that’s also packed with protein? Let me introduce you to Cottage Cheese Chocolate Protein Pudding Delight. This creamy, rich dessert uses low-fat ingredients to offer a …
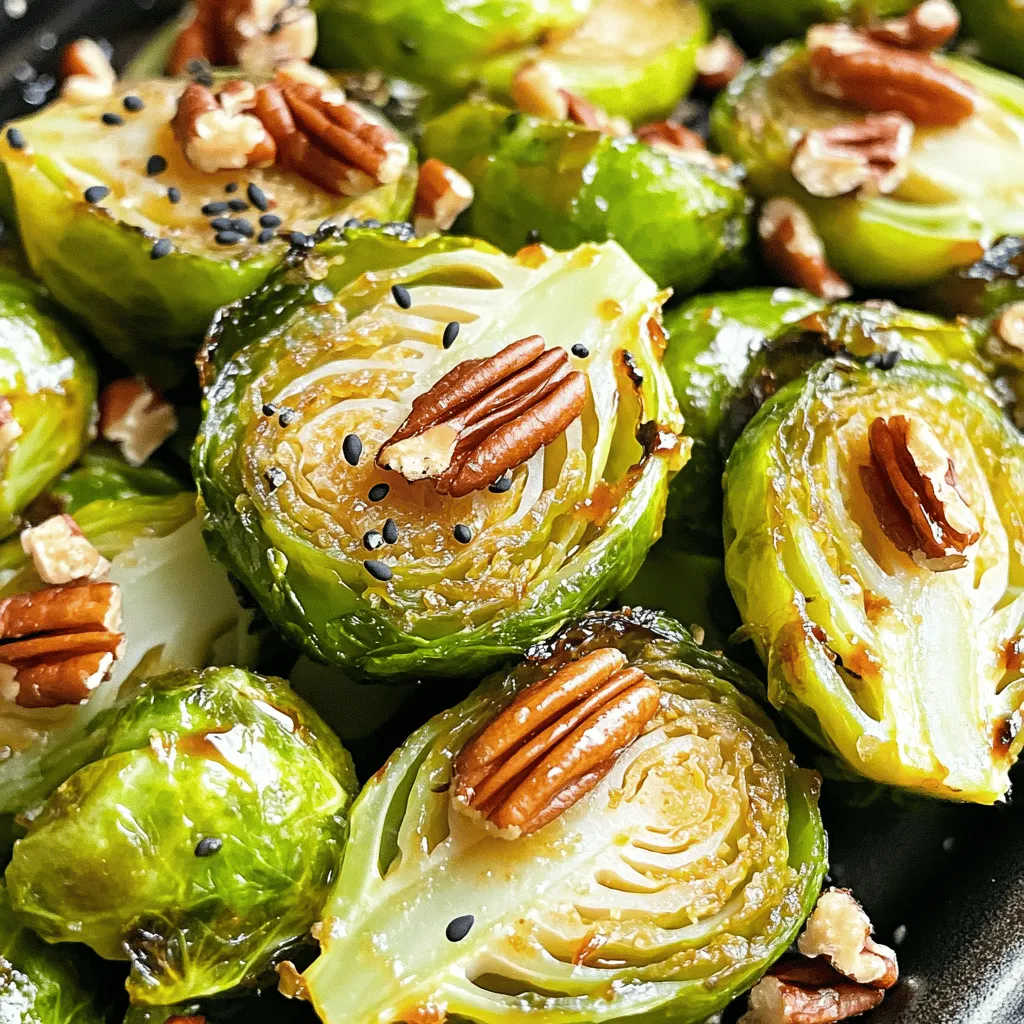
Are you ready to try a dish that’s full of flavor? Miso Maple Brussels Sprouts with Pecans is a tasty way to enjoy this healthy veggie. With a sweet and …