Air Fryer Apple Hand Pies Tasty and Simple Recipe

Are you ready to indulge in a sweet treat that’s both easy and delicious? Air Fryer Apple Hand Pies are the perfect dessert or snack, combining tender apples with a …
Are you ready to indulge in a sweet treat that’s both easy and delicious? Air Fryer Apple Hand Pies are the perfect dessert or snack, combining tender apples with a …

Craving a quick, flavorful meal that’s easy to make? Look no further! This Creamy Lemon Garlic Chicken and Rice One Pot Meal is your answer. It combines tender chicken thighs, …

Looking for a quick and tasty snack that packs a punch? Mocha Chocolate Chip Energy Balls are your answer! With just a handful of simple ingredients, you can whip up …
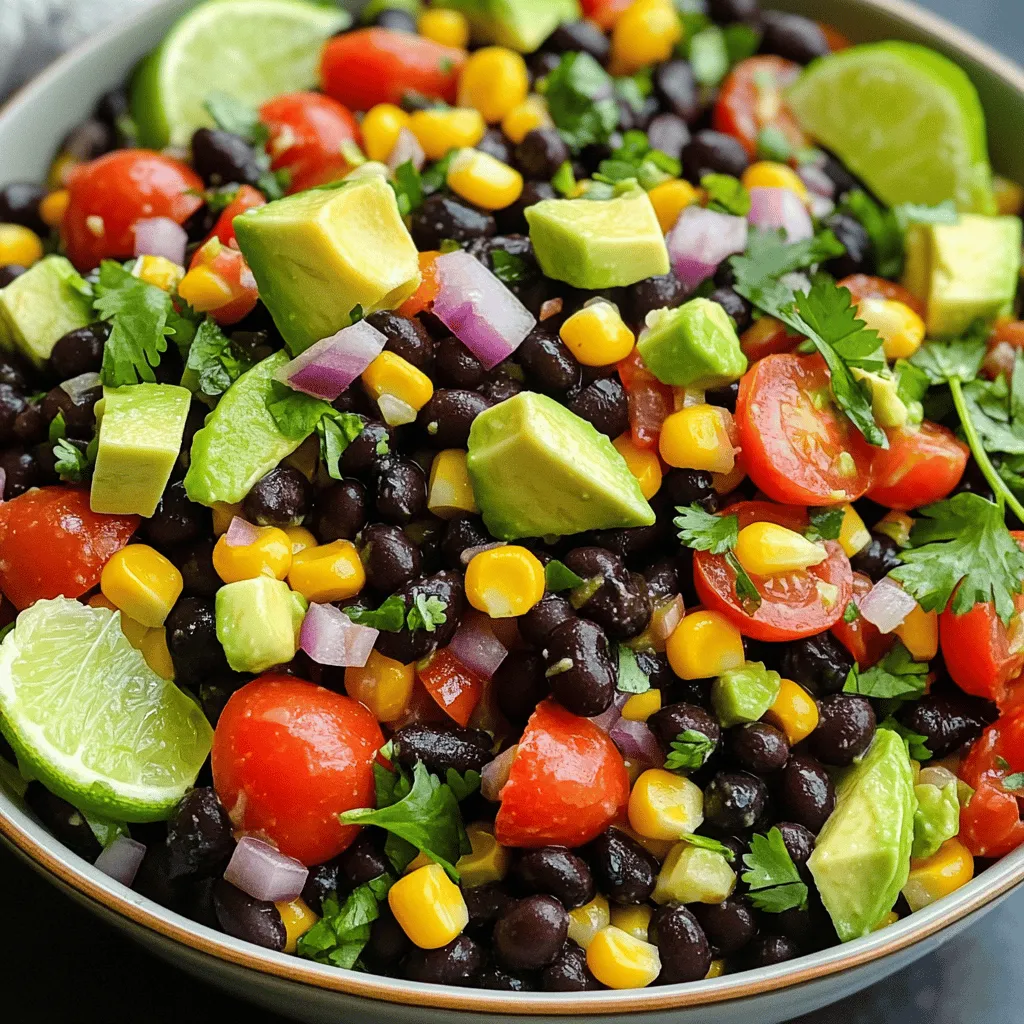
Looking for a fresh and tasty dish that’s perfect for any gathering? My Fiesta Black Bean Corn Salad is just what you need! Packed with vibrant flavors and healthy ingredients, …
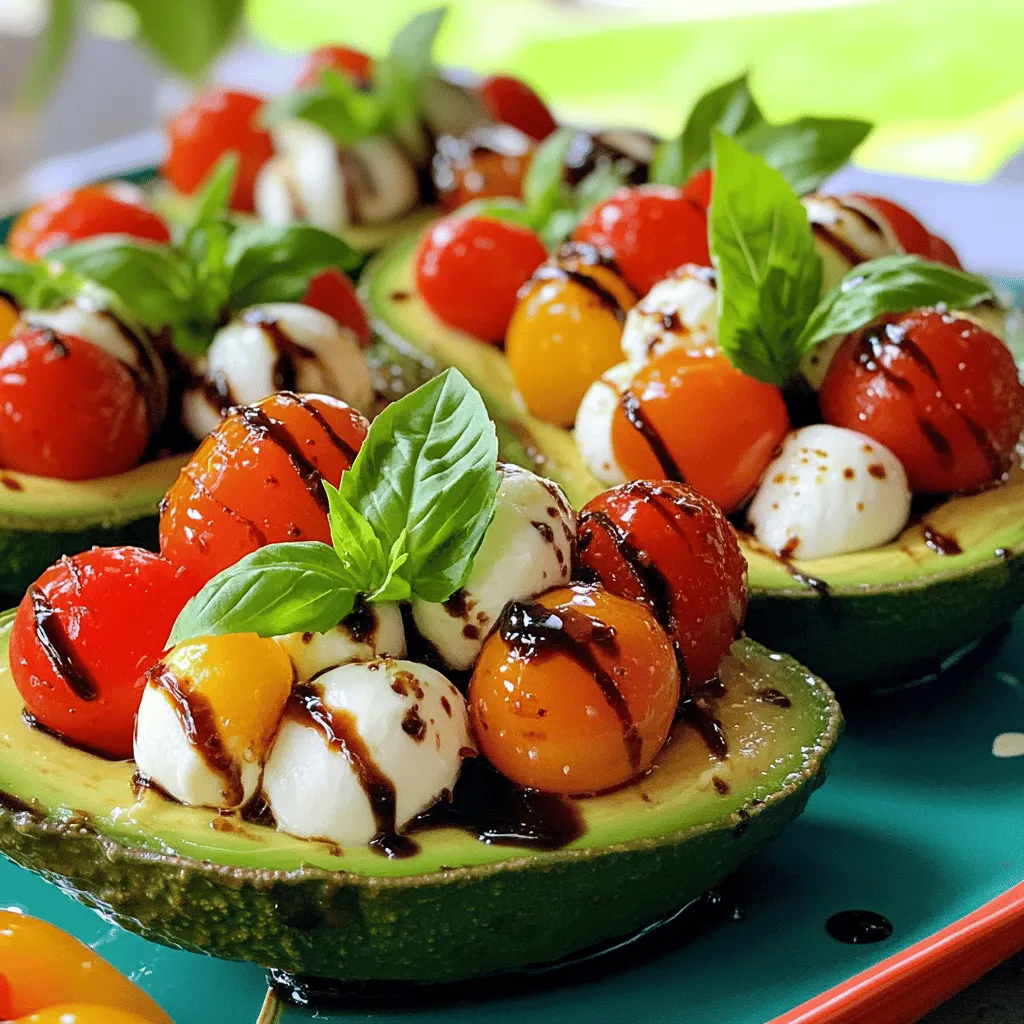
Looking for a fresh and tasty dish? Caprese Stuffed Avocados are your answer! This delightful meal combines creamy avocados with juicy tomatoes, savory mozzarella, and fragrant basil. With just a …

If you crave a delicious treat, these Cranberry Orange Scones are for you. Light, moist, and packed with flavor, they’re simple to whip up and perfect for any occasion. I …

If you want to blend rich chocolate goodness with healthy zucchini, you’ve found the right place! My Triple Chocolate Zucchini Bread is both indulgent and easy to make. With simple …

Looking for a tasty meal that’s easy to make? You’re in the right place! In this article, I’ll show you how to whip up zesty lime shrimp tacos that burst …

When you crave a fresh and tasty meal, try my Sun-Dried Tomato Pesto Pasta Salad. This dish bursts with flavor and is simple to make. Packed with vibrant ingredients, it’s …

If you’re looking for an easy and tasty dessert, you’ve found it! This Strawberry Shortcake Icebox Cake is simple to make and sure to impress. With layers of fresh strawberries …