Caramel Apple Turnovers Irresistible and Simple Delight

Are you ready to delight your taste buds with a warm, sweet treat? Caramel apple turnovers are the perfect blend of gooey caramel and crisp apples, all wrapped in flaky …
Are you ready to delight your taste buds with a warm, sweet treat? Caramel apple turnovers are the perfect blend of gooey caramel and crisp apples, all wrapped in flaky …

Are you ready to impress your taste buds? Dive into the world of Slow Cooker Korean BBQ Beef Bowls! This dish features tender beef chuck roast, marinated in a perfect …
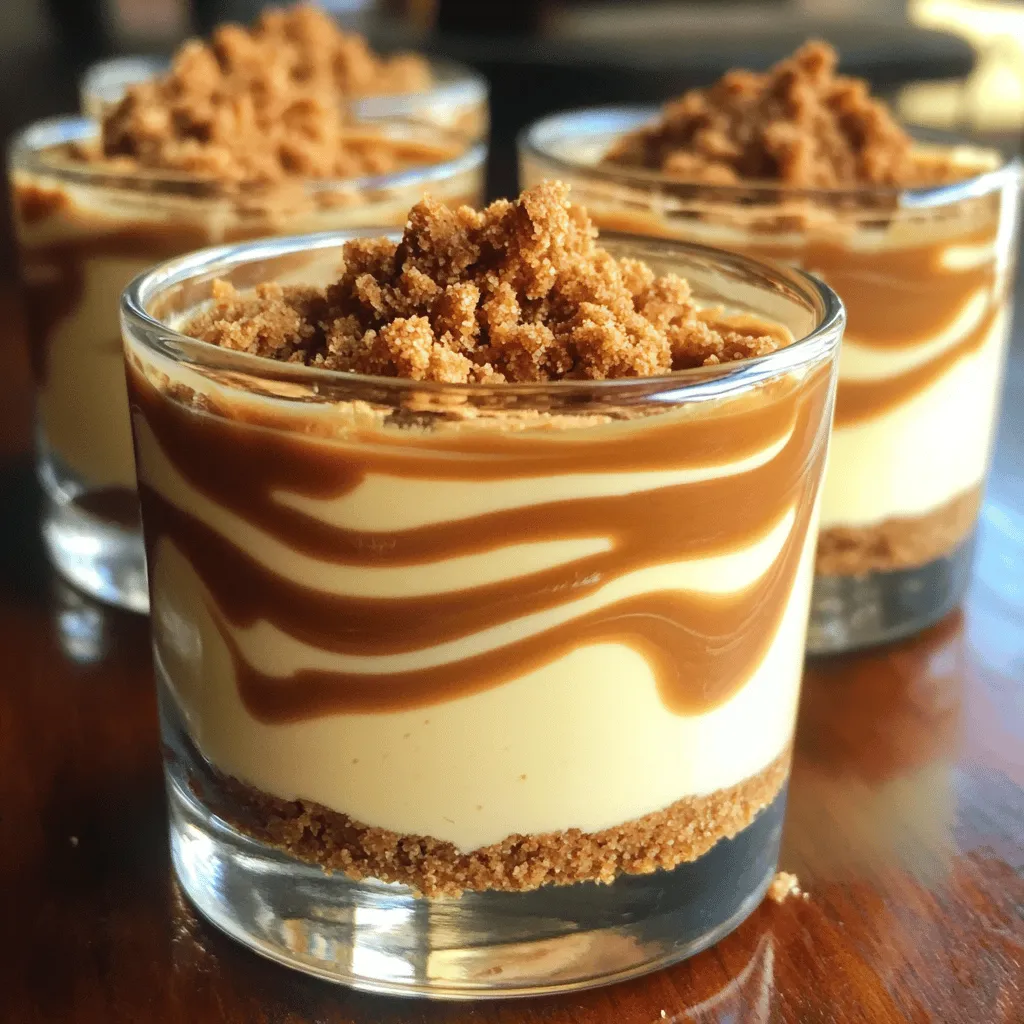
Craving a sweet treat that’s quick and easy? No-Bake Biscoff Cheesecake Cups are the answer! I promise, these delightful desserts blend creamy cheesecake goodness with the rich flavor of Biscoff …
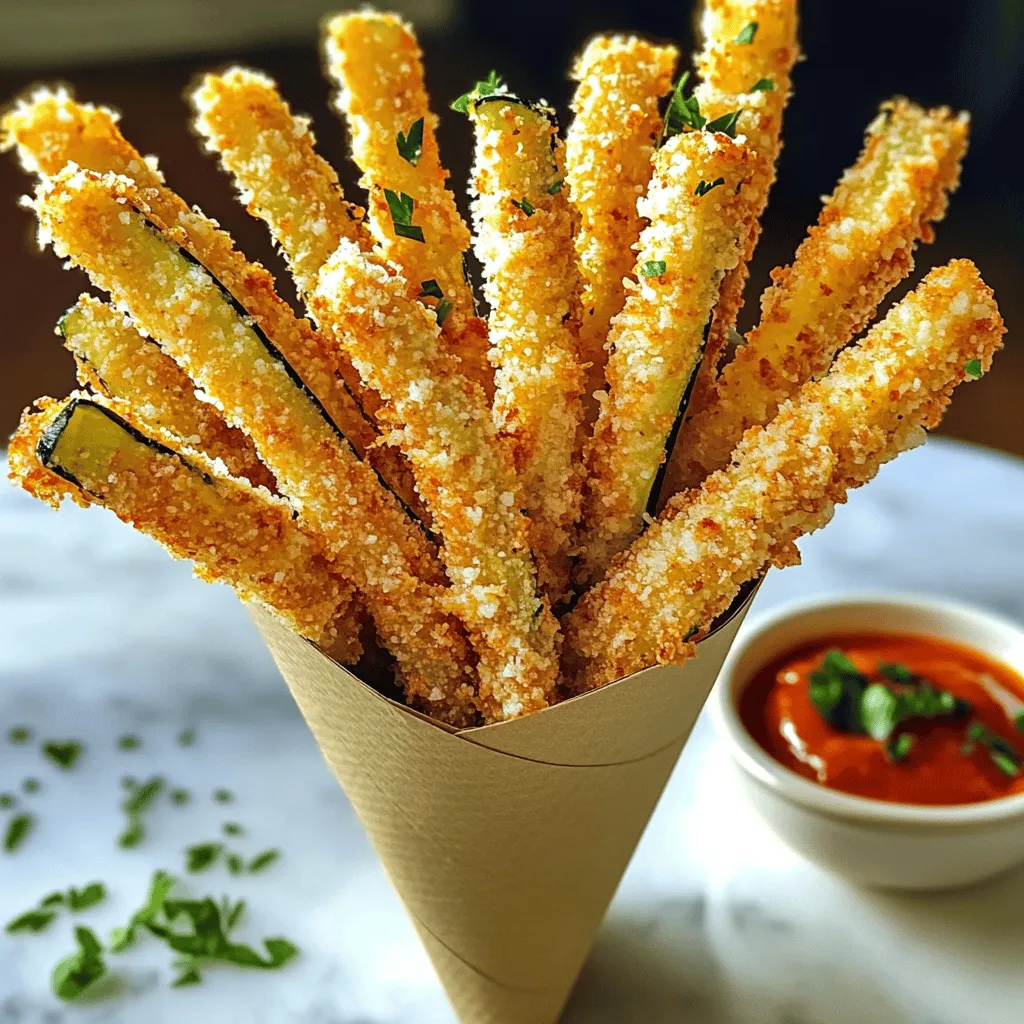
If you’re craving a delicious and healthy snack, look no further! Crispy Parmesan Zucchini Fries are not only easy to make, but they also pack a flavorful punch. You’ll love …

Are you ready to enjoy a creamy pasta dish without the guilt? My Whipped Cottage Cheese Alfredo Pasta offers a delicious twist on classic Alfredo sauce. By blending rich cottage …
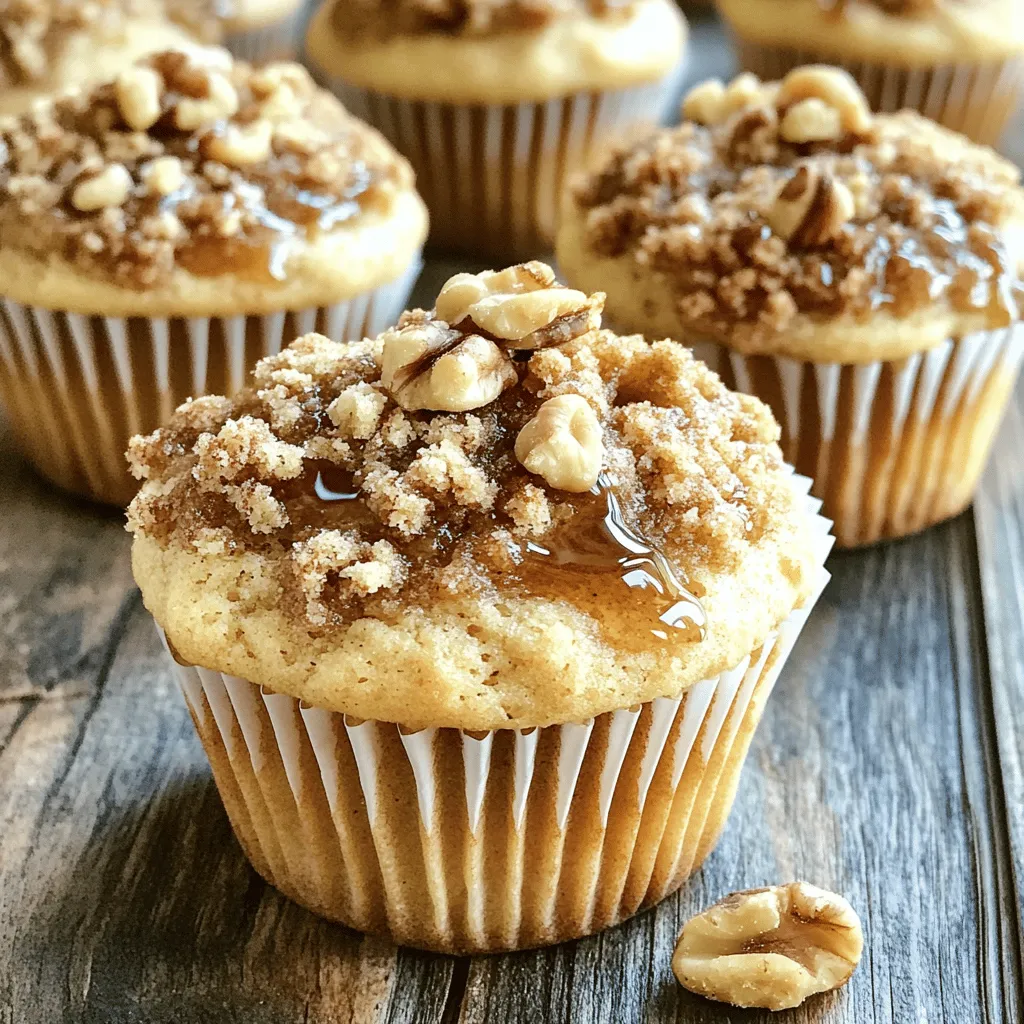
Welcome to a delightful baking adventure! Today, I’m sharing my recipe for Maple Walnut Streusel Muffins, just like you’d find at your favorite bakery. These muffins are soft and packed …

Are you craving a quick and tasty meal? Look no further than Minute Chili Crisp Egg Fried Rice! This recipe combines fluffy jasmine rice, soft scrambled eggs, and a kick …

Craving a quick and tasty dinner? Honey Garlic Shrimp Fried Rice in 15 minutes is simple and delicious! With fresh shrimp, vibrant veggies, and a sweet garlic sauce, you’ll whip …
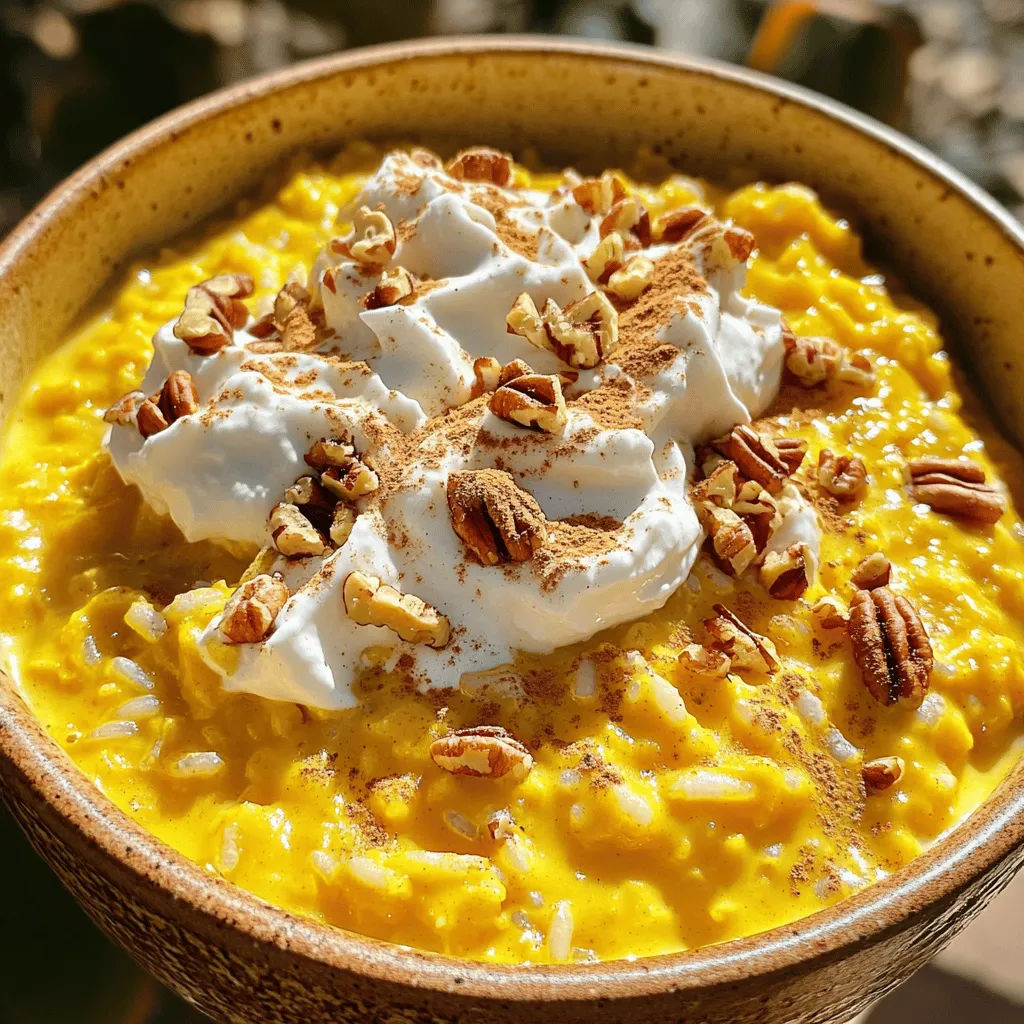
Looking for a cozy fall treat? You’ll love my Pumpkin Spice Rice Pudding. This warm, creamy dessert combines the comforting taste of Arborio rice with rich pumpkin puree and warm …
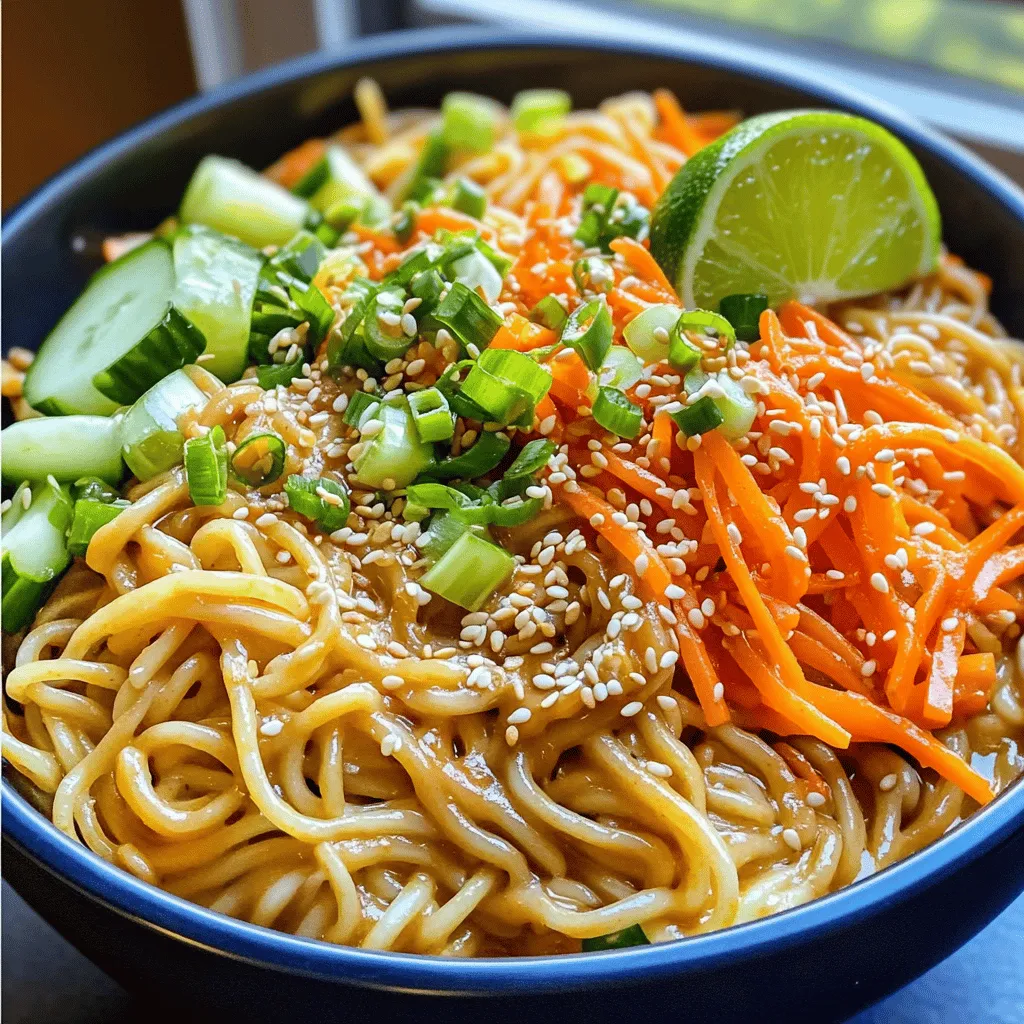
Are you craving a quick, delightful meal that’s better than takeout? Look no further! My Spicy Sesame Peanut Noodles recipe combines simple ingredients with bold flavors to deliver a delicious …