Minute Thai Peanut Chicken Lettuce Wraps Delightful Treat

Looking for a tasty meal that’s quick and fun? You’re in the right place! My Minute Thai Peanut Chicken Lettuce Wraps are a delightful treat that you can whip up …
Looking for a tasty meal that’s quick and fun? You’re in the right place! My Minute Thai Peanut Chicken Lettuce Wraps are a delightful treat that you can whip up …

Do you love delicious, easy desserts? If so, you’ll adore my No Bake Oreo Cheesecake Dream Bars! This sweet treat is simple, no oven required. With a creamy filling and …

Welcome to your new favorite dish: One Pot Creamy Tuscan Chicken Gnocchi Delight! This simple recipe combines tender chicken and fluffy gnocchi in a rich, creamy sauce. You’ll love how …
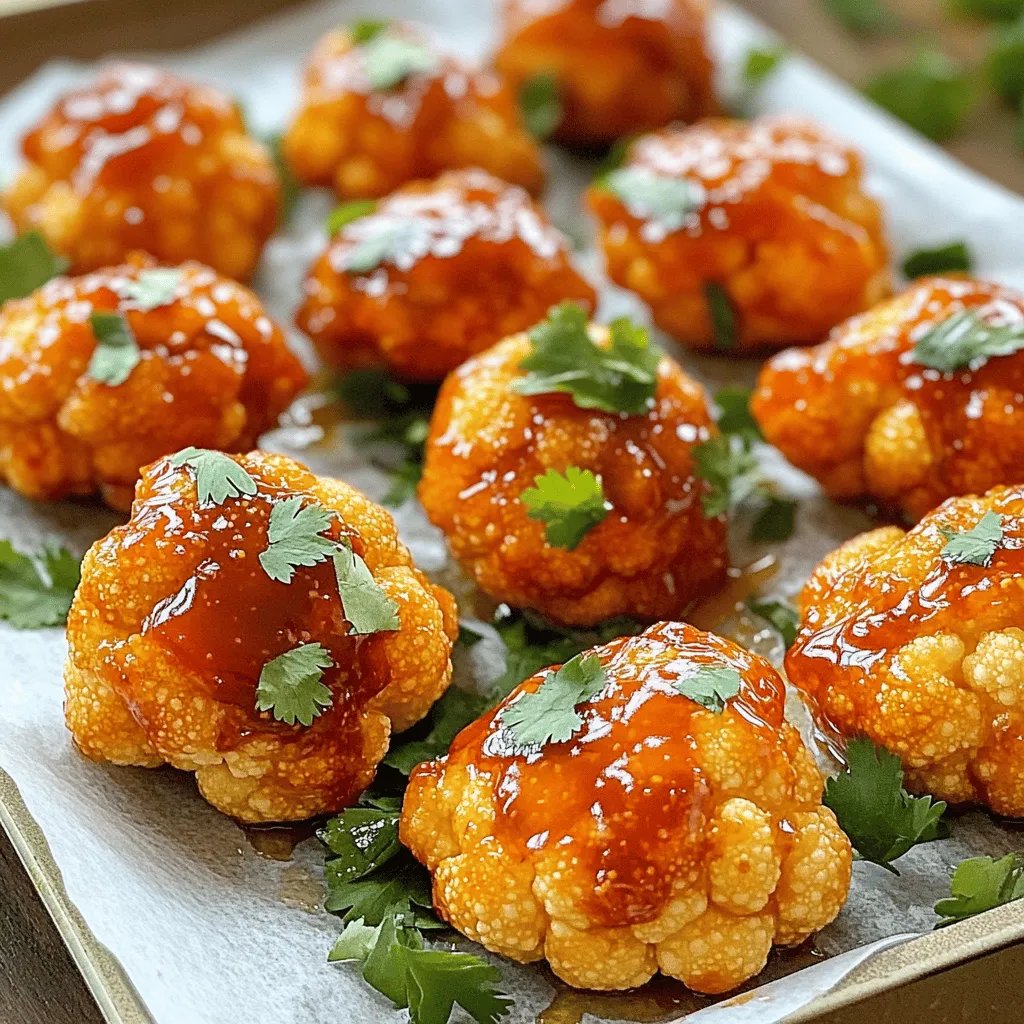
Get ready for a flavor explosion with Air Fryer Honey Sriracha Cauliflower Wings! These crispy bites pack a sweet and spicy punch that will make your taste buds dance. Whether …
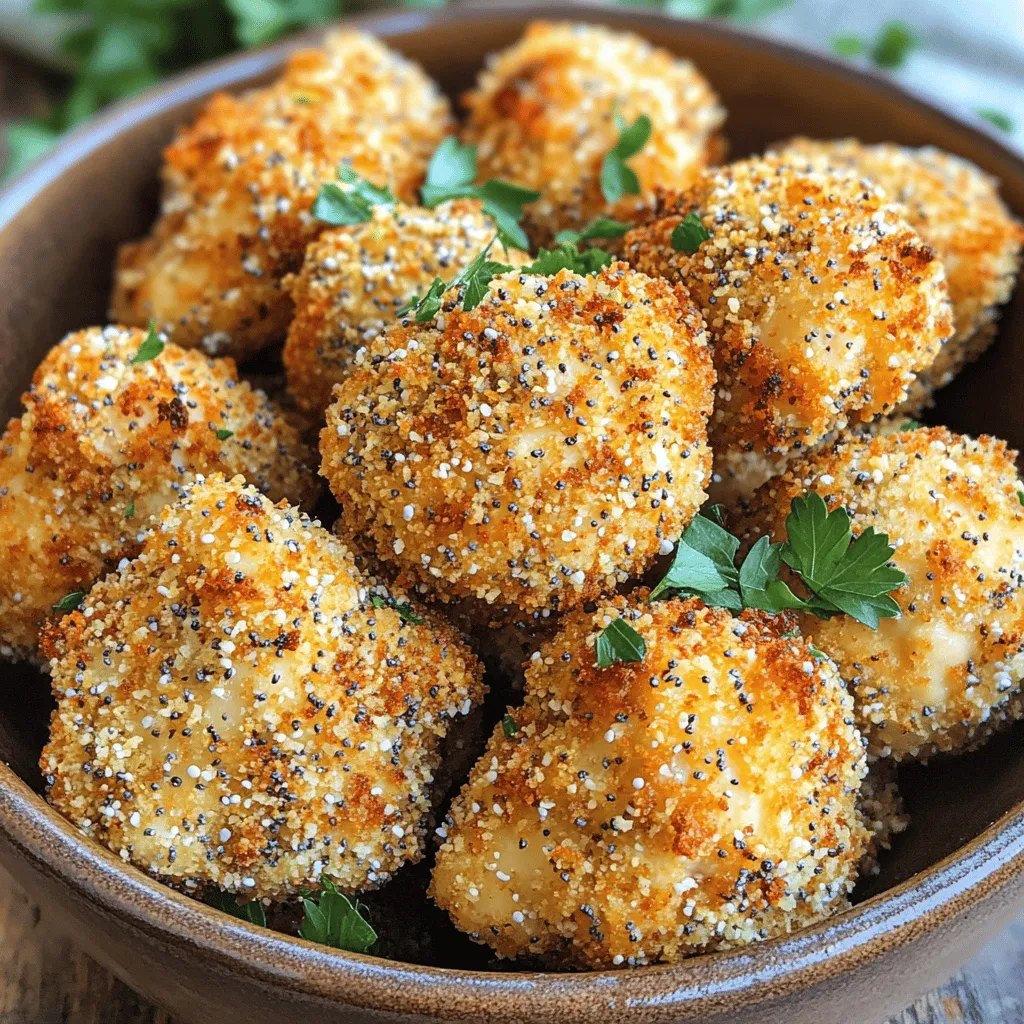
Get ready to elevate your snack game with my Air Fryer Everything Bagel Chicken Bites! These crispy, flavorful bites blend juicy chicken with the bold taste of everything bagel seasoning. …

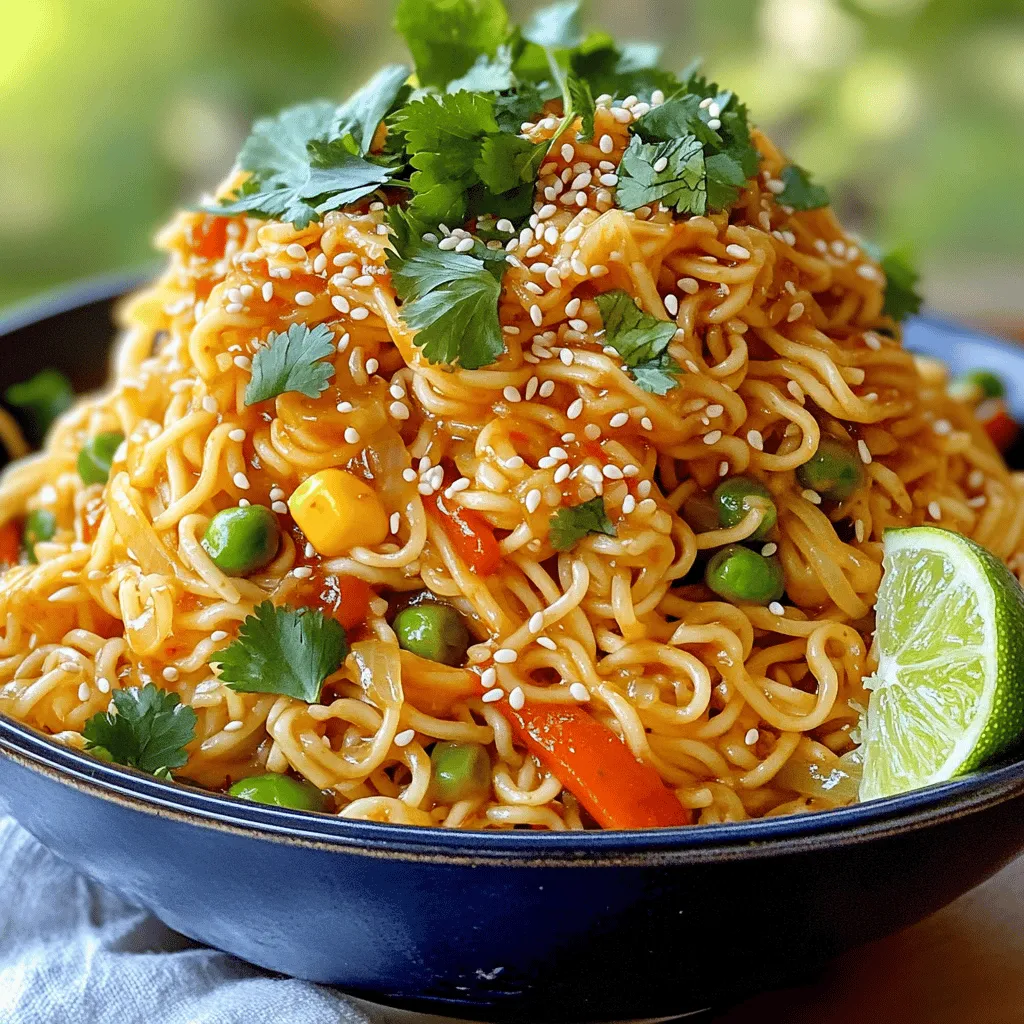
Are you ready to whip up a bowl of deliciousness in just minutes? My Minute Coconut Curry Ramen is quick, tasty, and perfect for busy days or cozy nights. By …
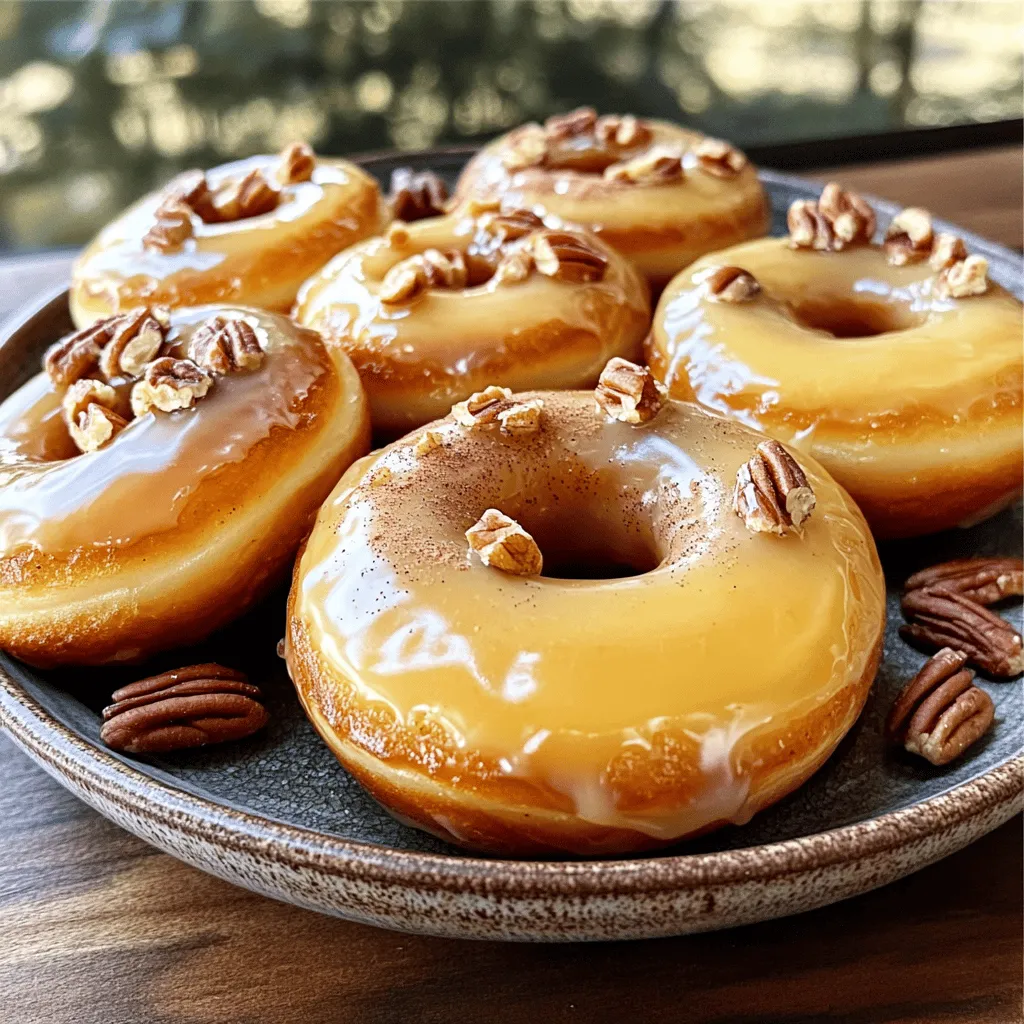
If you love sweet treats that melt in your mouth, you’re in for a treat! In this blog, I’ll share my easy recipe for maple glazed donuts. These fluffy, delicious …
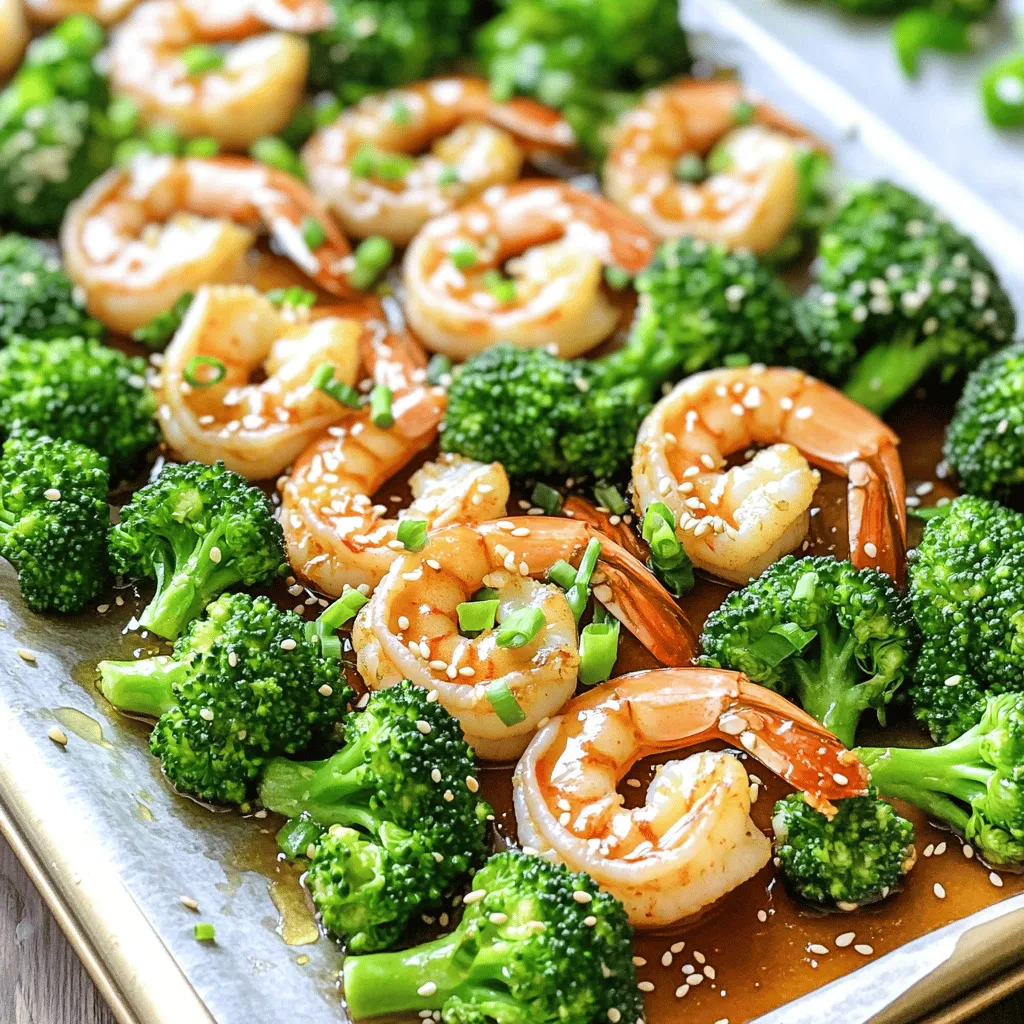
Welcome to a tasty adventure with my Sheet Pan Honey Garlic Shrimp & Broccoli Delight! This simple dish comes together quickly and bursts with flavor. Picture juicy shrimp paired with …
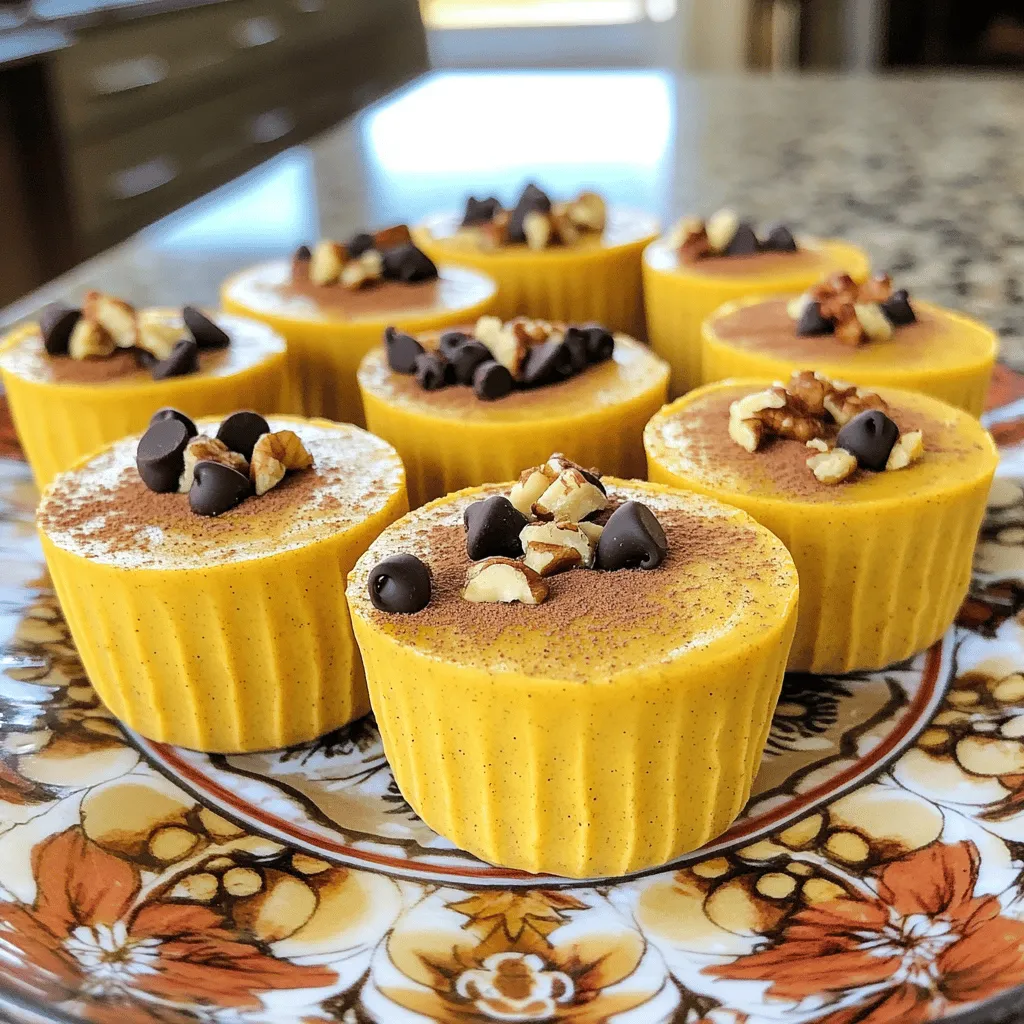
Craving a tasty treat that’s also packed with protein? Look no further! These No-Bake Pumpkin Spice Protein Cups are easy to make and delicious. You only need a few simple …
Welcome to my kitchen! Today, we’re making Garlic Chili Crisp Egg Noodles, a quick and tasty dish you’ll love. This recipe brings bold flavors right to your table. With just …