Caramel Apple Gingerbread Trifles Delightful Dessert
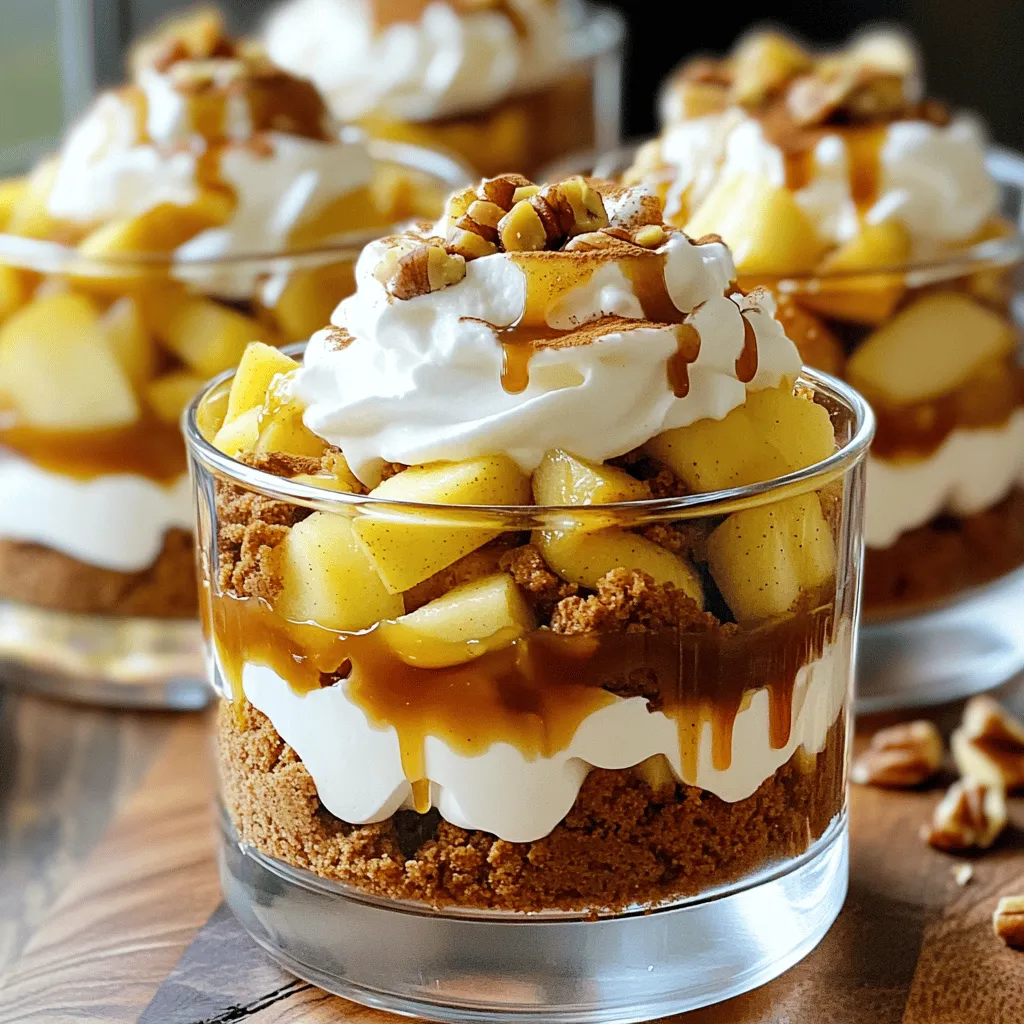
Are you craving a dessert that blends warm spices and sweet apples? Let’s make Caramel Apple Gingerbread Trifles! This delightful treat layers rich gingerbread, spiced apples, and velvety cream to …