Minute Teriyaki Salmon Rice Bowls Simple and Quick
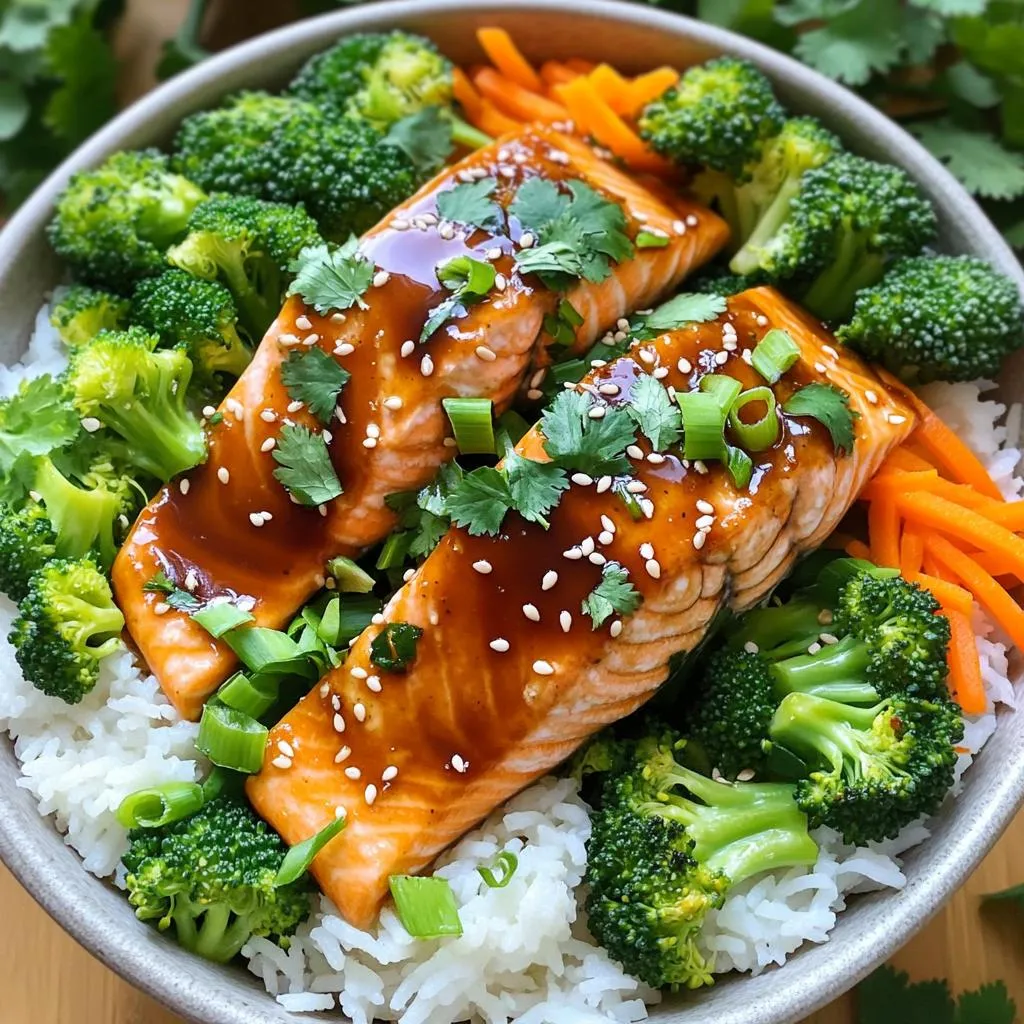
Ready for a meal that’s simple, quick, and packed with flavor? My Minute Teriyaki Salmon Rice Bowls are here to save your dinner time! With easy steps and tasty ingredients, …
Ready for a meal that’s simple, quick, and packed with flavor? My Minute Teriyaki Salmon Rice Bowls are here to save your dinner time! With easy steps and tasty ingredients, …
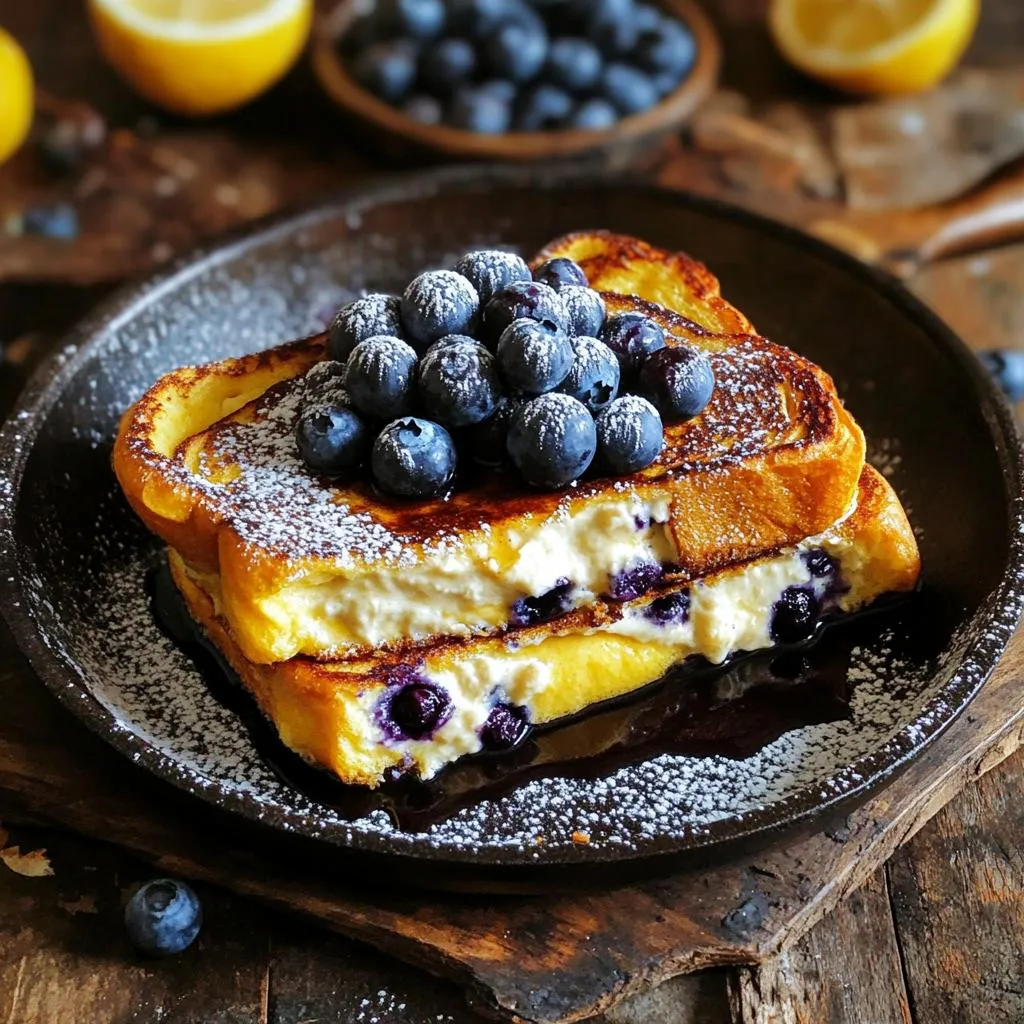
Are you ready to elevate your breakfast game? My Skillet Blueberry Lemon Cheesecake French Toast Delight is the perfect blend of sweet and tangy flavors. This dish combines creamy cheesecake …

If you’re craving a meal that’s full of flavor and easy to make, you’re in the right place! My Instant Pot Butter Chicken Tacos combine tender chicken with creamy spices …
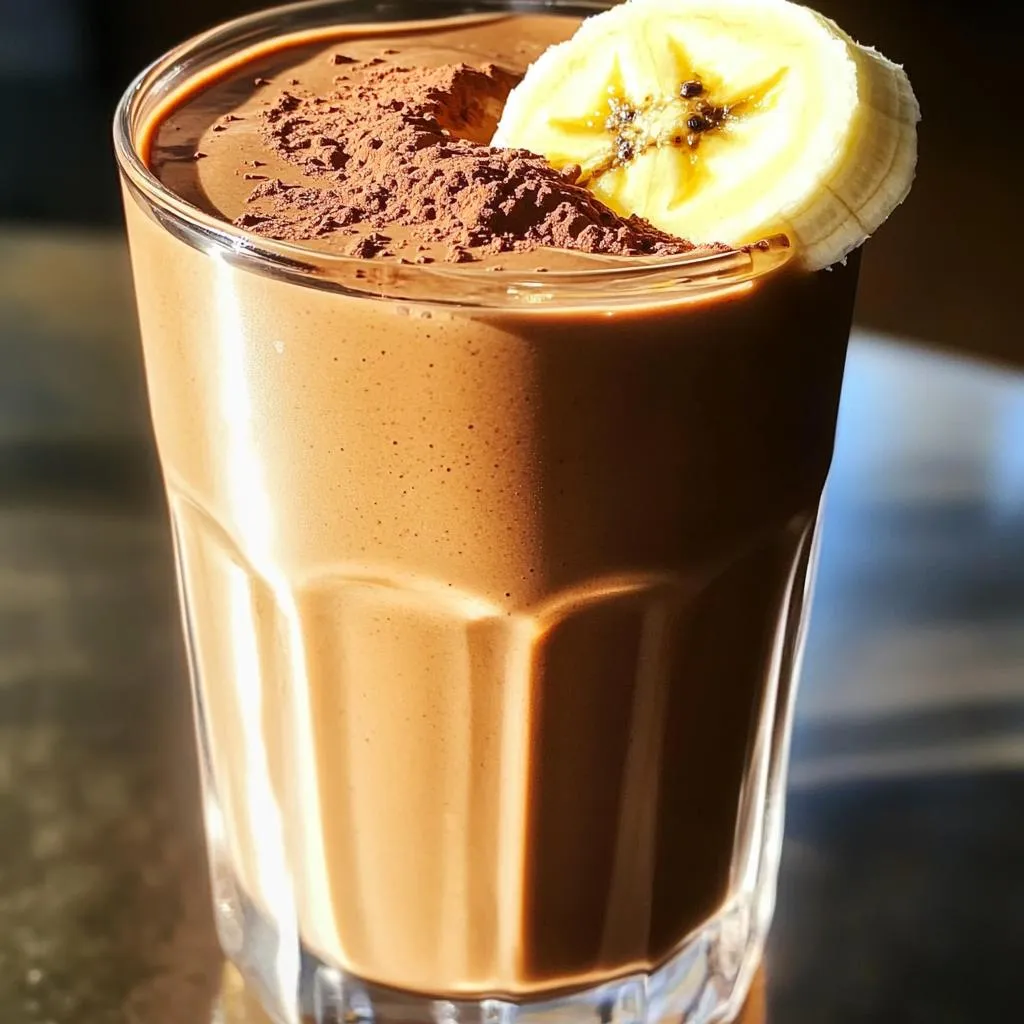
Craving a rich and creamy smoothie that’s both tasty and packed with protein? You’re in the right place! My High-Protein Mocha Banana Smoothie is a delightful blend of flavors that …
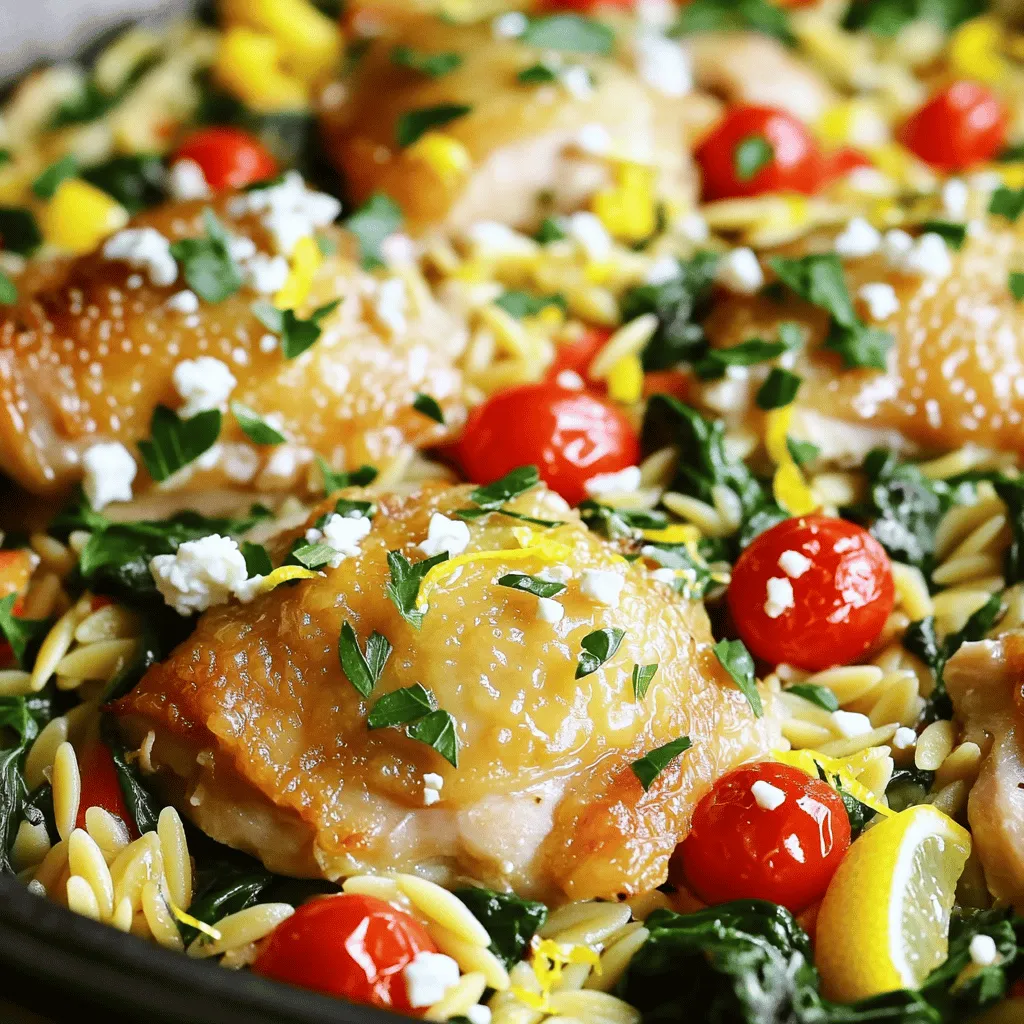
Are you ready to savor a dish that brings together bright flavors and ease? In this post, I’ll show you how to make One-Pan Greek Lemon Chicken Orzo, a delightful …
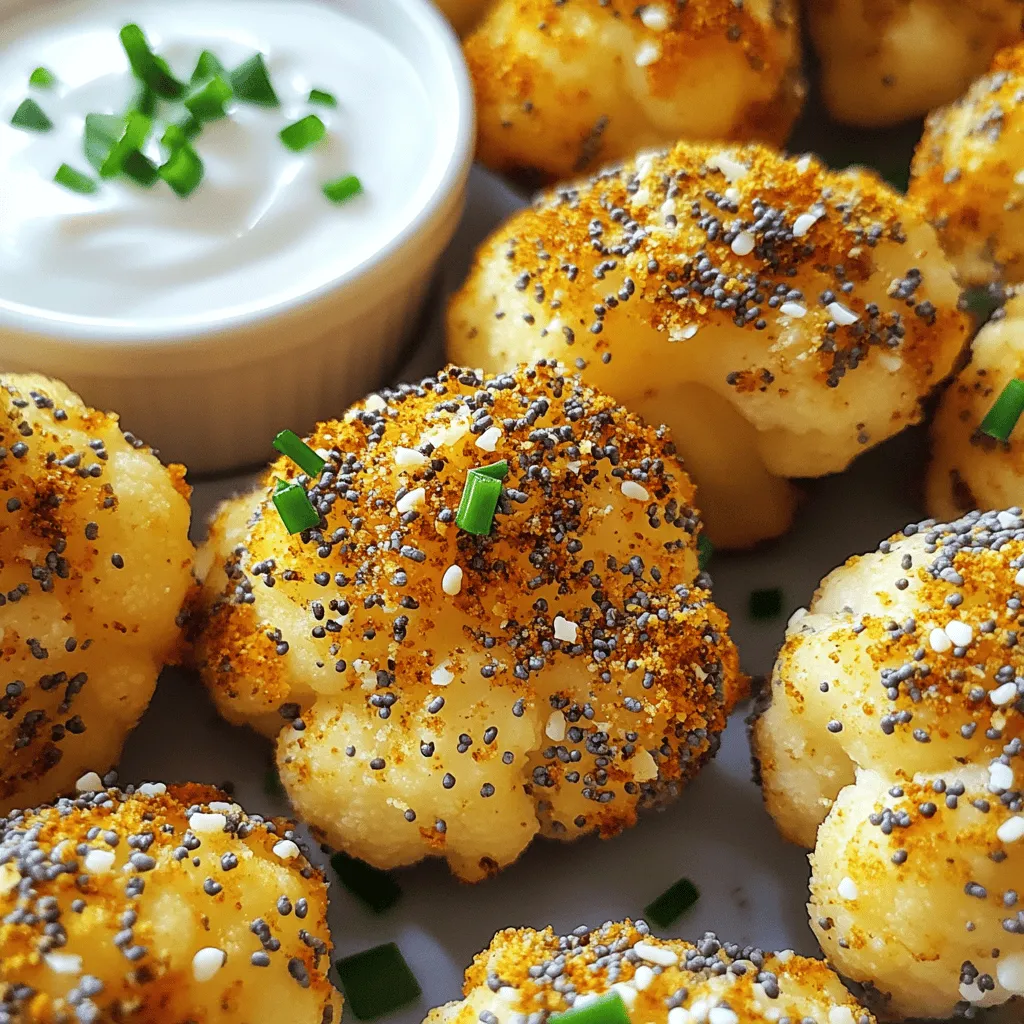
Looking for a snack that’s both tasty and healthy? Try my Air Fryer Everything Bagel Cauliflower Bites! These crispy treats are easy to make and full of flavor. With just …

Are you ready to dive into a world of sweet joy? Gingerbread Cupcakes with Cream Cheese Frosting bring the holiday spirit right to your kitchen! With warm spices and creamy …
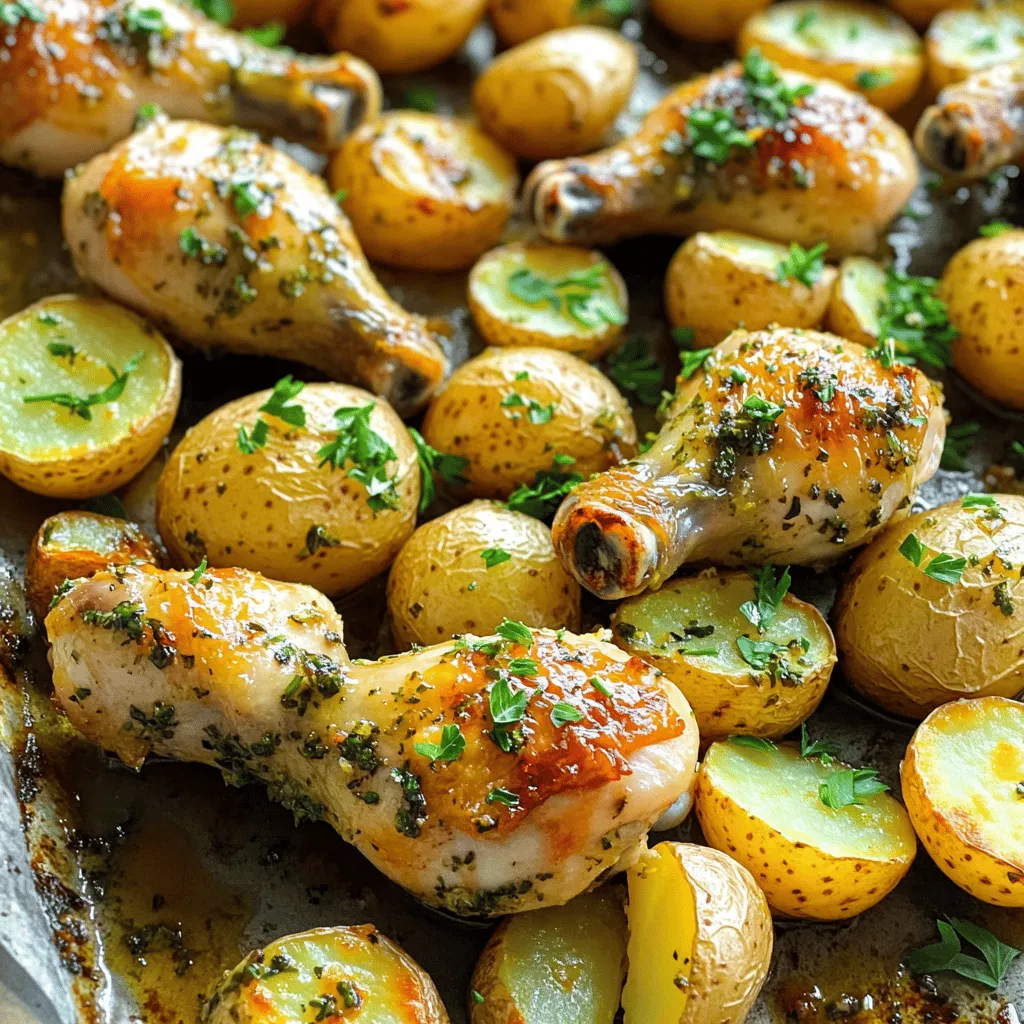
Get ready to impress your family with my Savory Sheet Pan Garlic Herb Chicken Drumsticks and Potatoes! This dish is a simple yet tasty way to enjoy dinner. You only …
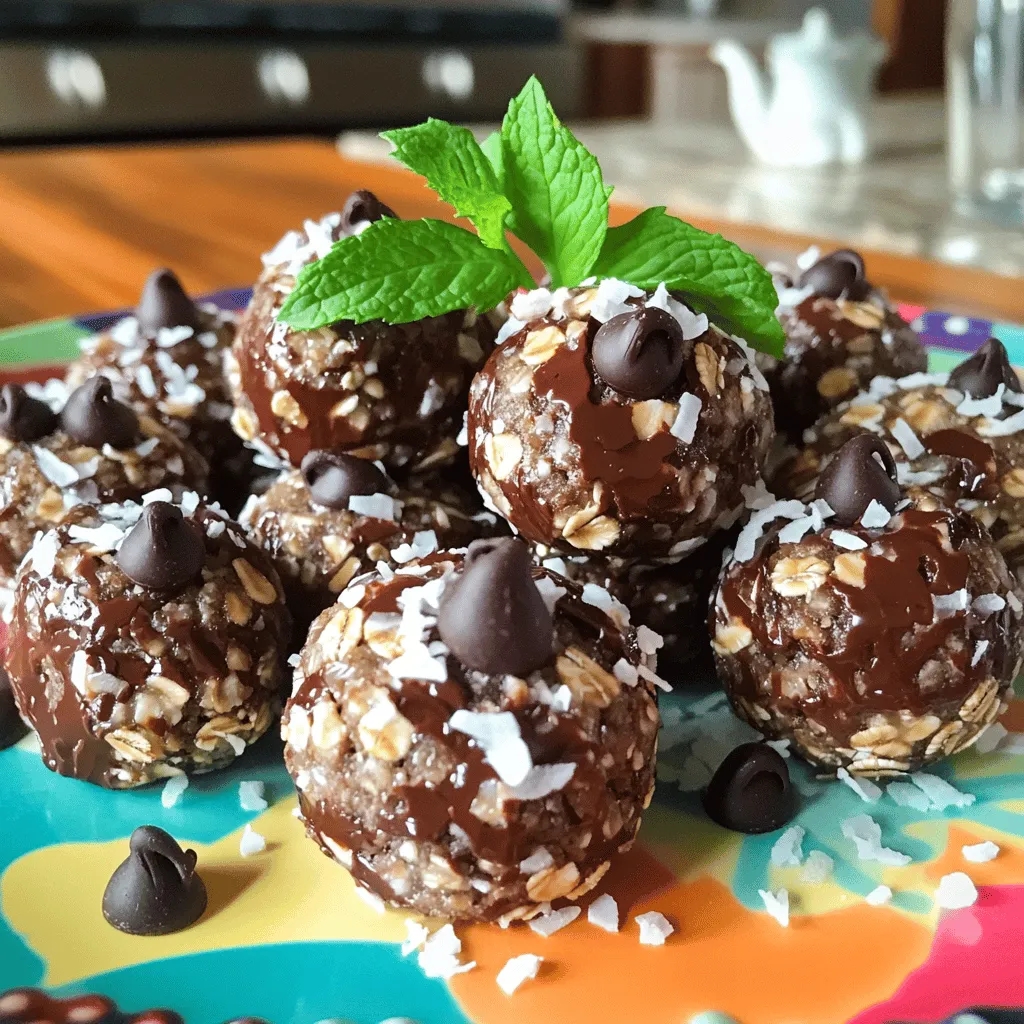
Looking for a quick, tasty snack that fuels your day? I’ve got just the recipe for you: No-Bake Peppermint Chocolate Energy Bites! These little delights are packed with wholesome ingredients …
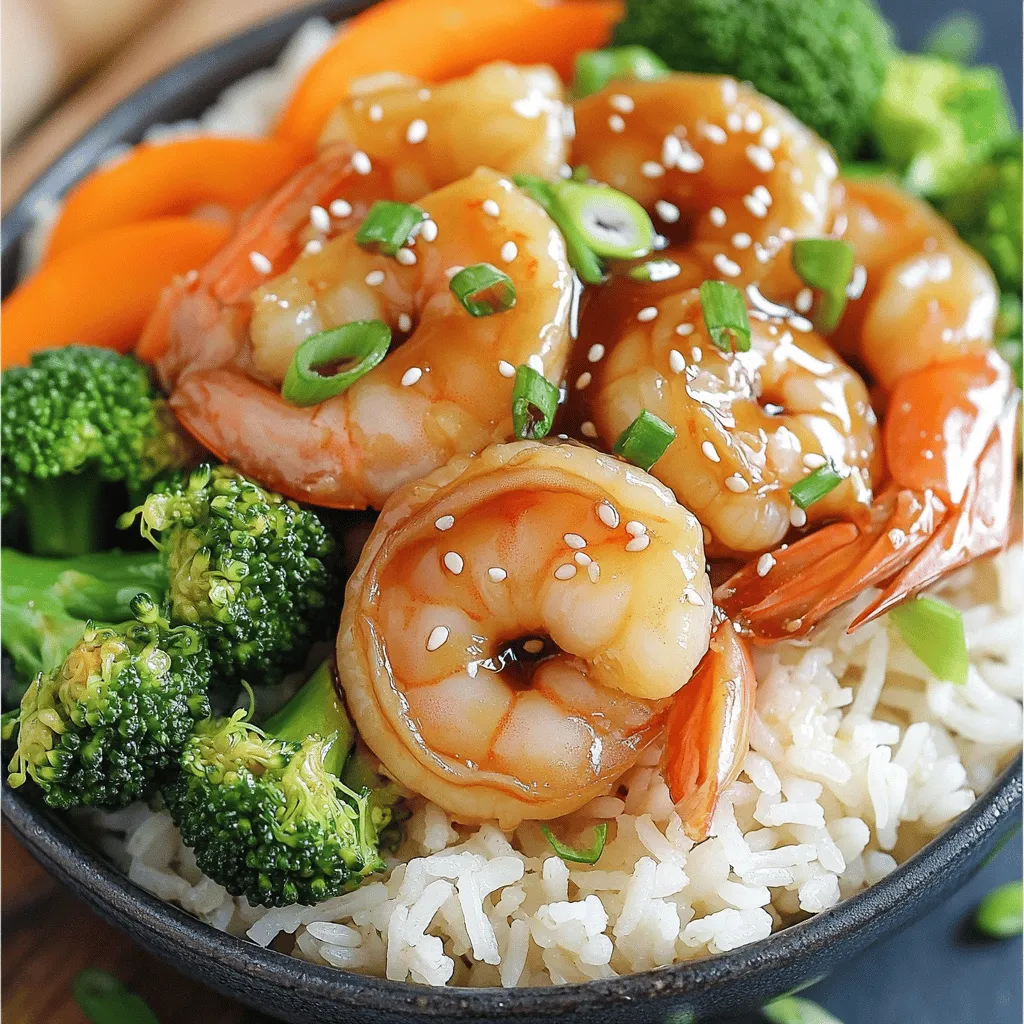
If you’re craving a quick and tasty meal, look no further! Minute Honey Garlic Shrimp Bowls offer a burst of flavor without the fuss. With just a handful of simple …