Egg Roll in a Bowl Flavorful and Easy Weeknight Meal
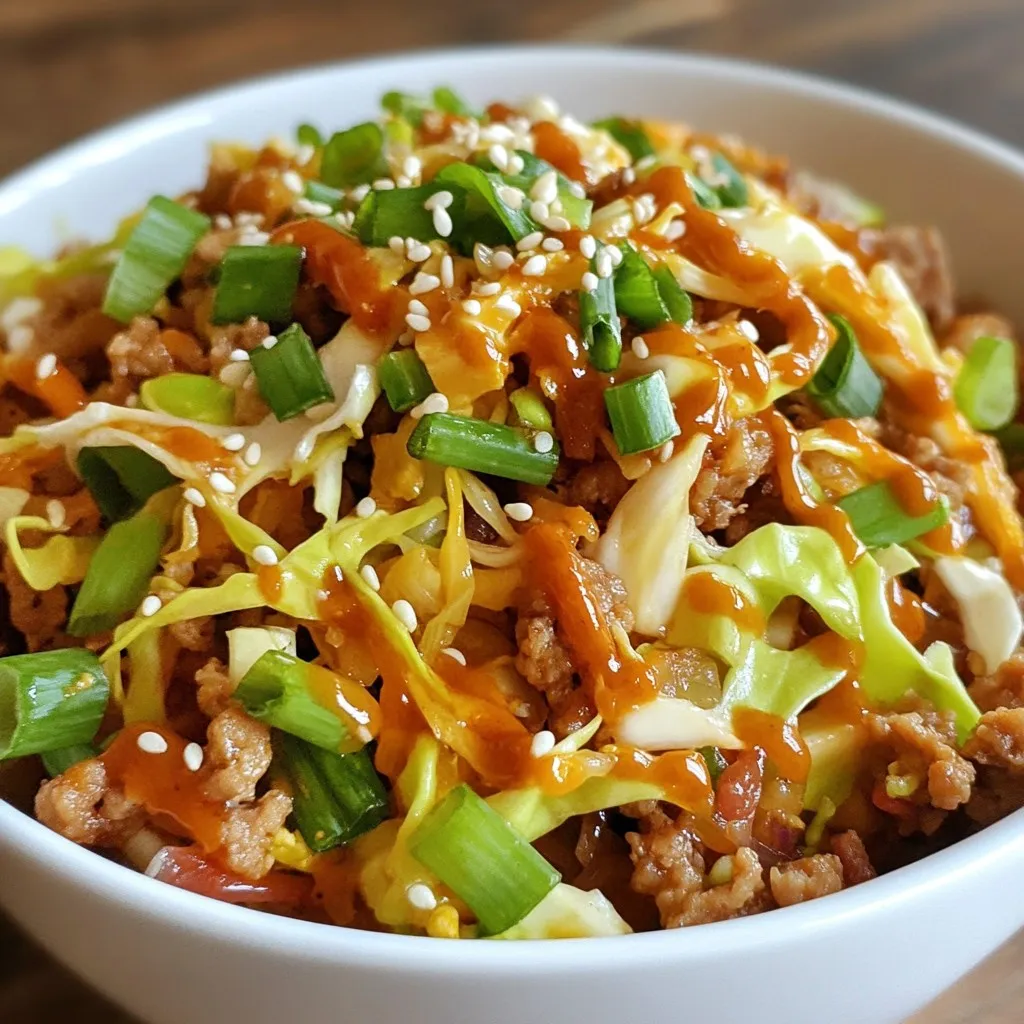
Looking for a quick, tasty dinner? This Egg Roll in a Bowl recipe is your answer! Packed with lean protein, fresh veggies, and savory flavors, it’s easy to make on …
Looking for a quick, tasty dinner? This Egg Roll in a Bowl recipe is your answer! Packed with lean protein, fresh veggies, and savory flavors, it’s easy to make on …
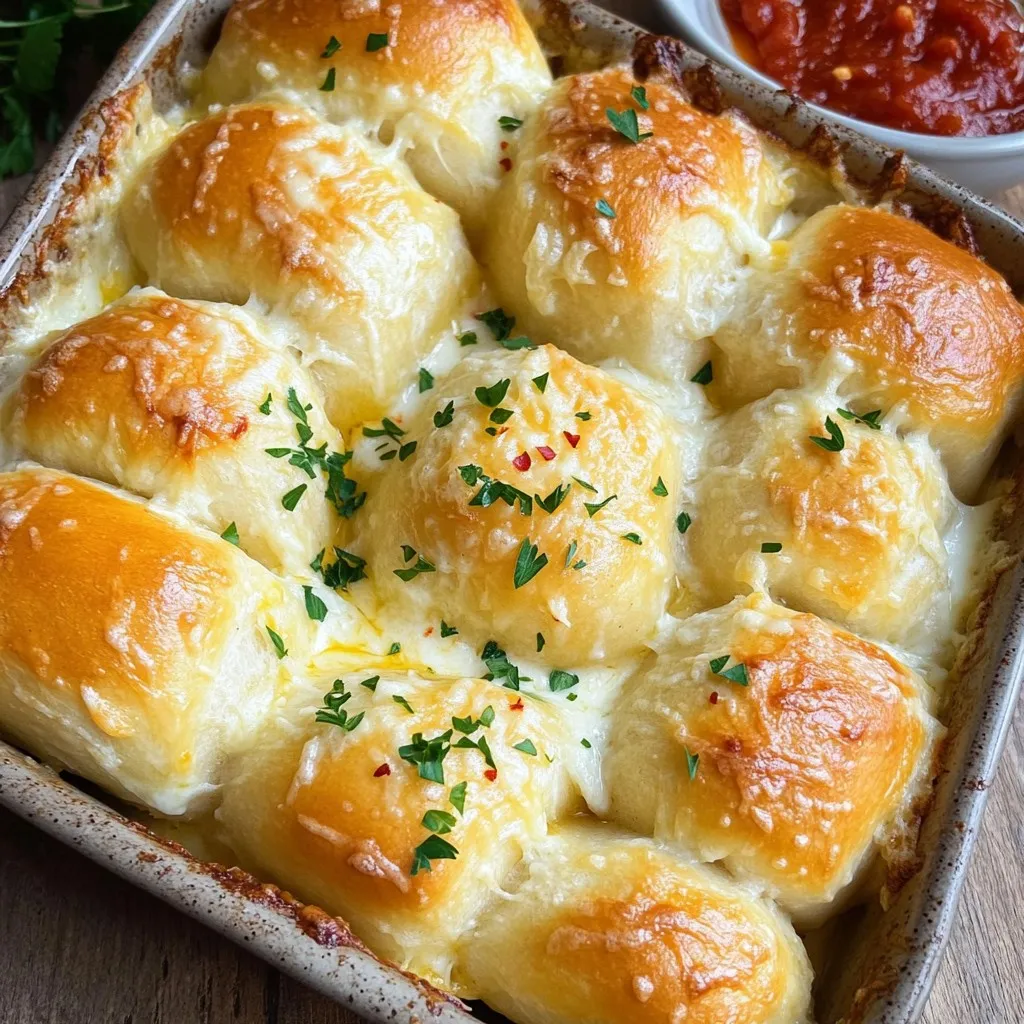
Are you craving warm, gooey cheesy garlic rolls? You’re in the right place! In this post, I’ll show you how to make these delicious rolls with simple ingredients. You only …

Do you want a delicious meal that’s easy to make? Chicken Pillows with Parmesan Cream are the answer! You’ll love how simple it is to prepare this tasty dish that …

Looking for a fun and tasty treat? Strawberry shortcake sushi rolls blend fresh strawberries, whipped cream, and sushi rice into a delightful dessert. It’s great for parties, picnics, or just …

Looking for a quick and tasty snack? French Dip Tortilla Roll Ups are your answer! These easy-to-make bites combine savory roast beef and creamy cheese, all wrapped in soft tortillas. …

Get ready to dive into the tasty world of Chicken Street Tacos! This easy recipe will guide you step-by-step, making it perfect for busy weeknights or fun gatherings. I’ll share …
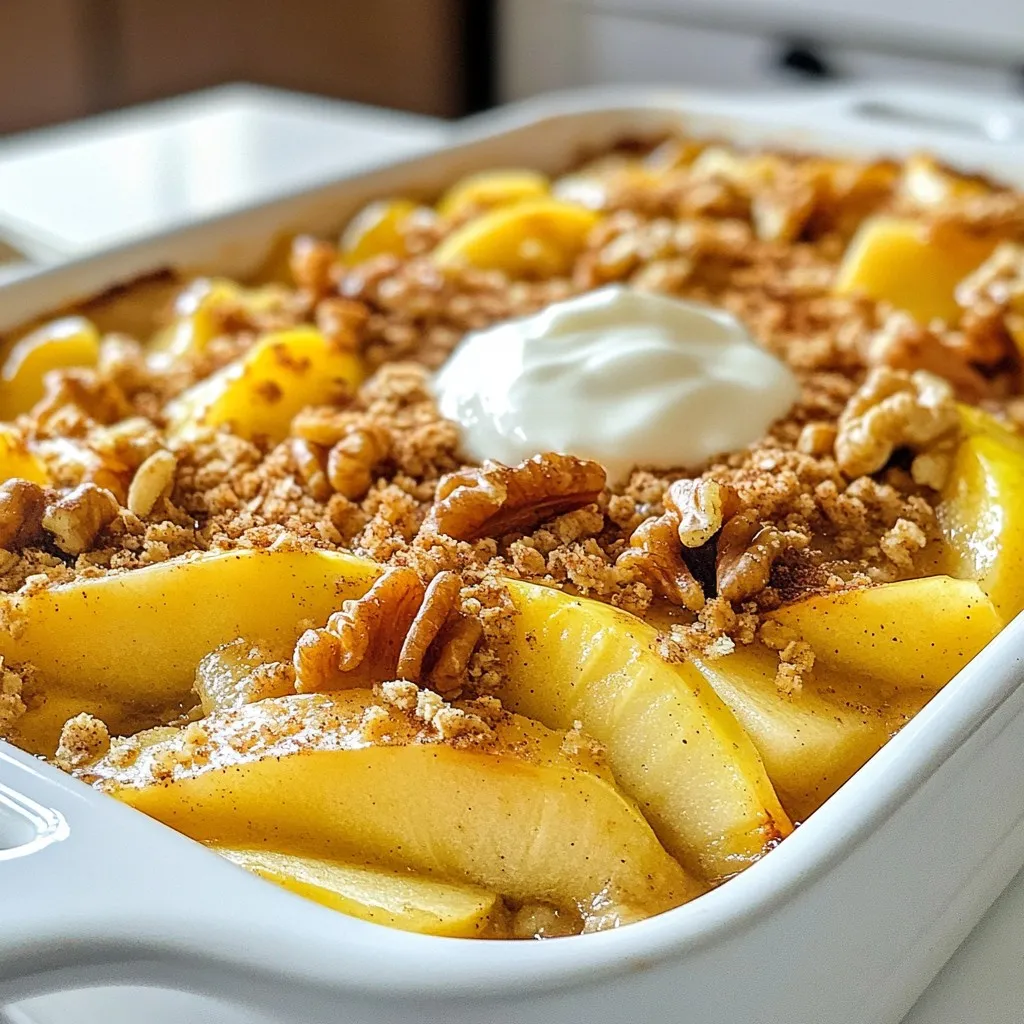
Are you craving a warm, comforting treat? Look no further! This Easy Apple Casserole is quick to make and bursting with flavor. You’ll find all the simple steps you need, …
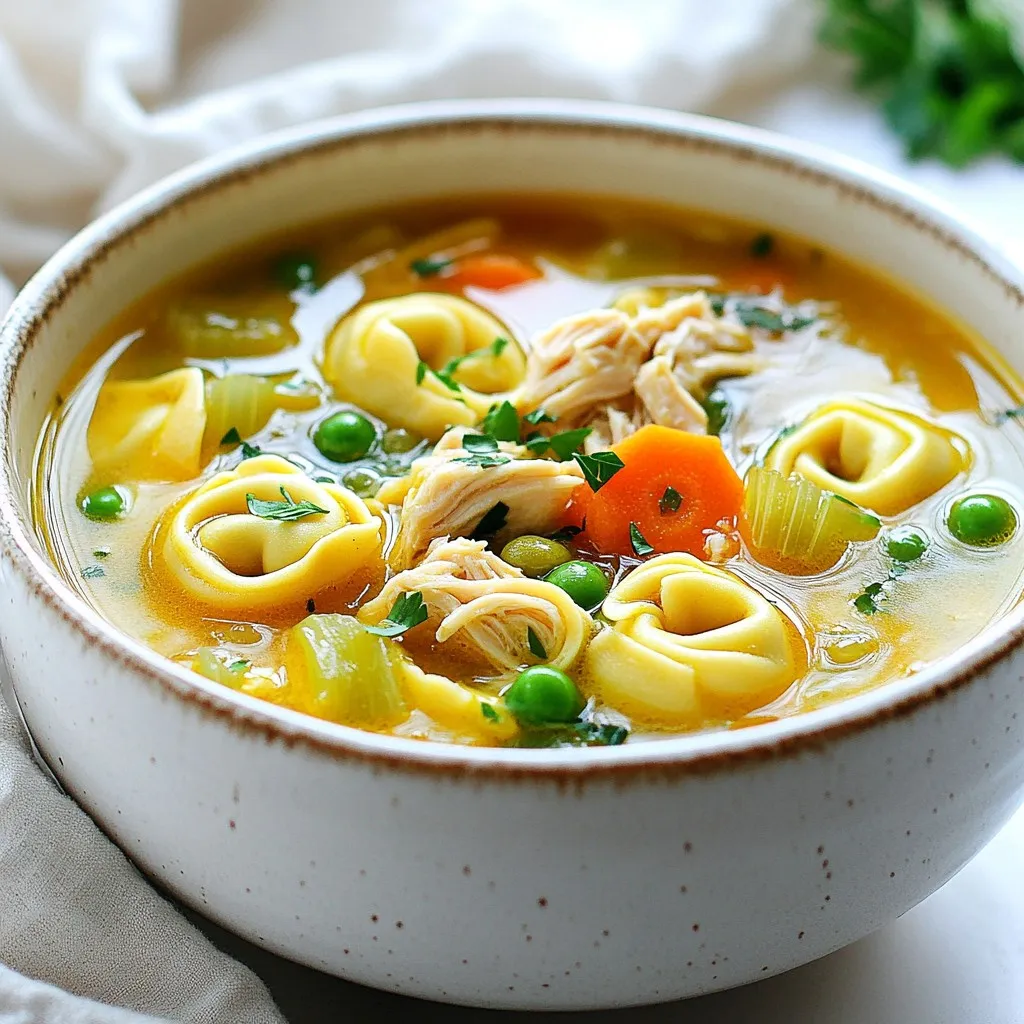
If you’re searching for a warm, cozy meal to brighten your day, look no further than Chicken Tortellini Soup. This dish blends juicy chicken, tender tortellini, and tasty broth into …
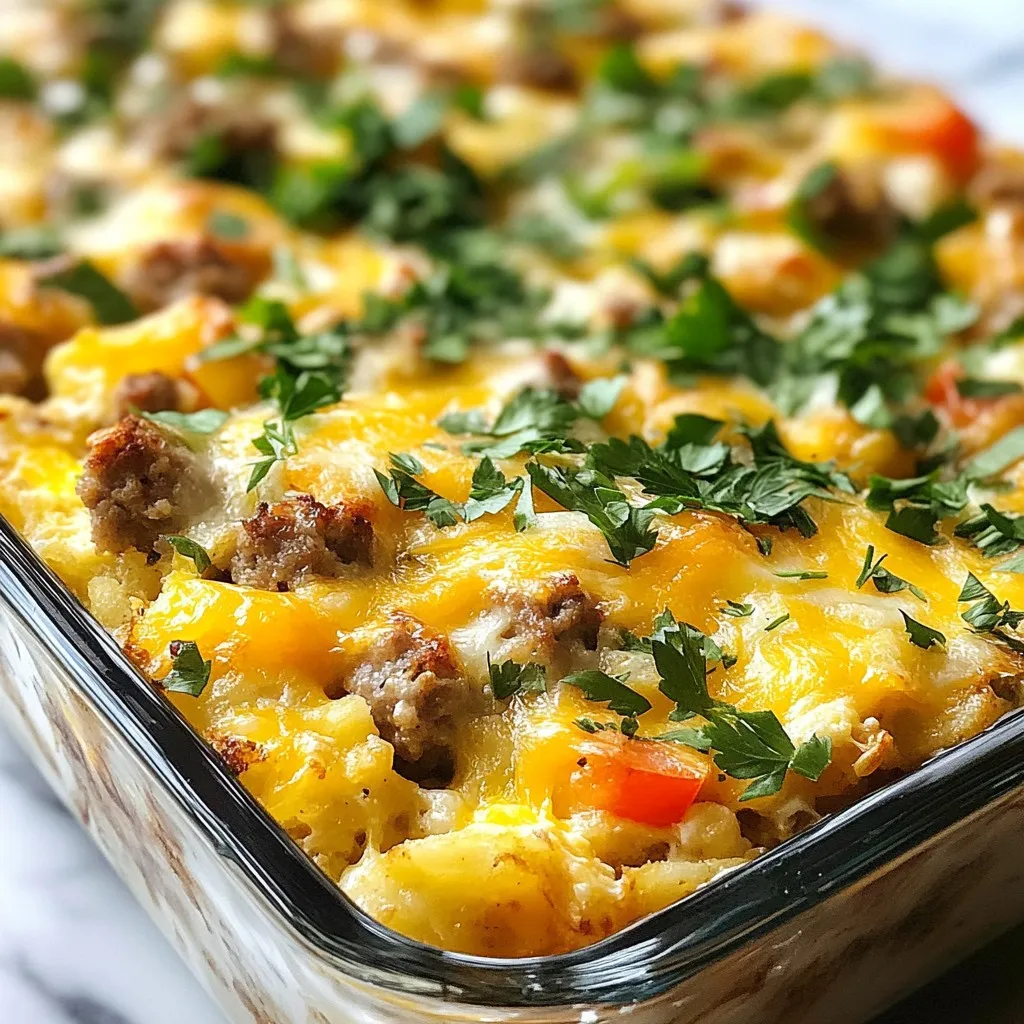
Looking for a delicious and simple breakfast option? Let me introduce you to my Crack Breakfast Casserole. This dish is packed with eggs, sausage, and cheese, making it the perfect …
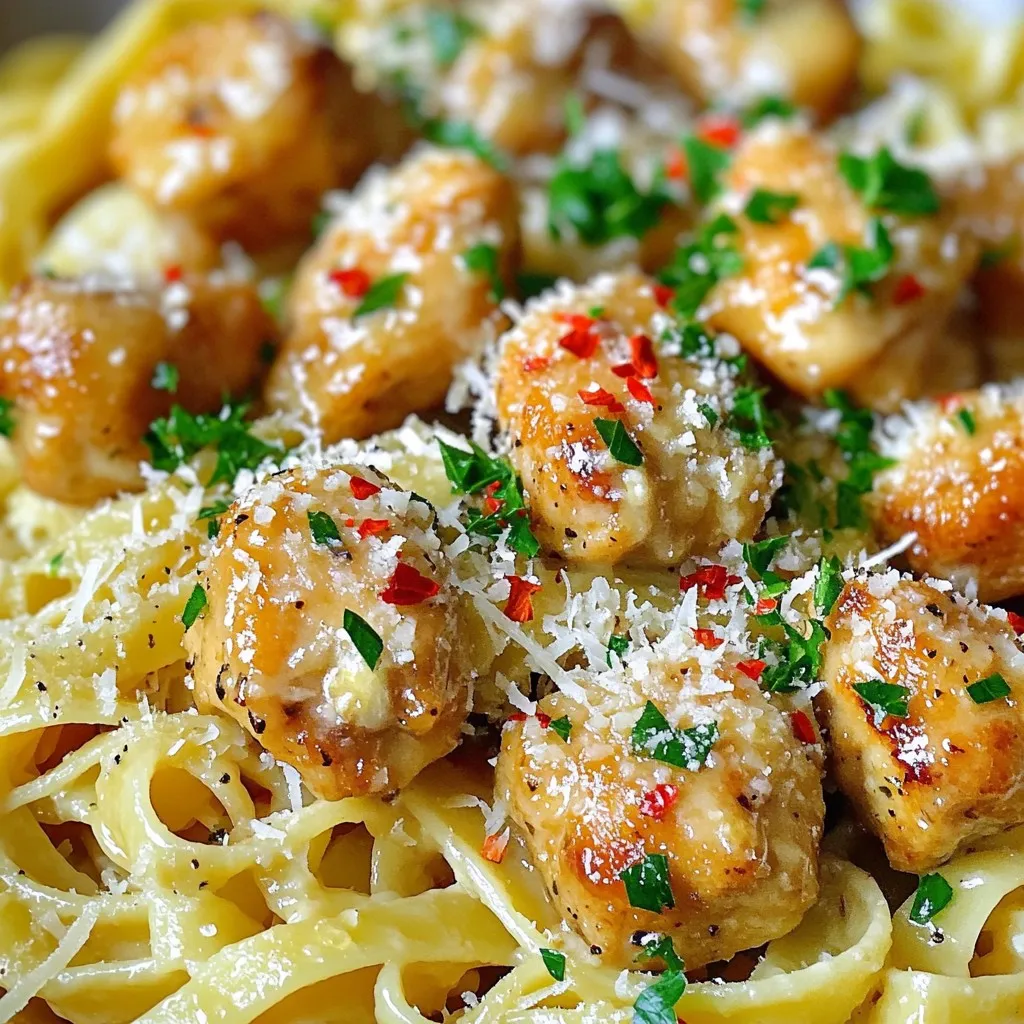
If you’re craving a dish that’s both easy to make and delicious, look no further! My Garlic Butter Chicken Bites with Pasta is packed with flavor. Juicy chicken and tender …