Easy Shepherd’s Pie Casserole Flavorful and Comforting Dish
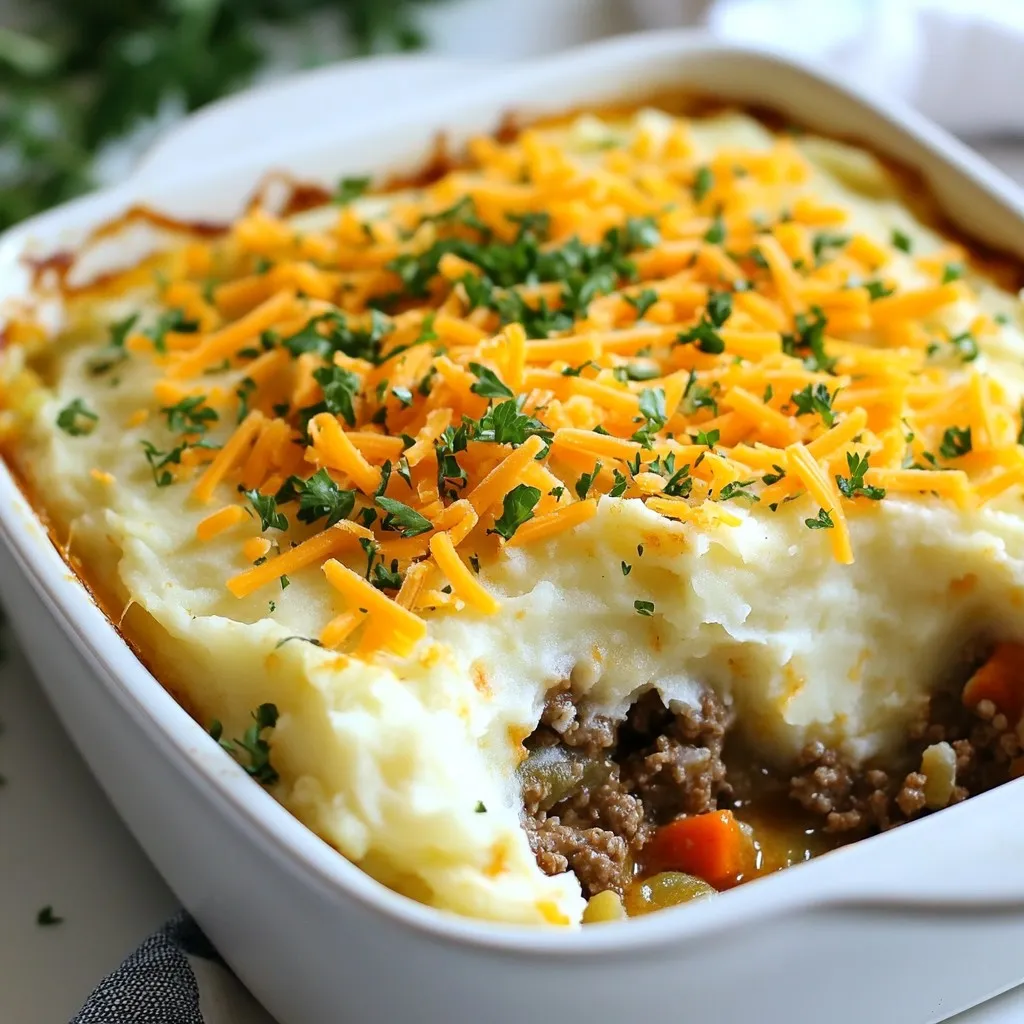
If you’re craving something hearty and warming, this Easy Shepherd’s Pie Casserole is for you. With layers of savory ground meat, fresh veggies, and creamy mashed potatoes, it’s the perfect …