Minute Protein Packed Tuna Pasta Salad Delight
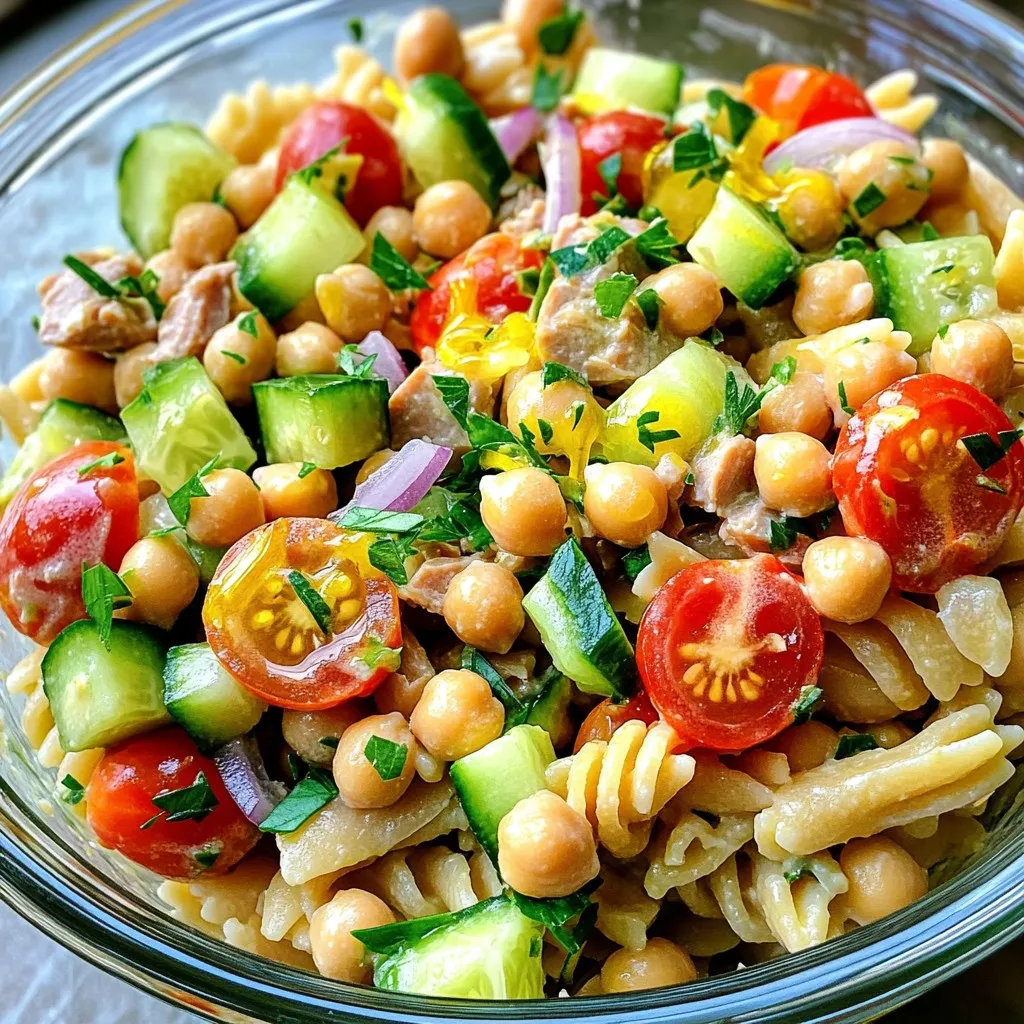
Are you ready to whip up something quick, tasty, and packed with protein? My Minute Protein Packed Tuna Pasta Salad Delight is your new go-to meal. It’s simple to make, …
Are you ready to whip up something quick, tasty, and packed with protein? My Minute Protein Packed Tuna Pasta Salad Delight is your new go-to meal. It’s simple to make, …
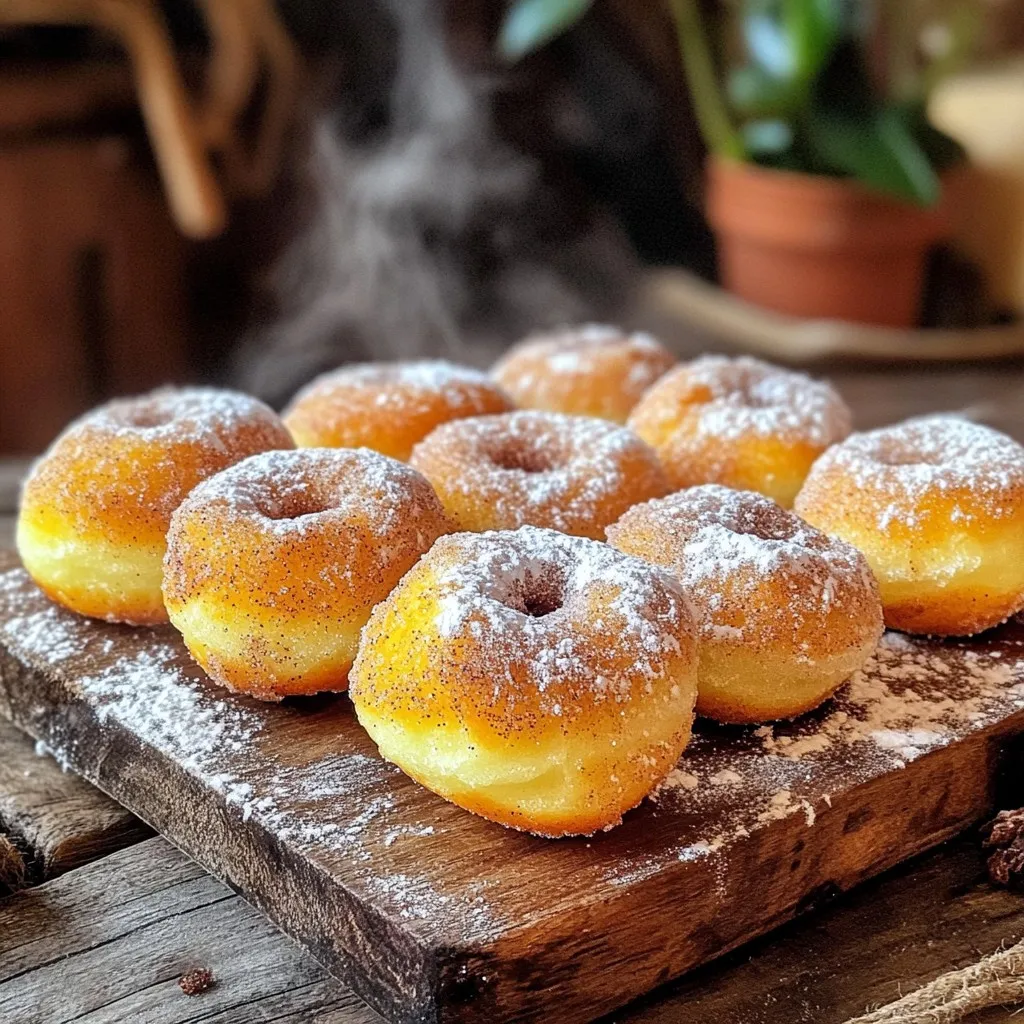
Craving a sweet treat that’s easy to make? Let me introduce you to my Air Fryer Cinnamon Sugar Donut Holes! These fluffy, bite-sized delights will satisfy your dessert cravings without …
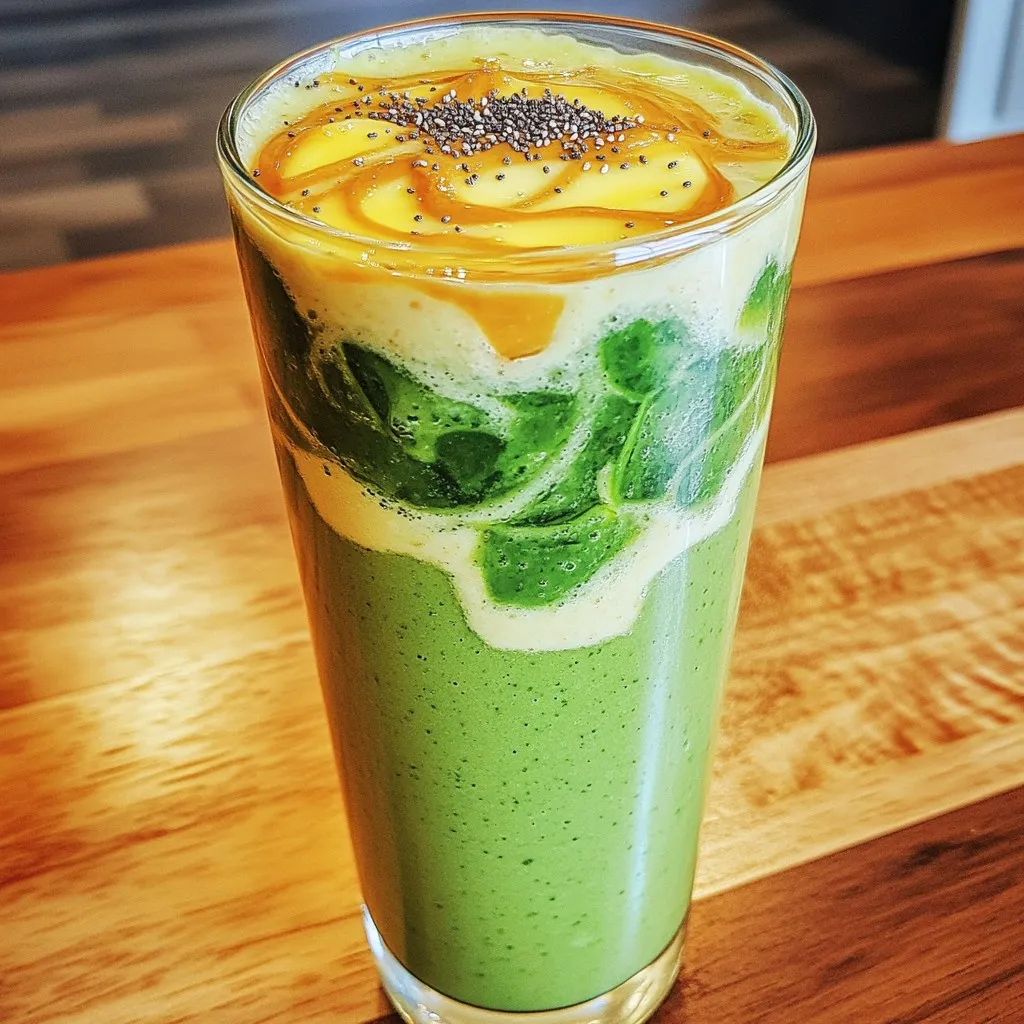
Are you looking for a quick, tasty way to boost your protein intake? This High Protein Cottage Cheese Smoothie is your answer! Packed with nutrition and great flavor, it’s easy …
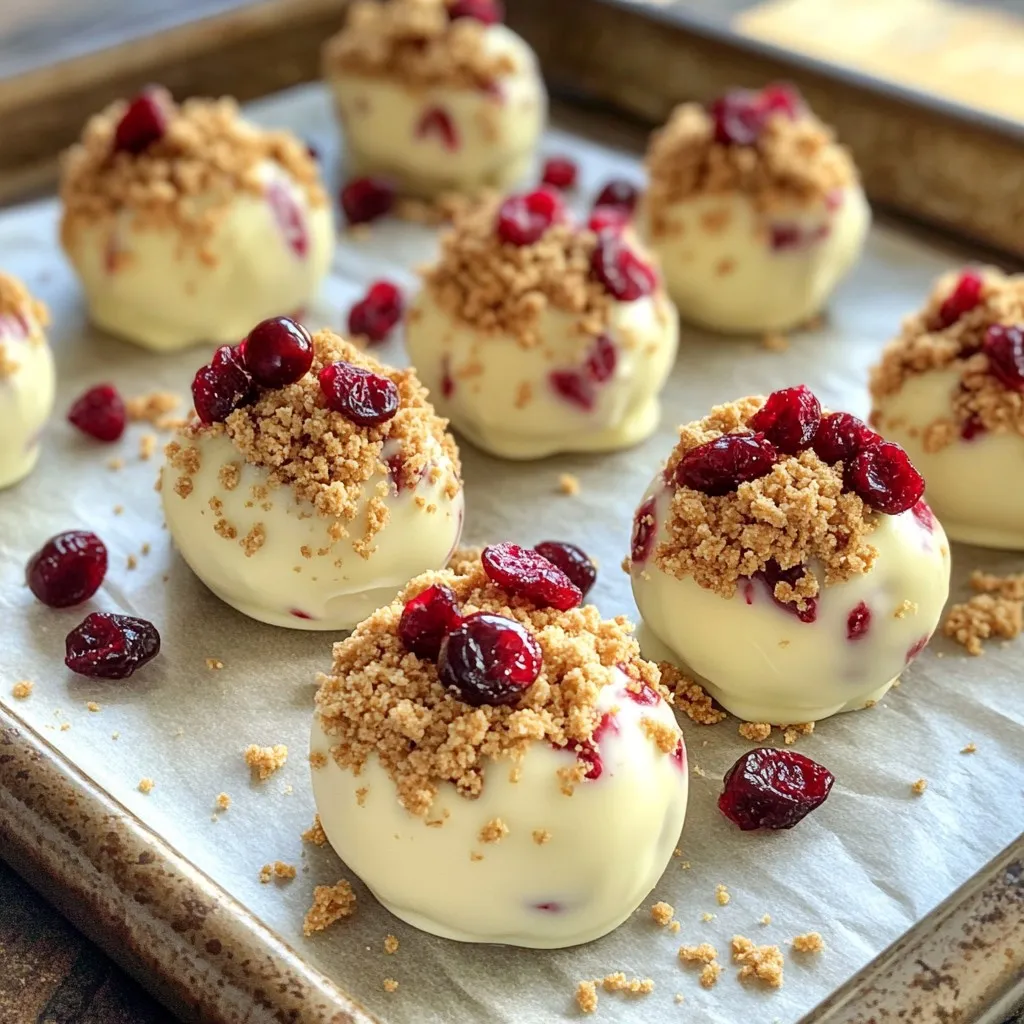
If you’re ready to impress with a sweet treat, I’ve got just the recipe for you! My No-Bake Cranberry White Chocolate Truffles are creamy, sweet, and oh-so-easy to make. Perfect …
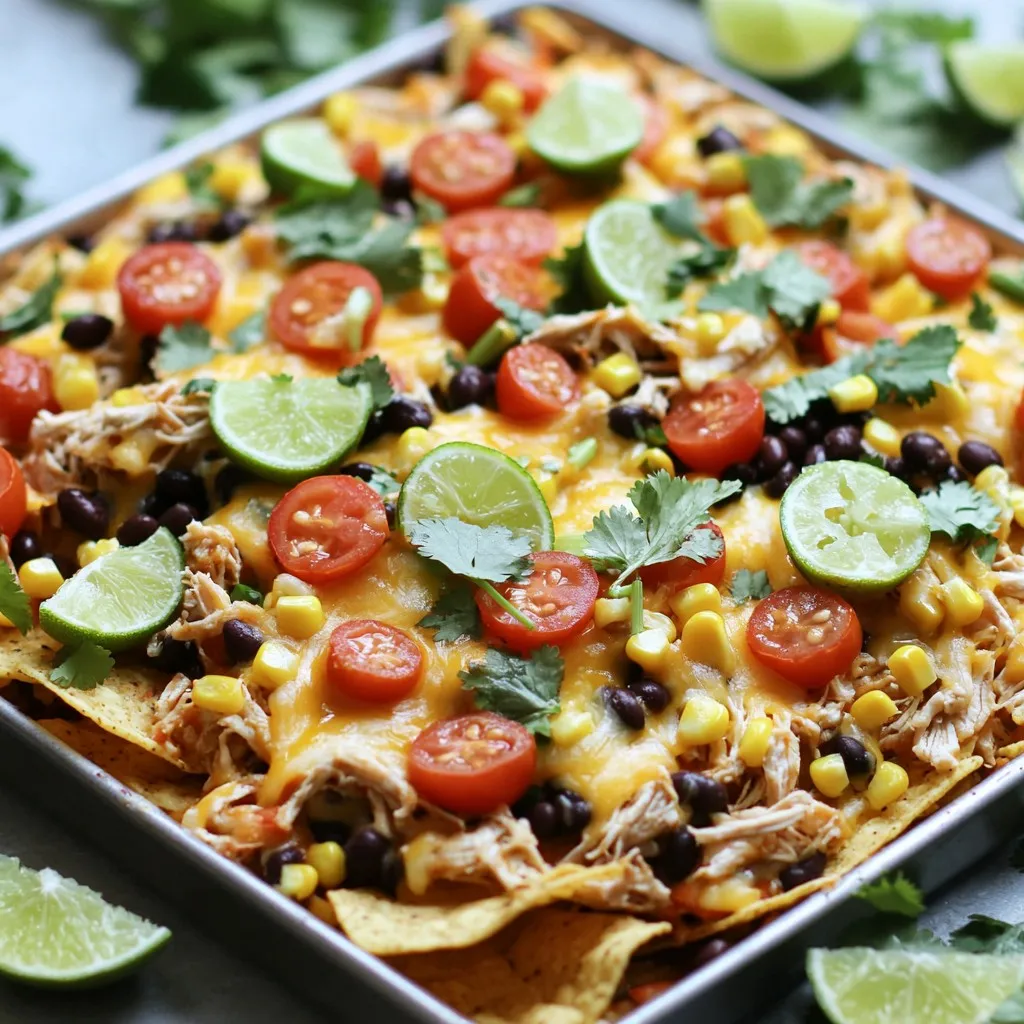
Get ready to dive into a fiesta of flavors with my Sheet Pan Chipotle Lime Chicken Nachos Delight! This recipe is simple, fun, and packed with zesty taste. Quick to …
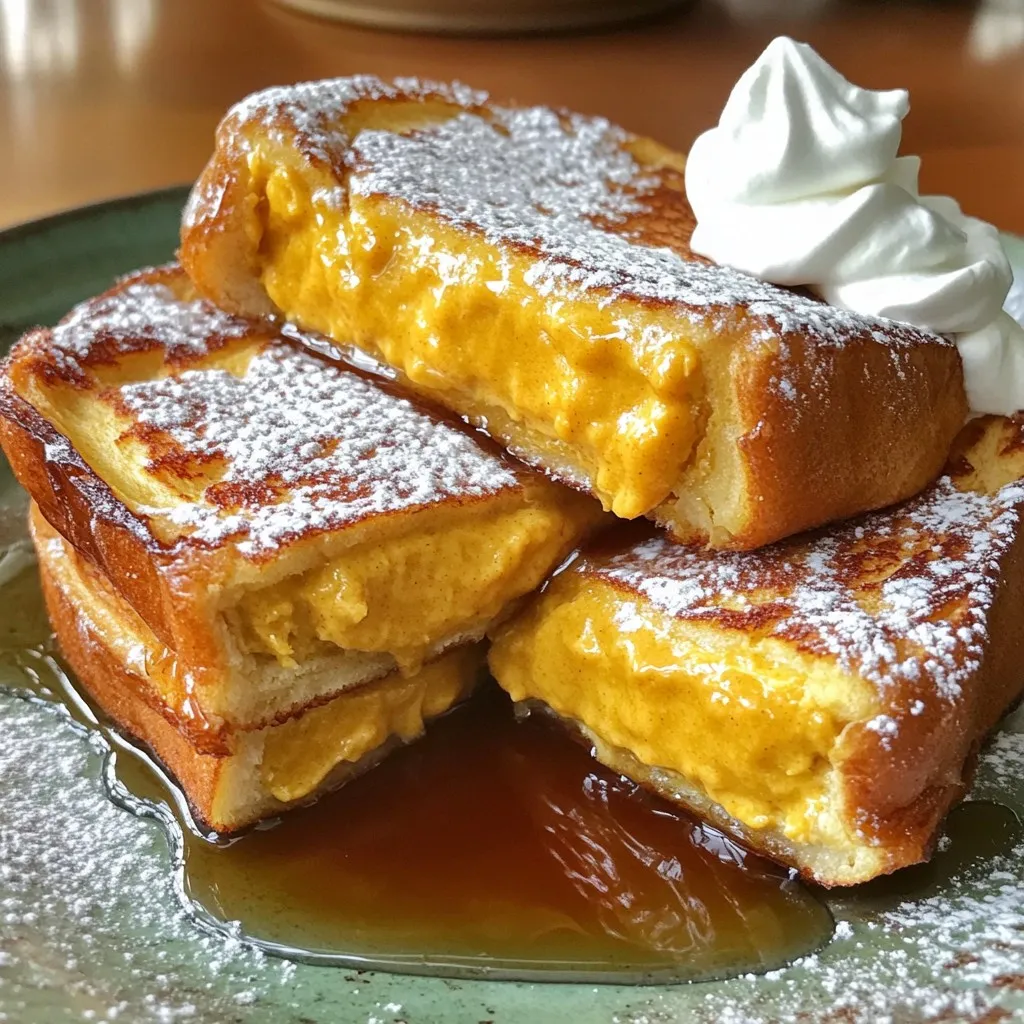
Are you ready to indulge in a breakfast treat that blends the creaminess of pumpkin cheesecake with the warmth of French toast? In this post, I’ll guide you through making …
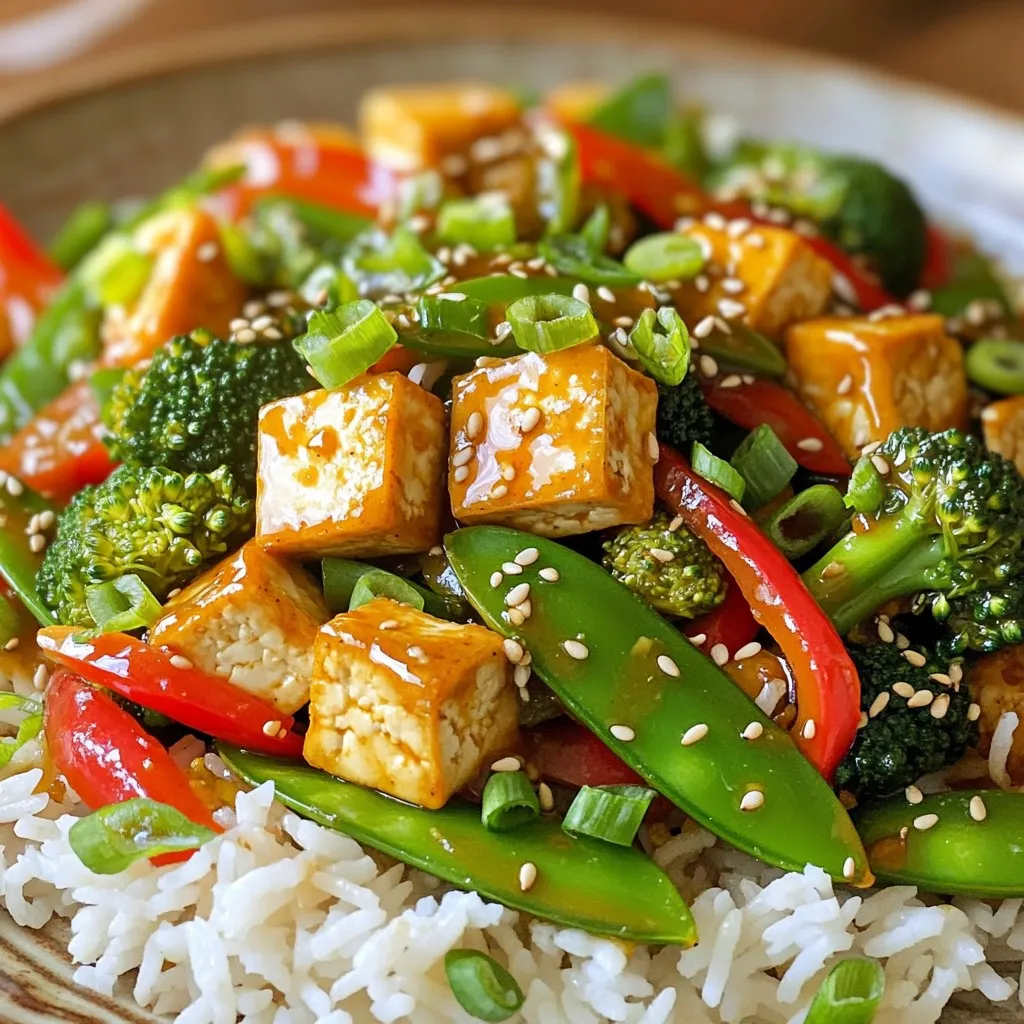
Are you ready to elevate your weeknight dinners? This Minute Crispy Tofu Chili Garlic Stir-Fry packs bold flavors into a quick, delicious meal. Using fresh veggies and crispy tofu, this …
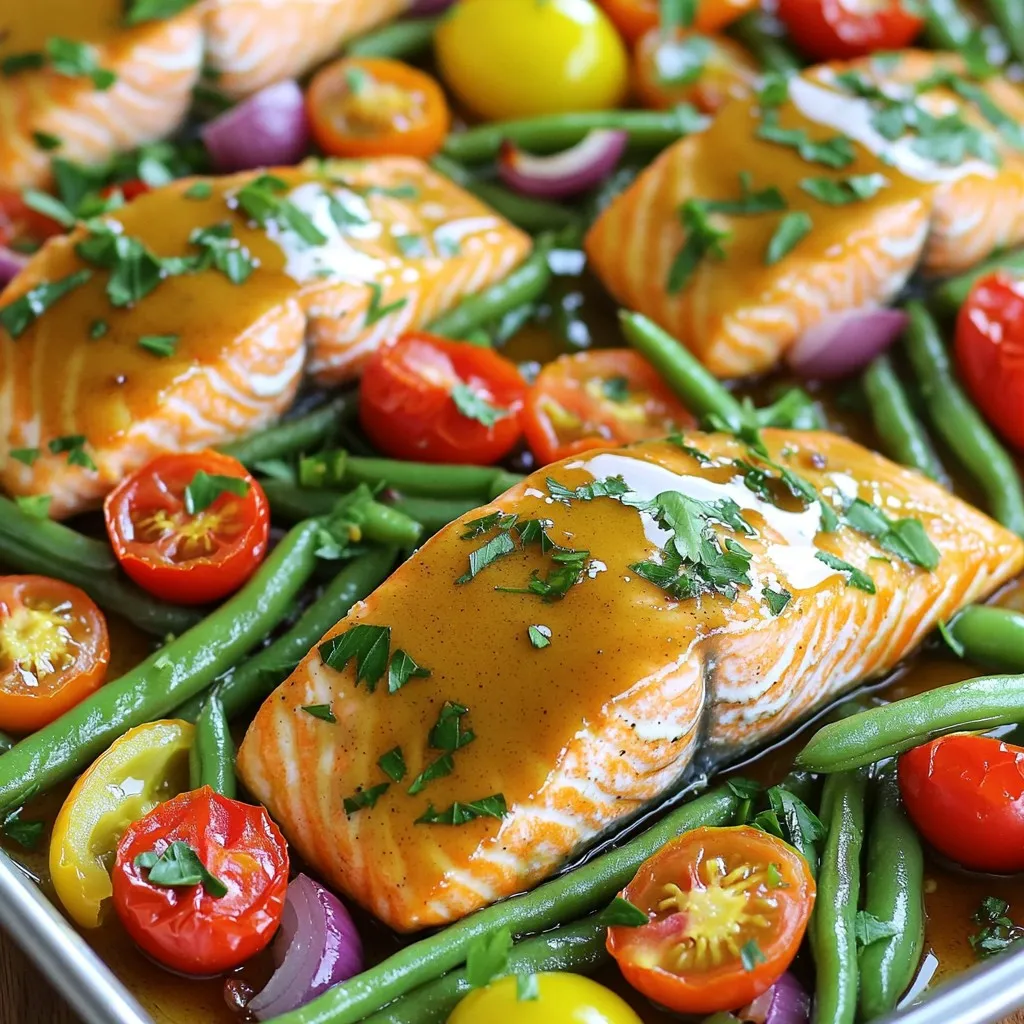
Looking for a simple yet delicious dinner idea? Try my Sheet Pan Maple Dijon Salmon & Veggies Delight! This one-pan meal brings together tender salmon and colorful veggies, coated in …
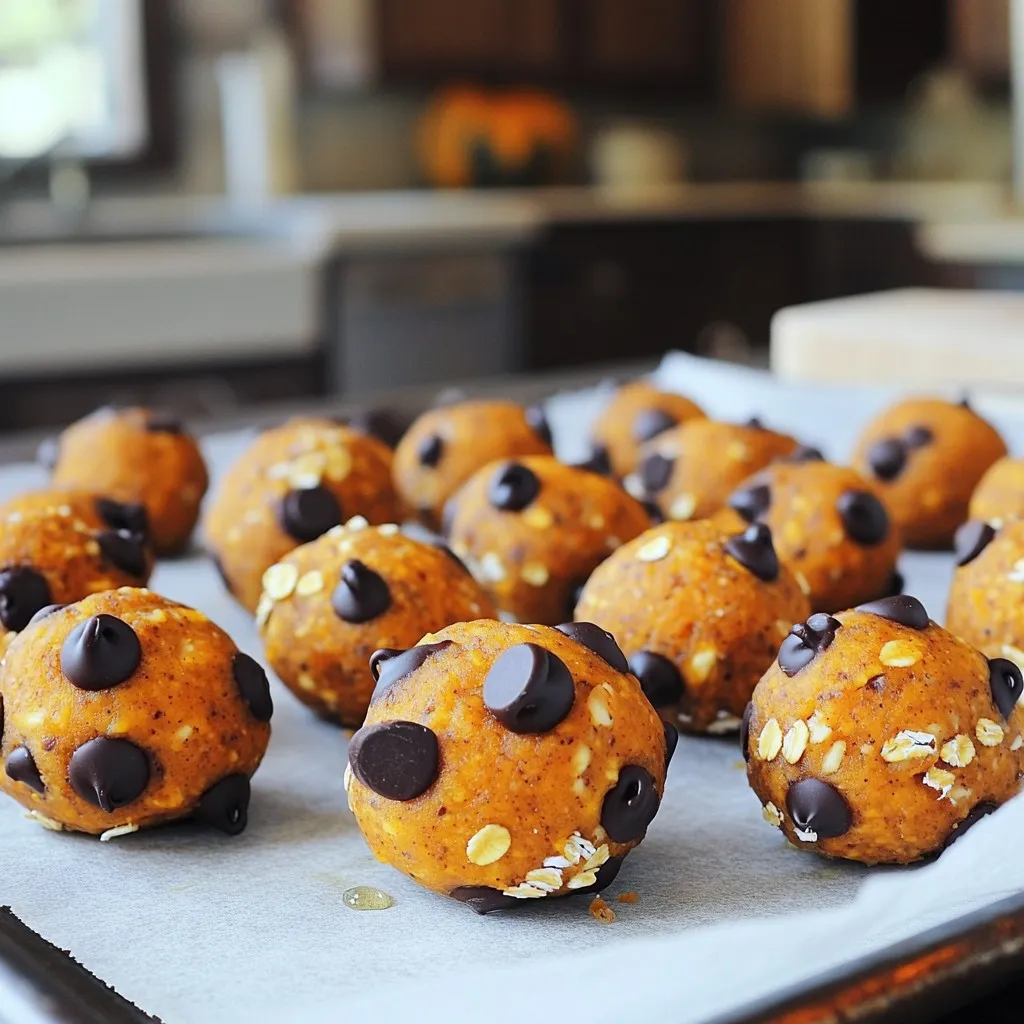
Looking for a tasty and healthy snack? You’ll love these Pumpkin Chocolate Chip Protein Balls! Packed with pure pumpkin, almond butter, and protein powder, these bites are great for a …
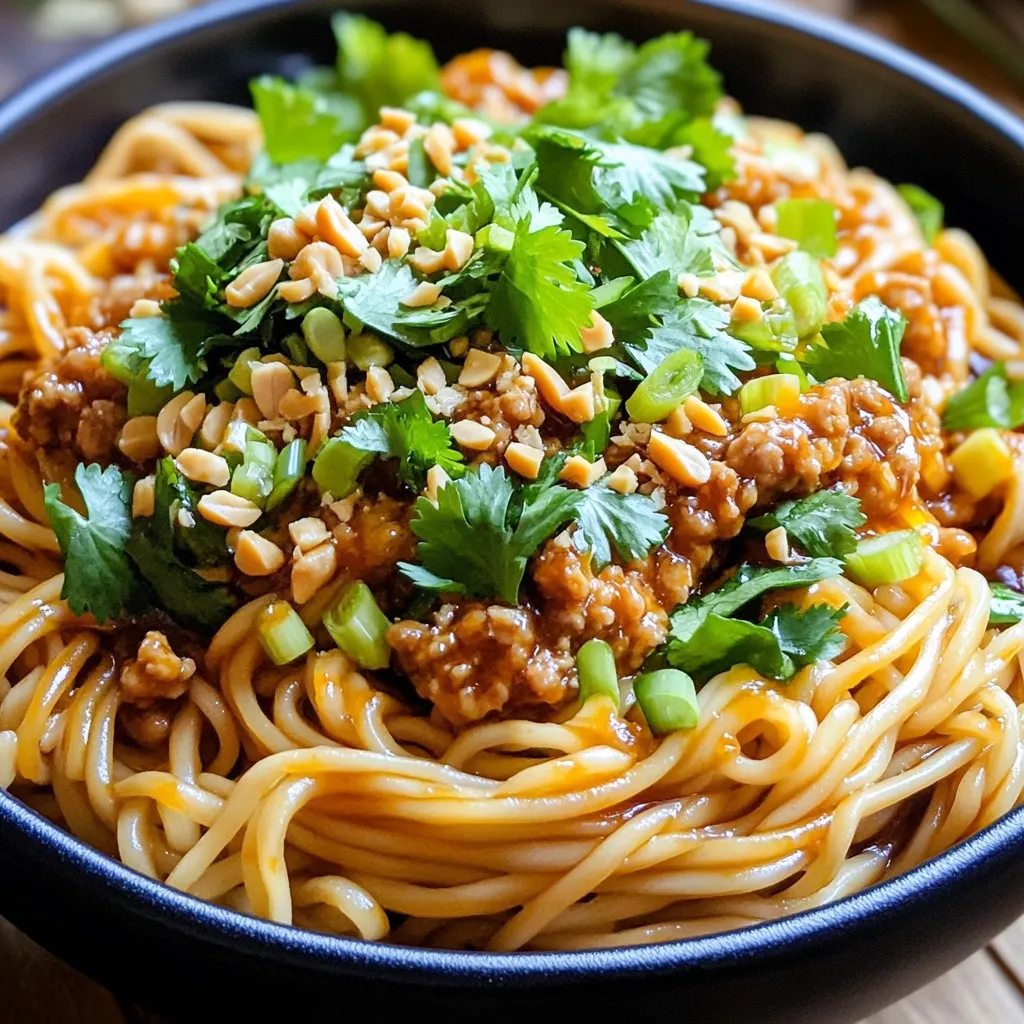
Craving a spicy, satisfying meal that beats takeout? Let me introduce you to Better-Than-Takeout Spicy Dan Dan Noodles. This dish is packed with flavor, simple to make, and perfect for …