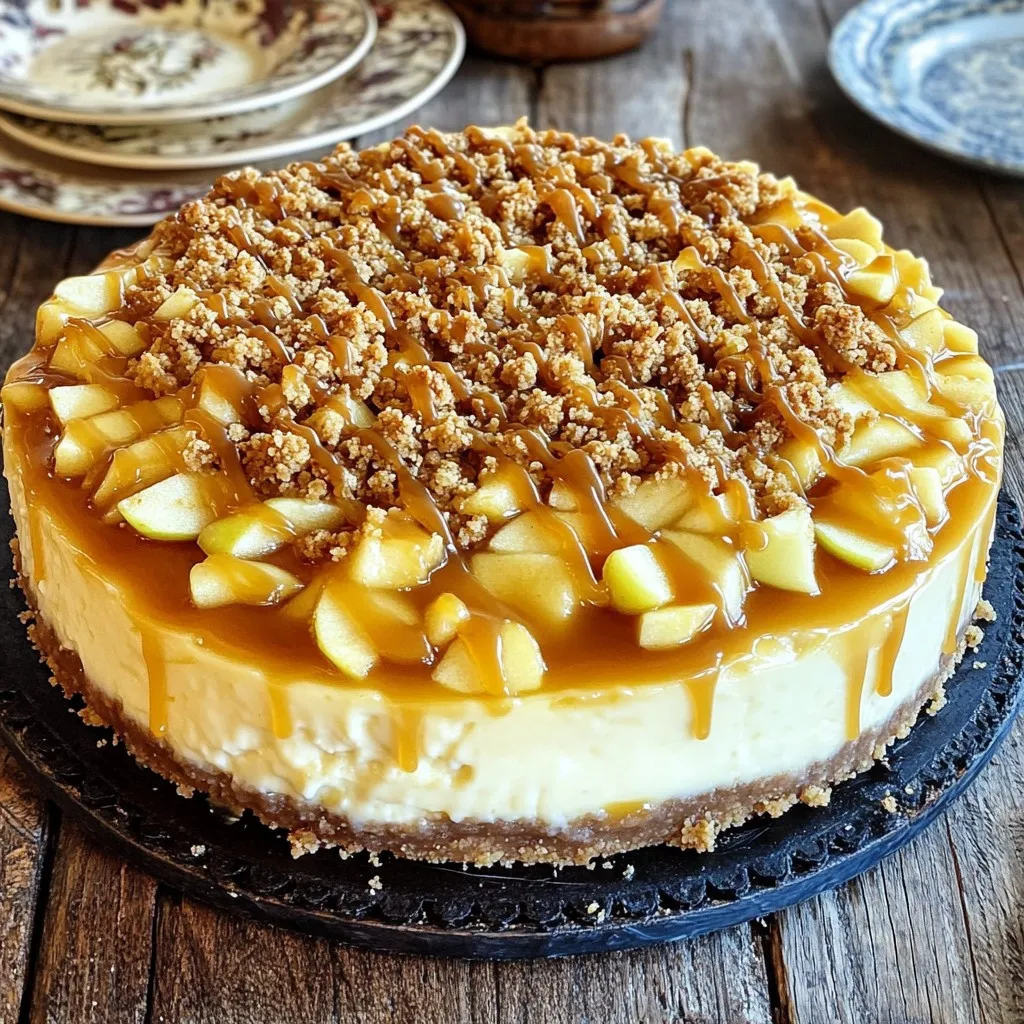
Pumpkin Pecan Cheesecake Brownies Savory Dessert Delight
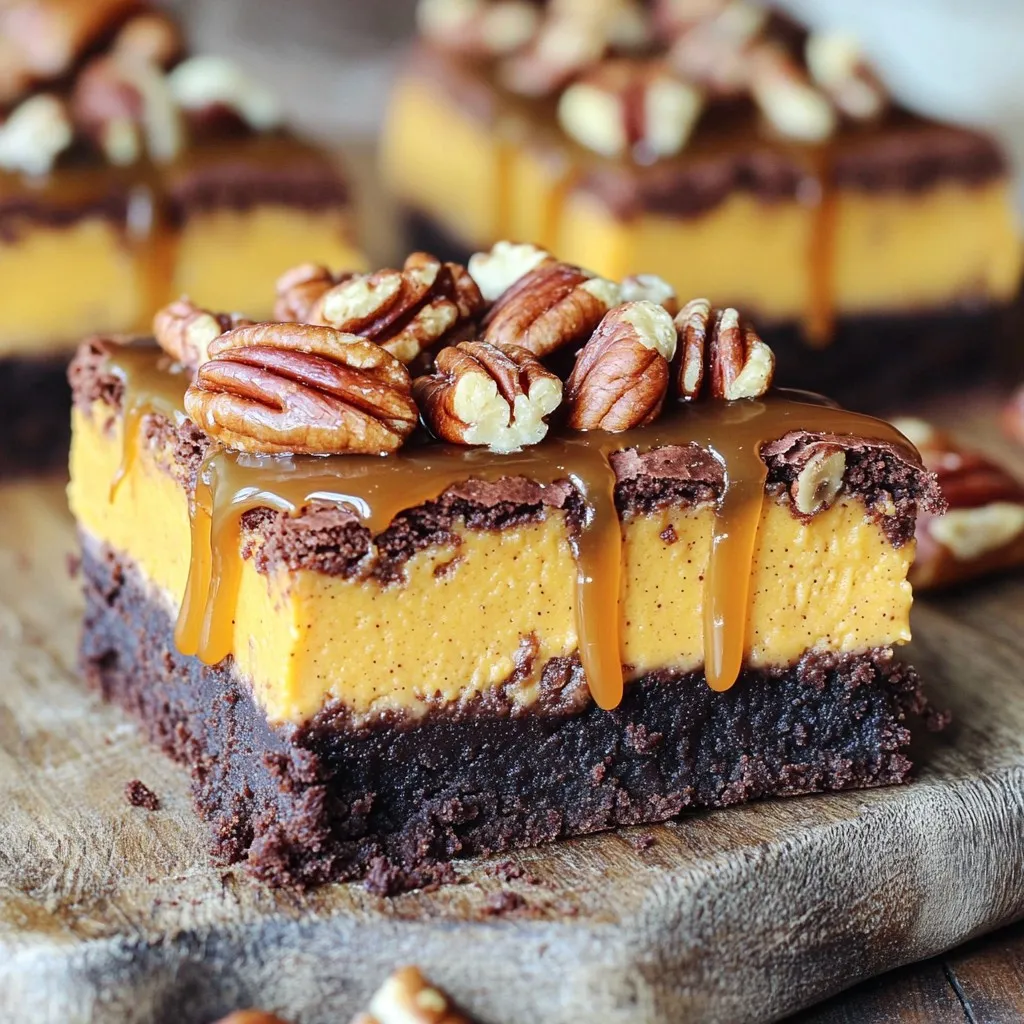
Get ready to indulge in a dessert that combines flavors you can’t resist: Pumpkin Pecan Cheesecake Brownies! These layered delights are not only rich and chocolatey but also infused with …