No-Bake Pumpkin Chocolate Chip Energy Balls Delight

Looking for a tasty snack that’s quick and easy? No-Bake Pumpkin Chocolate Chip Energy Balls are the perfect solution! These bites mix the warmth of pumpkin spice with the sweetness …
Looking for a tasty snack that’s quick and easy? No-Bake Pumpkin Chocolate Chip Energy Balls are the perfect solution! These bites mix the warmth of pumpkin spice with the sweetness …
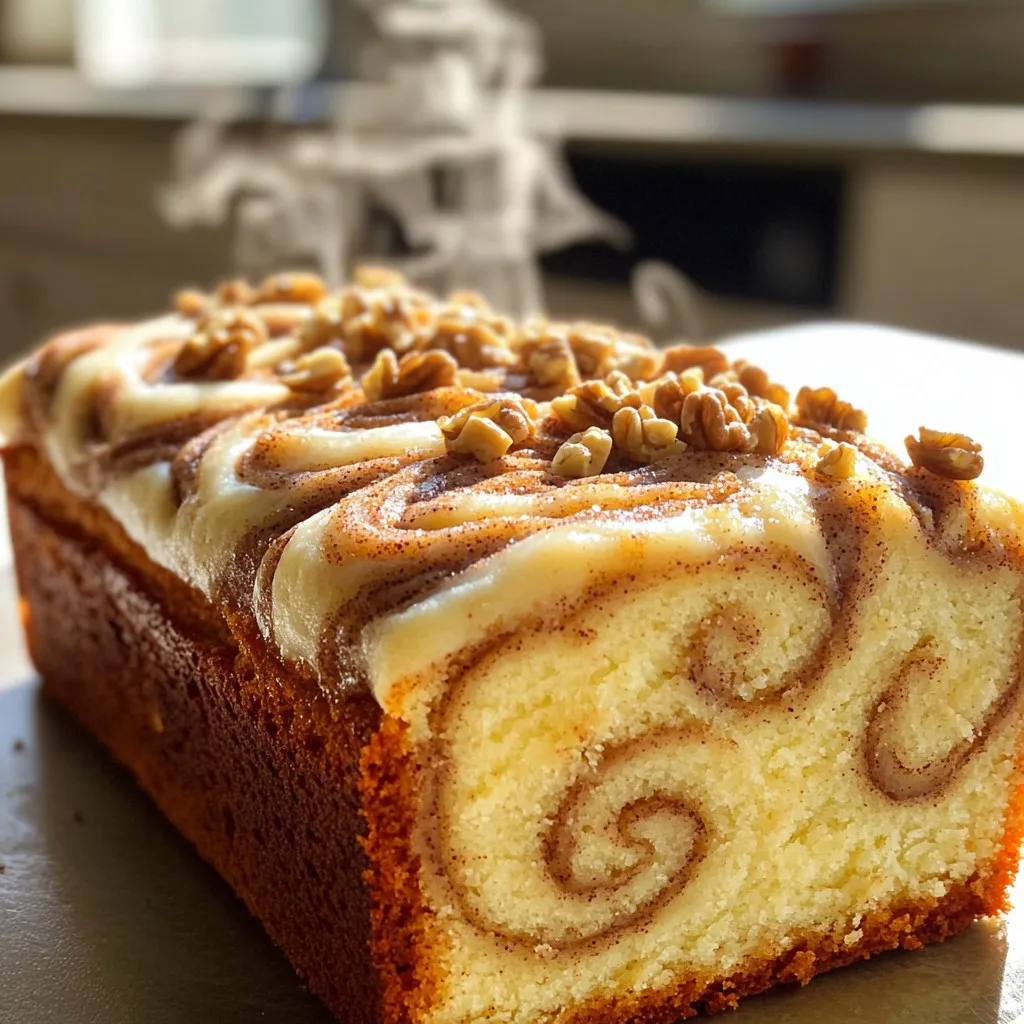
Welcome to the world of baking with my irresistible and flavorful Cinnamon Swirl Loaf Cake! You’ll find that this cake offers both a warm, gooey center and a sweet, crunchy …

Are you ready to spice up your snack game? These Air Fryer Buffalo Chicken Bites are crispy, flavorful, and easy to make. Perfect for game day or a quick dinner, …

If you’re craving a treat that tastes just like the ones from your favorite bakery, you’re in the right spot! Today, I’ll show you how to make Bakery-Style Lemon Poppy …

If you crave a warm, hearty meal, this Savory Slow Cooker Chicken Enchilada Soup is perfect for you. With tender chicken, beans, and spices, it’s packed with flavor. You’ll love …

Looking for a fast and tasty meal? Try my Minute Avocado Feta Pasta! This quick recipe packs a punch of flavor and freshness in every bite. With simple ingredients and …

Are you ready to impress your taste buds? Making Air Fryer Garlic Herb Salmon Bites is easy, fun, and delicious. This flavorful delight only requires a few fresh ingredients like …

Looking for a quick and tasty meal? Instant Pot Teriyaki Chicken Rice Bowls are your answer! In just a few steps, you can enjoy juicy chicken, fragrant jasmine rice, and …

Are you ready for a flavorful meal? This Air Fryer Maple Brown Sugar Salmon is simple and tasty! With just a few ingredients, you can create a dish that impresses …
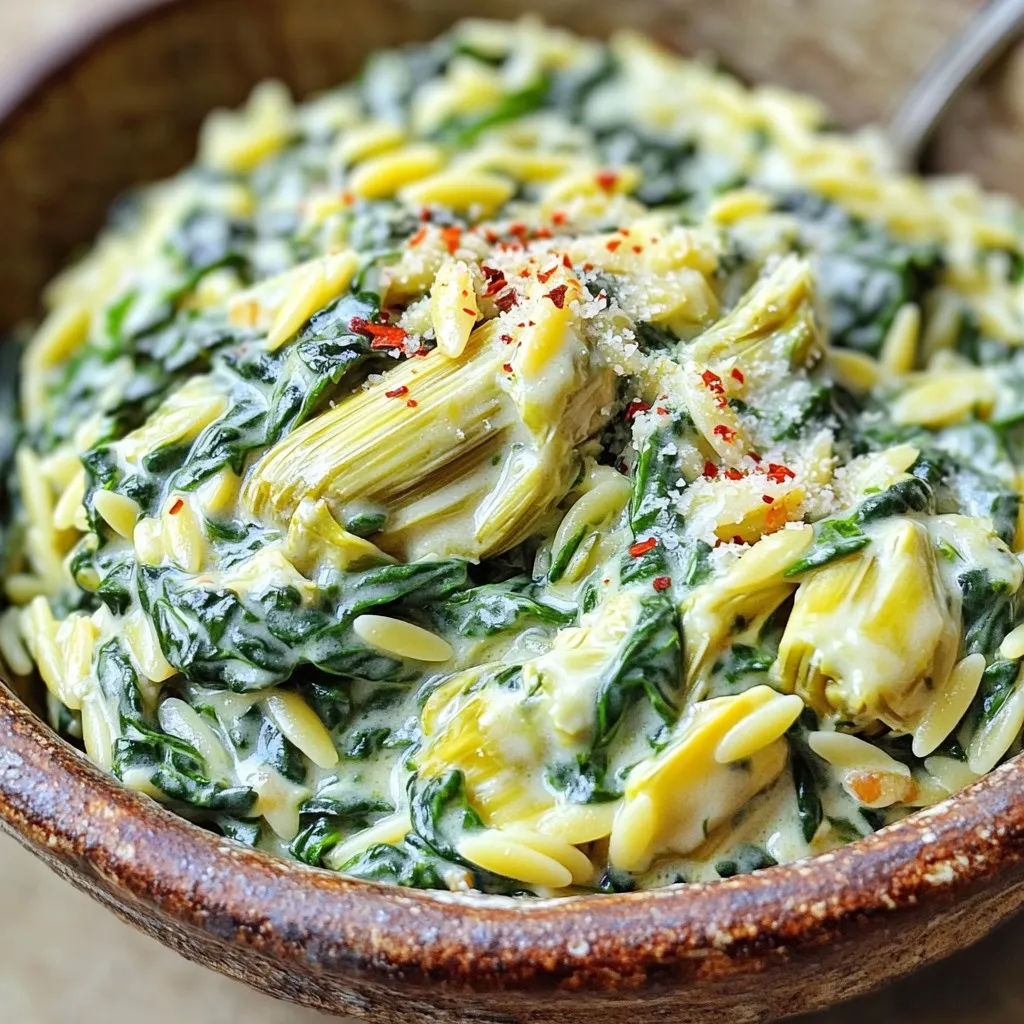
Are you ready to whip up a dish that’s both creamy and comforting? I’m talking about Creamy Spinach Artichoke Orzo! This delightful recipe combines savory spinach and artichoke with smooth …