Pumpkin Spice Latte Energy Bites Easy and Nutritious
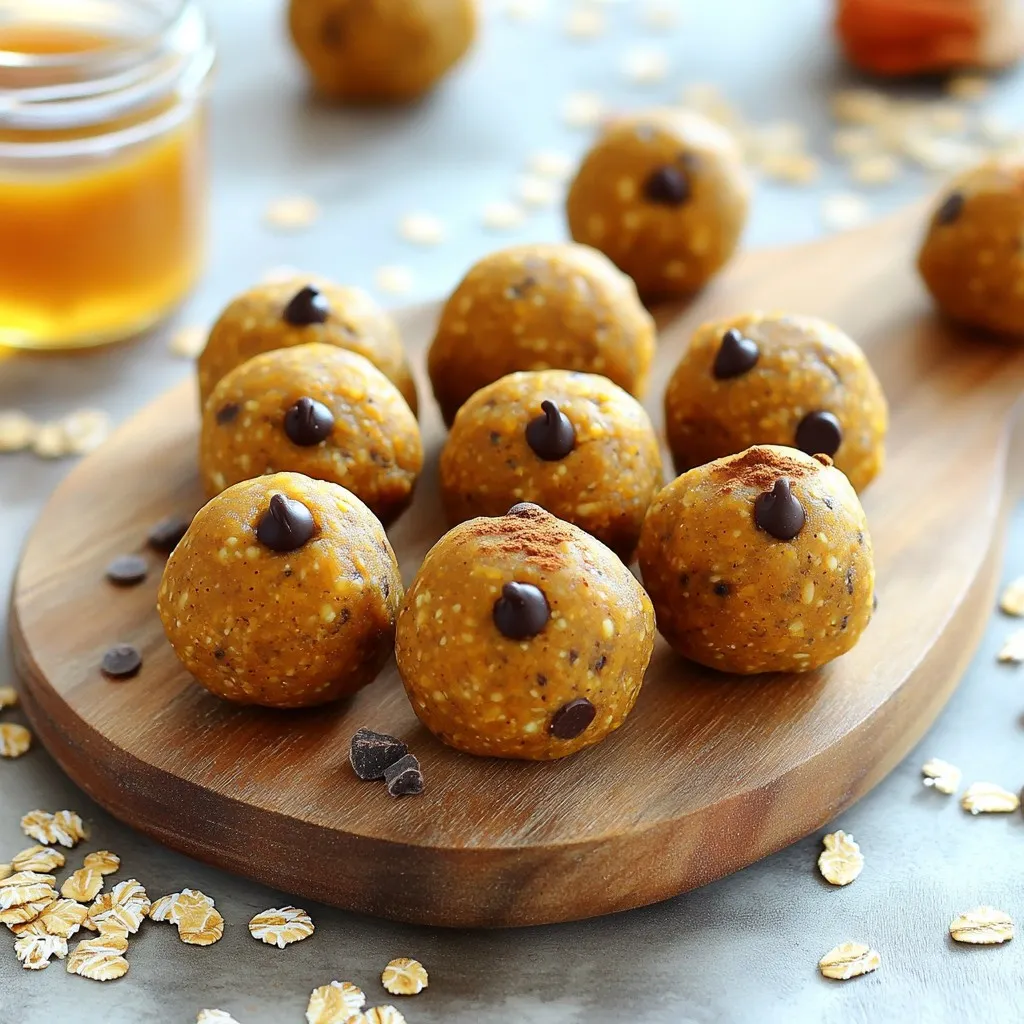
Do you crave the warm, cozy flavors of fall? These Pumpkin Spice Latte Energy Bites are your tasty answer! Packed with wholesome ingredients like oats, almond butter, and pumpkin, they …