Two Ingredient Donuts Quick and Easy Recipe
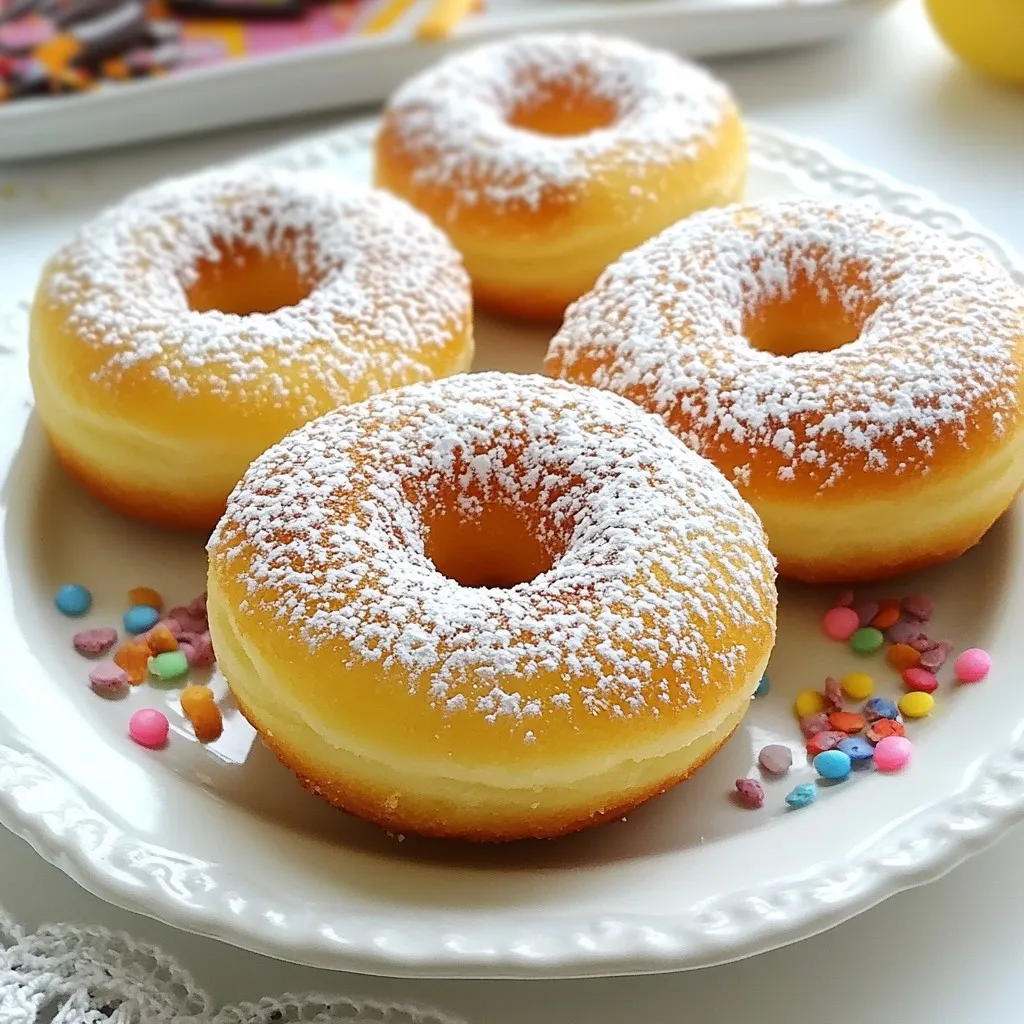
Craving donuts but short on time? You’re in the right place! With just two simple ingredients—self-rising flour and plain Greek yogurt—you can create delicious homemade donuts in no time. This …