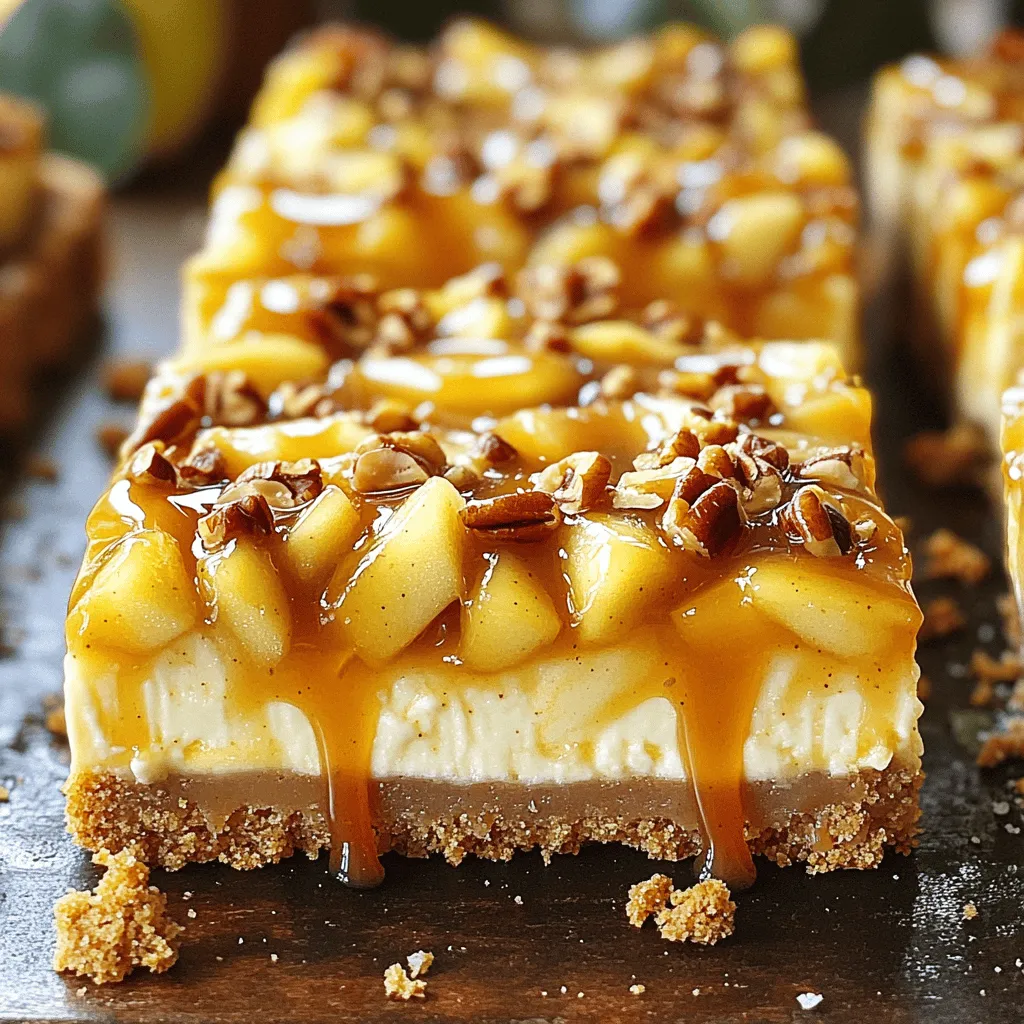
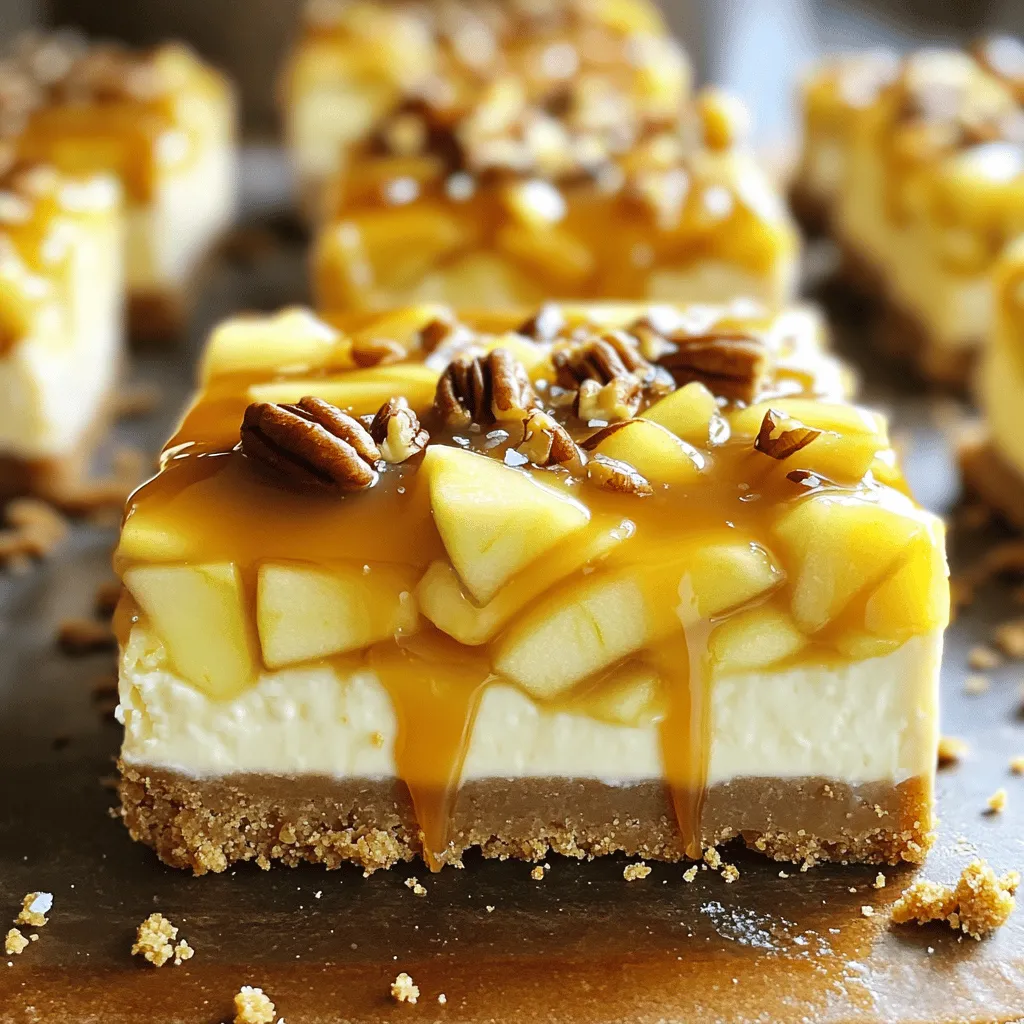
Looking for a sweet treat that combines creamy cheesecake and the fall flavor of apples? You’re in the right place! These Caramel Apple Cheesecake Bars are a delicious way to satisfy your dessert cravings. With easy steps, simple ingredients, and tips for perfecting the recipe, you’ll impress family and friends. Let’s dive into this mouth-watering dessert that will have everyone asking for more!
Ingredients
Complete List of Ingredients
To make these caramel apple cheesecake bars, gather the following ingredients:
– 1 ½ cups graham cracker crumbs
– ½ cup unsalted butter, melted
– 2 tablespoons brown sugar
– 3 (8 oz) packages cream cheese, softened
– 1 cup granulated sugar
– 3 large eggs
– 1 teaspoon vanilla extract
– 1 teaspoon cinnamon
– 2 cups finely chopped apples (preferably Granny Smith)
– 1 cup caramel sauce (store-bought or homemade)
– ¼ cup chopped pecans (optional)
– Sea salt for garnish
Ingredient Substitutions
You can swap some ingredients if needed. Here are a few ideas:
– For graham cracker crumbs, use crushed cookies like digestive biscuits.
– Use coconut oil instead of unsalted butter for a dairy-free option.
– Maple sugar can replace brown sugar for a unique flavor.
– If you don’t have cream cheese, ricotta works too, but the texture will change.
– For a lower sugar option, use a sugar substitute like erythritol.
Optional Add-ins
Want to make it even better? Here are some optional add-ins:
– Chopped nuts like walnuts or almonds add crunch and flavor.
– A sprinkle of nutmeg can enhance the fall taste.
– You can add a layer of chocolate chips for a sweet twist.
– For extra caramel flavor, mix in a bit of caramel sauce into the filling.
Feel free to mix and match ingredients to make these bars your own!
Step-by-Step Instructions
Preparing the Baking Dish
Start by preheating your oven to 325°F (160°C). Grease a 9×13 inch baking dish. You can also line it with parchment paper for easy removal later.
Making the Crust
In a medium bowl, combine 1 ½ cups of graham cracker crumbs, ½ cup of melted unsalted butter, and 2 tablespoons of brown sugar. Mix these until they blend well. Press this mixture firmly into the bottom of your prepared baking dish. This will be the tasty base for your bars.
Creating the Cheesecake Filling
Grab a large bowl. Beat together 3 packages of softened cream cheese and 1 cup of granulated sugar. Keep mixing until the mix is smooth and creamy. Next, add 3 large eggs, one at a time. Make sure to mix well after each egg. Now, mix in 1 teaspoon of vanilla extract and 1 teaspoon of cinnamon until it’s all combined.
Assembling the Caramel Apple Bars
Gently stir in 2 cups of finely chopped Granny Smith apples. This adds a nice bite to your filling. Pour the cheesecake mix over the crust in the baking dish. Spread it evenly. Drizzle 1 cup of caramel sauce on top and use a knife to swirl it into the cheesecake layer. This makes it look pretty and adds more flavor.
Baking Instructions
Place the baking dish in your preheated oven. Bake for 40-45 minutes. The edges should be set, but the center should still jiggle a little. This means it will set up nicely after cooling.
Cooling and Serving
Take the dish out of the oven and let it cool at room temperature. Once cool, pop it in the fridge for at least 3 hours, or even better, overnight. This helps the bars firm up well. When ready, cut them into squares. Drizzle more caramel sauce on top and sprinkle a little sea salt for that extra flavor. Enjoy!
Tips & Tricks
Achieving the Perfect Texture
To get the right texture, follow these steps. First, make sure your cream cheese is soft. Leave it out for at least an hour before mixing. This way, it blends smoothly. Use a mixer to beat the cream cheese and sugar until creamy. Mixing too fast can add air, leading to cracks. Keep the mixing speed low and steady.
How to Prevent Cracking
Cracks can ruin the look of your bars. Here’s how to avoid them. Bake your bars at a lower temperature. The key is to cook them slowly. A slight jiggle in the center is good. It means they will set as they cool. Once out of the oven, let them cool slowly. Don’t rush this step. Rapid cooling can cause cracks.
Best Practices for Cutting Bars
Cutting your bars neatly makes them more appealing. Here’s how to do it right. First, chill the bars well. Wait at least three hours in the fridge. Use a sharp knife for clean cuts. Dip the knife in hot water between cuts. This helps the knife glide through. Wipe it dry each time to keep the bars looking nice.
Variations
Flavor Variations
You can change the flavor of your Caramel Apple Cheesecake Bars easily. Try using pumpkin spice for a fall twist. Just add one tablespoon of pumpkin pie spice to the cream cheese. You can also use different fruits. Pears or peaches work well too. For a tropical taste, swap apples for crushed pineapple. This keeps the filling light and fresh.
Healthier Alternatives
If you want a healthier version, consider using low-fat cream cheese. This cuts calories but still keeps the creamy texture. You can also reduce the sugar. Use half the amount of granulated sugar and add some honey or maple syrup for sweetness. For a gluten-free option, use gluten-free graham crackers. These tweaks keep the bars tasty and fun without the guilt.
Serving Suggestions
These bars pair well with many treats. A scoop of vanilla ice cream on top adds creaminess. You can also serve with whipped cream for a light touch. Drizzling extra caramel sauce gives a rich finish. For a crunchy contrast, top with chopped nuts. Serve them warm for a cozy dessert or chilled for a refreshing treat. The choices make this dessert even more enjoyable!
Storage Info
How to Store Caramel Apple Cheesecake Bars
To store your caramel apple cheesecake bars, first, let them cool completely. Then, cover the bars tightly with plastic wrap or aluminum foil. You can also place them in an airtight container. Keep them in the fridge for up to one week. The cool air helps maintain their creamy texture and fresh flavor.
Freezing Tips
If you want to save some for later, freezing is a great option. Cut the bars into squares first. Then, place each square in a single layer on a baking sheet. Freeze them for about an hour. Once firm, wrap each bar in plastic wrap. You can also put them in a freezer-safe bag. They will stay fresh for up to three months. When ready to eat, just thaw them in the fridge overnight.
Reheating Instructions
To reheat your cheesecake bars, remove them from the fridge or freezer. If they are frozen, let them thaw first. Then, you can use the microwave. Heat them for about 15-20 seconds. This warms them up without cooking them further. You can also enjoy them cold! The choice is yours.
FAQs
Can I use different types of apples?
Yes, you can use different apples. While Granny Smith apples are tart and hold their shape, sweeter apples like Honeycrisp or Fuji will work well too. Just remember, the flavor and texture will change. Tart apples give a nice contrast to the sweet cheesecake and caramel.
How long will these bars last in the fridge?
These bars can last up to a week in the fridge. Store them in an airtight container. Make sure they are fully cooled before you put them away. This helps keep them fresh.
Can I make these cheesecake bars ahead of time?
Absolutely! You can make these bars a day or two ahead of time. Just bake, cool, and chill them in the fridge. They taste even better after a day. The flavors have time to meld together.
What is the best way to serve them?
Serve these bars chilled. Cut them into squares and drizzle extra caramel sauce on top. Add a sprinkle of sea salt for that perfect sweet-salty balance. They also pair well with a scoop of vanilla ice cream.
Can I use a different crust?
Yes, you can use a different crust. Try a cookie crust made from Oreos or a gluten-free option with almond flour. Just make sure to adjust the amount of butter based on what you choose. Each crust will add its own unique flavor to the bars.
You learned about the key ingredients, step-by-step instructions, and helpful tips for making caramel apple cheesecake bars. I shared variations to suit your taste and storage methods for freshness. Making these treats can be simple and fun. Remember, minor changes can lead to big flavor. Try different apples or flavors to find your favorite. Enjoy your baking and share your delicious results with others!
