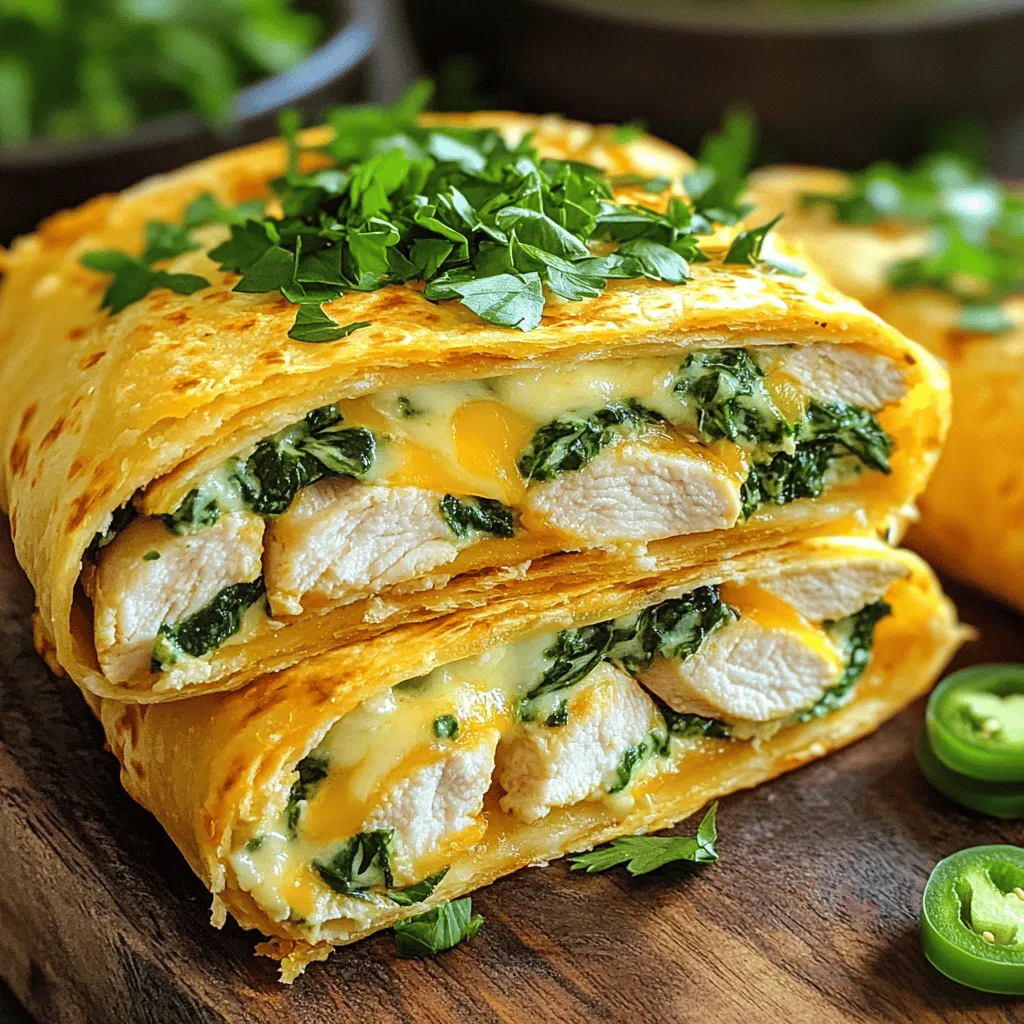
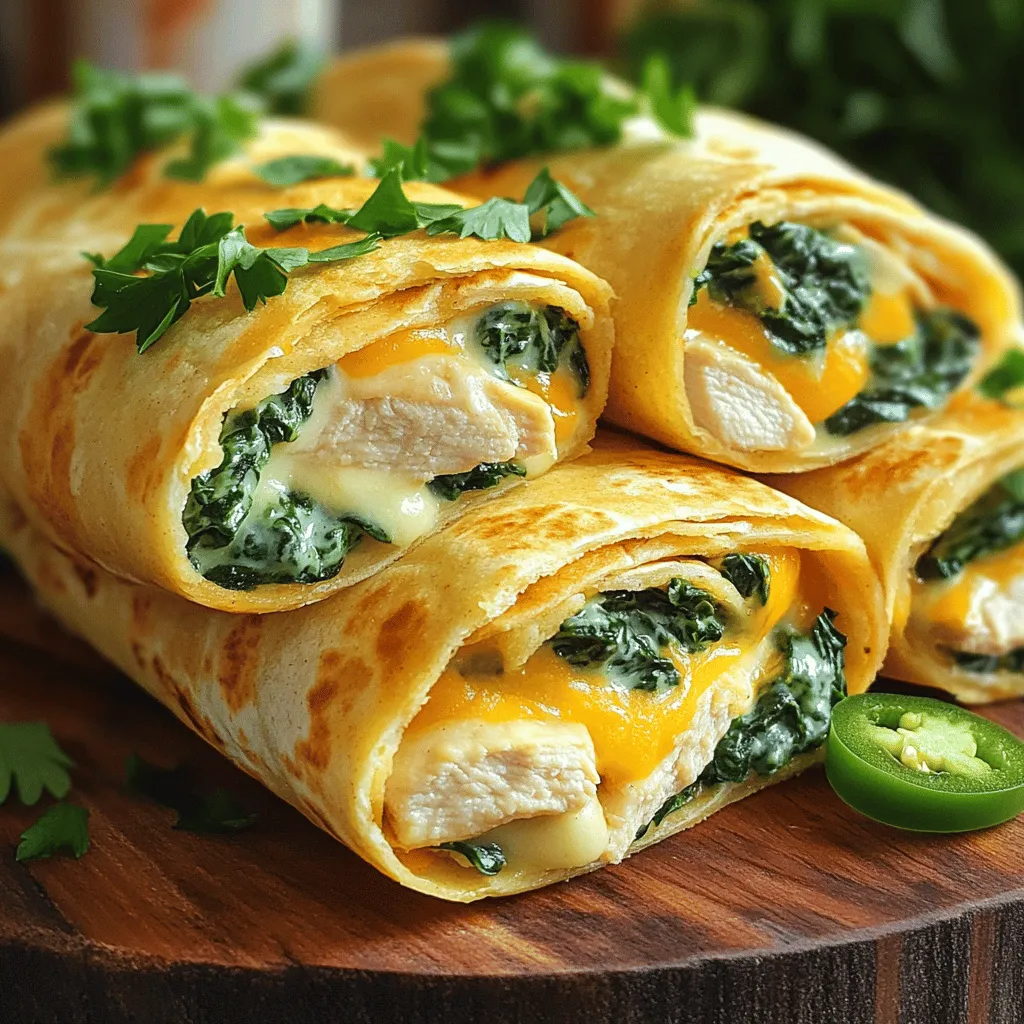
Looking for a quick and tasty meal? Cheesy Garlic Chicken Wraps are the answer! In this post, I’ll show you how to make these flavorful wraps with simple steps. You’ll enjoy cheesy goodness and juicy chicken in every bite. Plus, I’ll share tips, tricks, and variations to match your taste. Let’s get cooking and make a meal everyone loves!
Ingredients
Main Ingredients
For Cheesy Garlic Chicken Wraps, you need:
– 2 boneless, skinless chicken breasts
– 1 teaspoon garlic powder
– 1 teaspoon onion powder
– 1 teaspoon smoked paprika
– Salt and pepper to taste
– 2 tablespoons olive oil
– 1 cup shredded cheese (mozzarella or a blend)
– 1/2 cup cream cheese, softened
– 1/2 cup fresh spinach, chopped
– 4 large flour tortillas
– 1/4 cup fresh parsley, chopped (for garnish)
These ingredients create a tasty base for the wraps. The chicken gives protein, while the cheese adds creaminess. Garlic and spices bring rich flavor. Spinach adds color and nutrition.
Optional Ingredients
You can add:
– Sliced jalapeños for spice
Adding jalapeños can give the wraps a nice kick. Adjust the amount based on your taste. If you love heat, go for it!
Substitutions
If you need alternatives, try these:
– Chicken can be swapped for turkey or tofu for a veggie option.
– Use any cheese you like, such as cheddar or pepper jack.
– Spinach can be replaced with kale or arugula.
These swaps can help you use what’s on hand. Don’t hesitate to get creative! For the full recipe, follow the steps to make delicious wraps.
Step-by-Step Instructions
Marinating the Chicken
To start, mix garlic powder, onion powder, smoked paprika, salt, pepper, and olive oil in a bowl. This mix adds great flavor. Coat the chicken breasts fully with the marinade. Let them sit for at least 15 minutes. This time helps the chicken absorb the flavors.
Cooking the Chicken
Next, heat a skillet over medium heat. Place the marinated chicken breasts in the skillet. Cook them for about 6-7 minutes on each side. You want the chicken to be fully cooked and have nice grill marks. Once done, take the chicken out and let it rest for a few minutes.
Preparing the Filling
While the chicken rests, prepare the filling. In another bowl, mix shredded cheese, softened cream cheese, and chopped spinach. Stir this mixture until it is creamy and well combined. This filling adds a cheesy burst to each bite.
Assembling the Wraps
Now it’s time to assemble the wraps. Slice the cooked chicken into thin strips. Take a tortilla and spread a good amount of the cheese and spinach mixture down the center. Add the chicken strips on top. If you like some heat, add sliced jalapeños for extra spice.
Toasting the Wraps
Heat a clean skillet over medium heat again. Place the wraps seam-side down in the skillet. Toast them for about 2-3 minutes on each side. You want them to be golden brown and crispy. This step makes the wraps extra tasty.
Serving Suggestions
Once toasted, take the wraps out and slice them in half diagonally. Garnish with chopped parsley for a fresh touch. These wraps are great for lunch or dinner. You can serve them with a side salad or some chips for a complete meal. For the full recipe, check the details above.
Tips & Tricks
Perfecting the Toasting Process
Toasting wraps makes them crispy and golden. Start with a hot skillet. A medium heat works best. Place the wraps seam-side down. This helps keep the filling inside. Toast each side for 2-3 minutes. Watch for a nice color. If they brown too fast, lower the heat.
Variations for Additional Flavor
You can get creative with flavors. Try adding diced bell peppers for crunch. Black olives add a salty kick. Swap spinach for kale for a twist. For heat, sprinkle in some crushed red pepper. You can even use different cheese blends. Pepper jack gives a spicy twist.
Common Mistakes to Avoid
Avoid overfilling your wraps. Too much filling makes them hard to close. Don’t skip resting the chicken. It helps keep it juicy. Also, let the cheese mixture sit for a few minutes. This allows the flavors to blend. Finally, keep an eye on the skillet. Burnt wraps are not tasty!
For the full recipe, check the details above. Enjoy your cooking!

Variations
Vegetarian Option
You can easily make a vegetarian version of cheesy garlic chicken wraps. Instead of chicken, use grilled veggies. Great choices include zucchini, bell peppers, and mushrooms. Season them with the same garlic powder and smoked paprika. This adds flavor while keeping it plant-based. You can also add black beans for extra protein. The cheese and cream cheese will still work perfectly with these veggies.
Low-Carb Option
If you want a low-carb meal, use lettuce wraps. Instead of tortillas, use large lettuce leaves. Romaine or iceberg lettuce works well. Fill them with the cheesy mixture and cooked chicken. You can also swap the cream cheese for a low-fat cheese option. This keeps the wraps light but still tasty.
Spice it Up
For those who love heat, add sliced jalapeños to your wraps. You can mix them into the cheese filling or layer them on top of the chicken. Another option is to use spicy cheeses like pepper jack. A sprinkle of red pepper flakes can add a kick too. Experiment with these spicy options to find your perfect blend.
Storage Info
Storing Leftovers
Store any leftover Cheesy Garlic Chicken Wraps in an airtight container. They stay fresh in the fridge for up to three days. If you plan to eat them later, let them cool first. This helps keep the wraps from getting soggy. You can also wrap them tightly in foil for extra protection.
Reheating Instructions
To reheat the wraps, use a skillet for the best results. Heat the skillet over medium heat and place the wraps seam-side down. Cook for about 3-4 minutes on each side until they are warm and crispy. You can also use a microwave, but this may make the wraps softer. If using a microwave, heat them in short bursts of 30 seconds.
Freezing Tips
You can freeze these wraps for later meals. After cooking and cooling, wrap each one in plastic wrap. Place them in a freezer-safe bag or container. They can stay in the freezer for up to two months. When ready to eat, thaw them in the fridge overnight and reheat as mentioned above. Enjoy these tasty wraps anytime!
FAQs
How can I make Cheesy Garlic Chicken Wraps in advance?
You can prepare the chicken ahead of time. Marinate the chicken in the spice blend. Store it in the fridge for up to a day. You can also mix the cheese and spinach filling early. Keep it in an airtight container. When ready to serve, just cook the chicken and assemble the wraps.
What sides pair well with these wraps?
These wraps taste great with simple sides. Try a fresh garden salad for crunch. You can also serve sweet potato fries for a sweet touch. Another option is a bowl of salsa with tortilla chips. These sides add color and flavor to your meal.
Can I use other types of cheese?
Absolutely! You can use any cheese you love. Cheddar, pepper jack, or gouda work well. Each cheese brings a unique taste. Experiment with different blends to find your favorite. Just make sure it melts well for a creamy texture.
How to keep the wraps from getting soggy?
To prevent sogginess, use dry ingredients in your filling. Make sure the chicken is cooled before adding to the wrap. It also helps to toast the wraps right before serving. This gives them a crispy outside while keeping the inside moist.
What is the full recipe for Cheesy Garlic Chicken Wraps?
For the full recipe, check the details above. It covers all the steps and ingredients needed. You’ll find everything you need to create these tasty wraps at home!
In this blog post, we explored how to make Cheesy Garlic Chicken Wraps. We covered the key ingredients, how to prepare and cook them, and helpful tips for perfecting your wraps. You can also customize these wraps with various options to fit your taste. Remember to store leftovers properly and know how to reheat them. Enjoy your creation, and don’t hesitate to try new flavors or variations. Happy cooking!

